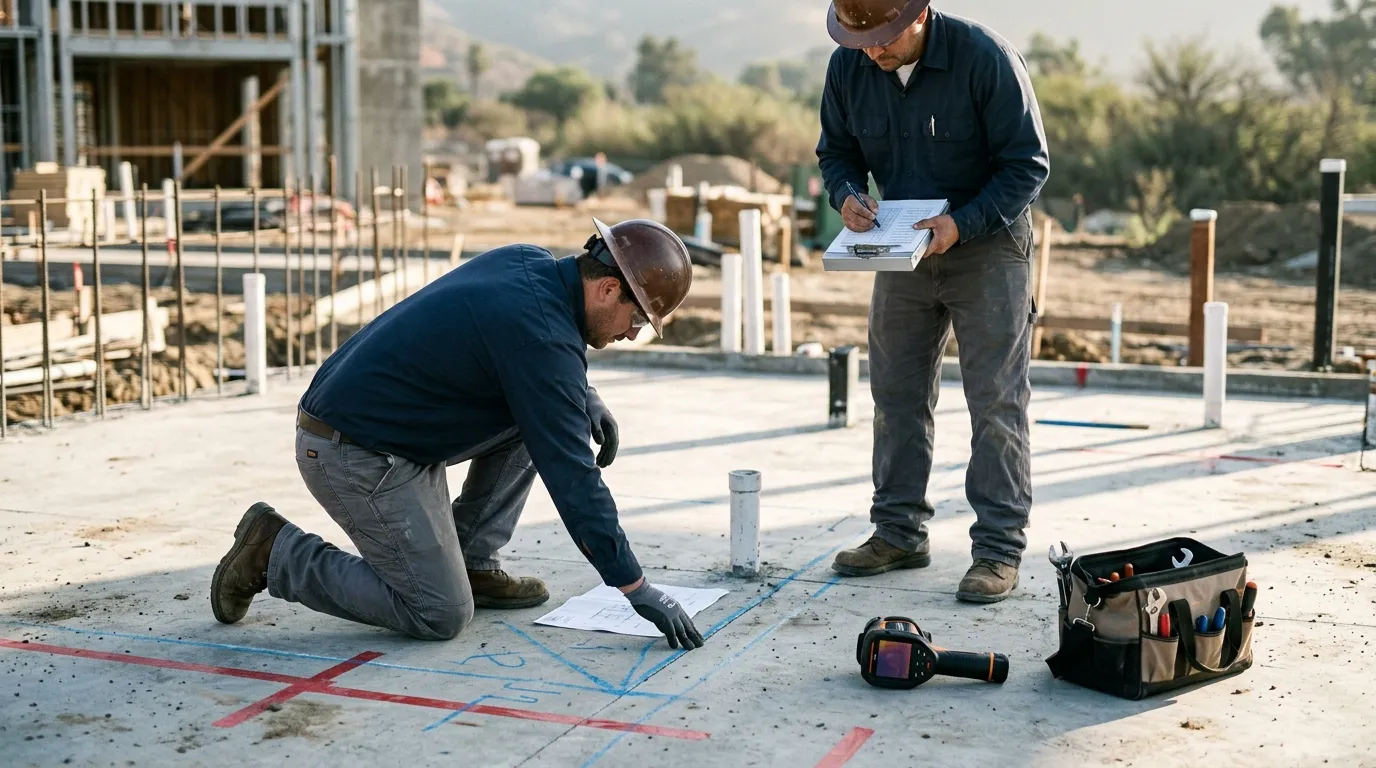
Plumbers locate slab leaks & radiant heating pipes with thermal by creating a temperature difference, scanning the floor for lines or spreading hot/cool patches, then confirming the result with pressure, acoustic, moisture, or manifold tests before cutting concrete. Thermal works because hot service lines, chilled supply lines, hydronic loops, and wet concrete can change the slab’s surface temperature enough for a camera to map the clue.
Slab Leak Thermal Steps
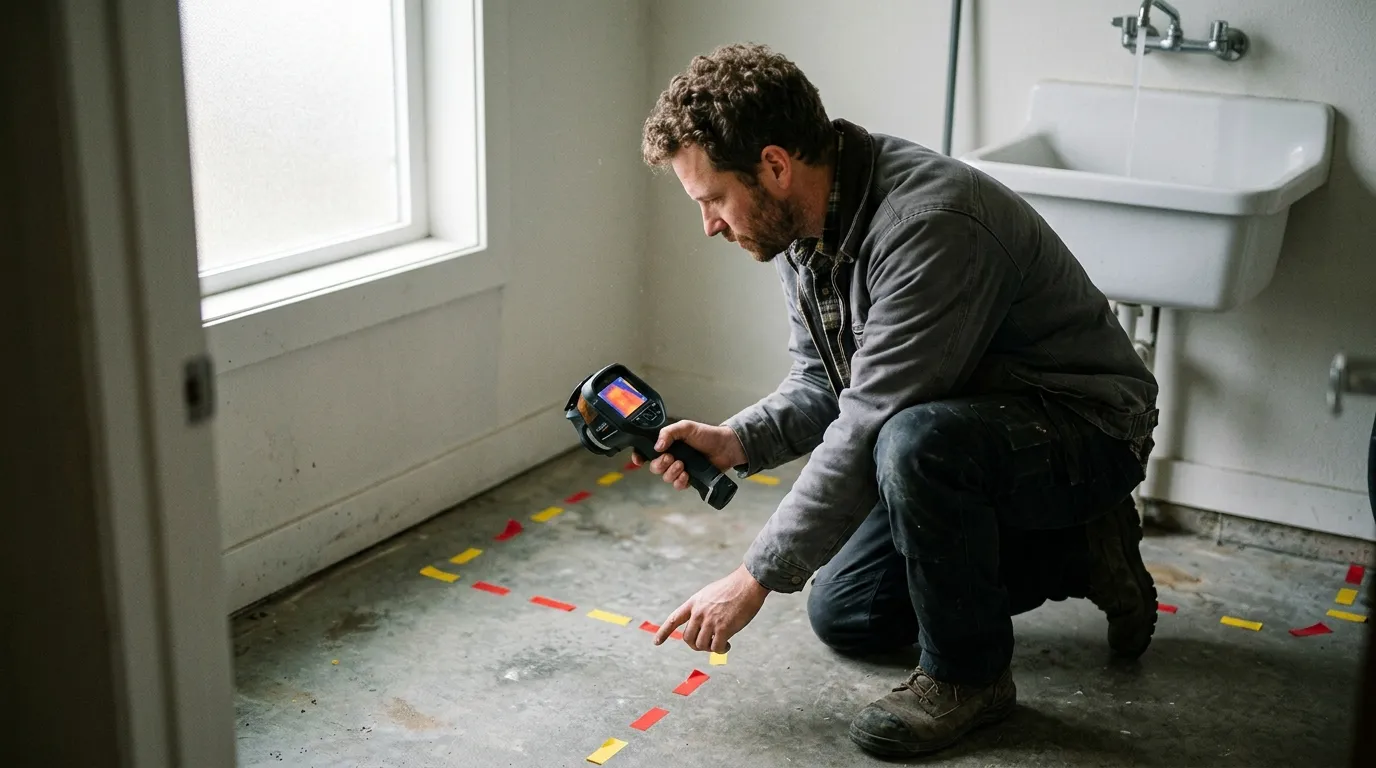
- Create a 10 to 20 degrees F temperature difference in the pipe or slab.
- Scan slowly from multiple angles.
- Mark continuous lines for pipes and spreading hot or cool patches for leaks.
- Confirm the mark with pressure, acoustic, moisture, or isolation testing before cutting.
The first move is boring, and that’s why it works: set up contrast. If the suspected leak is on a hot water line, run hot water for 3 to 5 minutes, then shut fixtures off and watch the slab. If the leak is on a cold line, let the system sit, run cold water, and compare the new pattern with the baseline. A thermal camera needs a difference. No difference, no useful image.
Walk the slab like you’re mowing it. Slow passes. Overlap each sweep by about 30 percent. Keep the lens angle steady and avoid chasing the brightest pixel like it’s a treasure marker. On a real job, the leak is often a fuzzy bloom 8 to 24 inches from the pipe path because water travels through cracks, sand, foam, or an old sleeve before the surface changes.
That is the practical reason plumbers locate slab leaks & radiant heating pipes with thermal before a saw touches concrete: a 10-minute scan can save hours of dust, patching, and awkward explaining. Still, thermal is a first-pass map. A plumber who cuts only from a thermal image is guessing with expensive tools.
| Site condition | Best thermal setup | What to mark |
|---|---|---|
| Hot water slab leak | Run hot water 3 to 5 minutes | Warm line, then wider warm bloom |
| Cold supply leak | Compare baseline to cold-flow scan | Cool spreading patch or damp edge |
| Radiant hydronic loop | Run one zone or loop at a time | Continuous snake-like line |
| Wet slab after repair | Scan during drying | Shrinking damp area over 24 hours |
A simple field habit helps: mark the floor with blue tape, write the time on each mark, then scan again 10 minutes later. A true leak pattern grows, shifts, or keeps feeding heat into the slab. A pipe route stays shaped like a route. Sunlight through a patio door just sits there making trouble.
Heat Patterns Worth Trusting
A good thermal pattern has shape, timing, and a plumbing story behind it. A straight or looping line usually points to a pipe. A soft-edged patch that expands after the line pressurizes points toward escaping water. A blotchy rectangle near a rug, dog bed, floor vent, or south-facing window usually points toward the room, not the pipe.
Concrete slows everything down. Tile and thinset may reveal a line in 2 minutes. Thick laminate with foam underlayment can take 15 minutes. Carpet is worse because the pad acts like an insulator and may hide the pipe completely. If you’re scanning a Phoenix slab in July after direct sun hit the floor, wait for the surface to settle or scan before sunrise. The sun can paint a fake leak better than a bad contractor can.
Use the camera’s manual span if you have it. A 6 degrees F display window will show more plumbing detail than a wide automatic range that includes a warm refrigerator, a sunlit slider, and a cold register. Auto mode is convenient for walking into a room. Manual mode is better when money is riding on one square foot of concrete.
| Thermal sign | Likely meaning | Follow-up check | Confidence |
|---|---|---|---|
| Thin warm line | Hot pipe route | Fixture test or manifold isolation | High |
| Warm patch grows after flow | Hot leak or wet heat transfer | Pressure drop and acoustic check | High |
| Cool patch near exterior wall | Cold line leak or air leak | Moisture meter and shutoff test | Medium |
| Perfect rectangle | Rug, sun, appliance, vent pattern | Move object and rescan | Low |
One mistake shows up again and again in plumbing forums: the plumber finds the hottest spot and assumes the pipe is directly below it. Maybe. But water doesn’t care about your saw cut. Water follows the easiest path under the slab, which might be a control joint, a crack, a trench backfill path, or the gap around a sleeve.
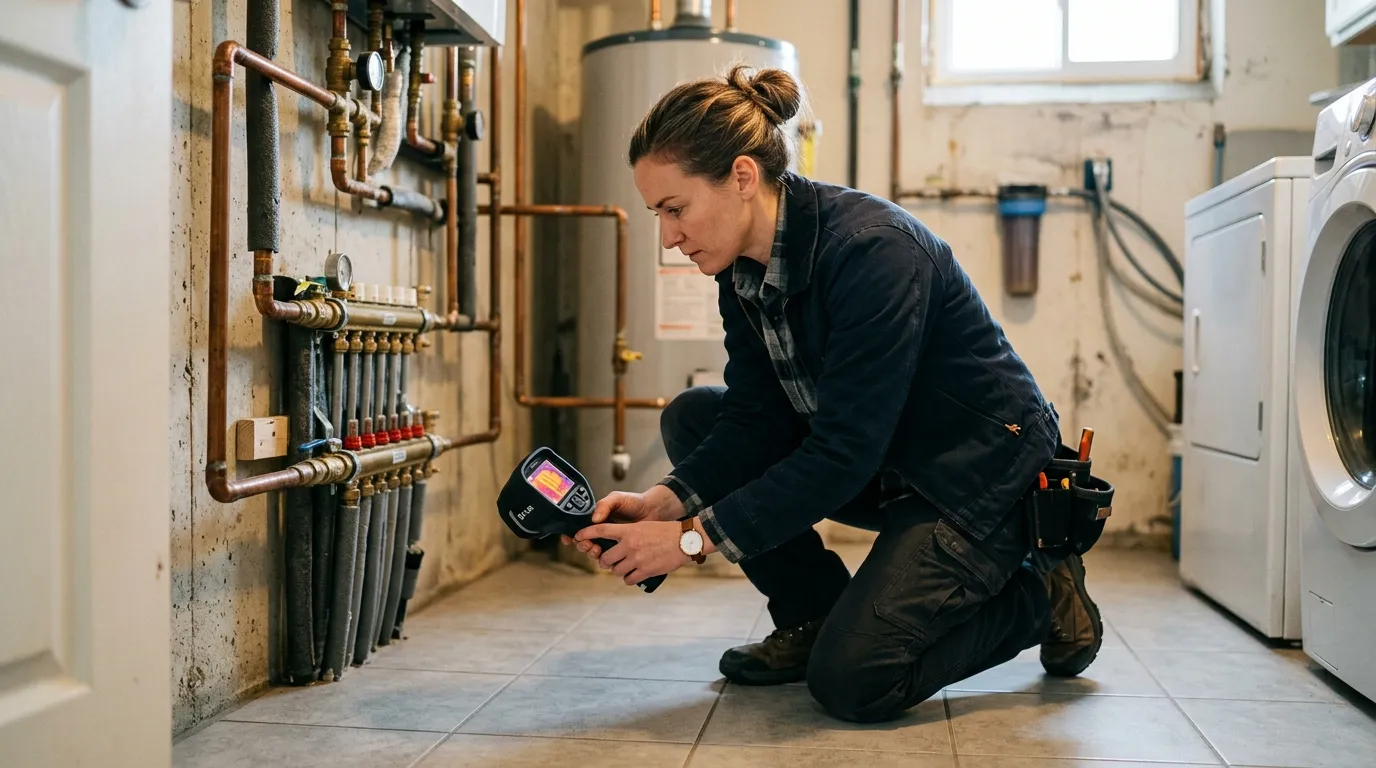
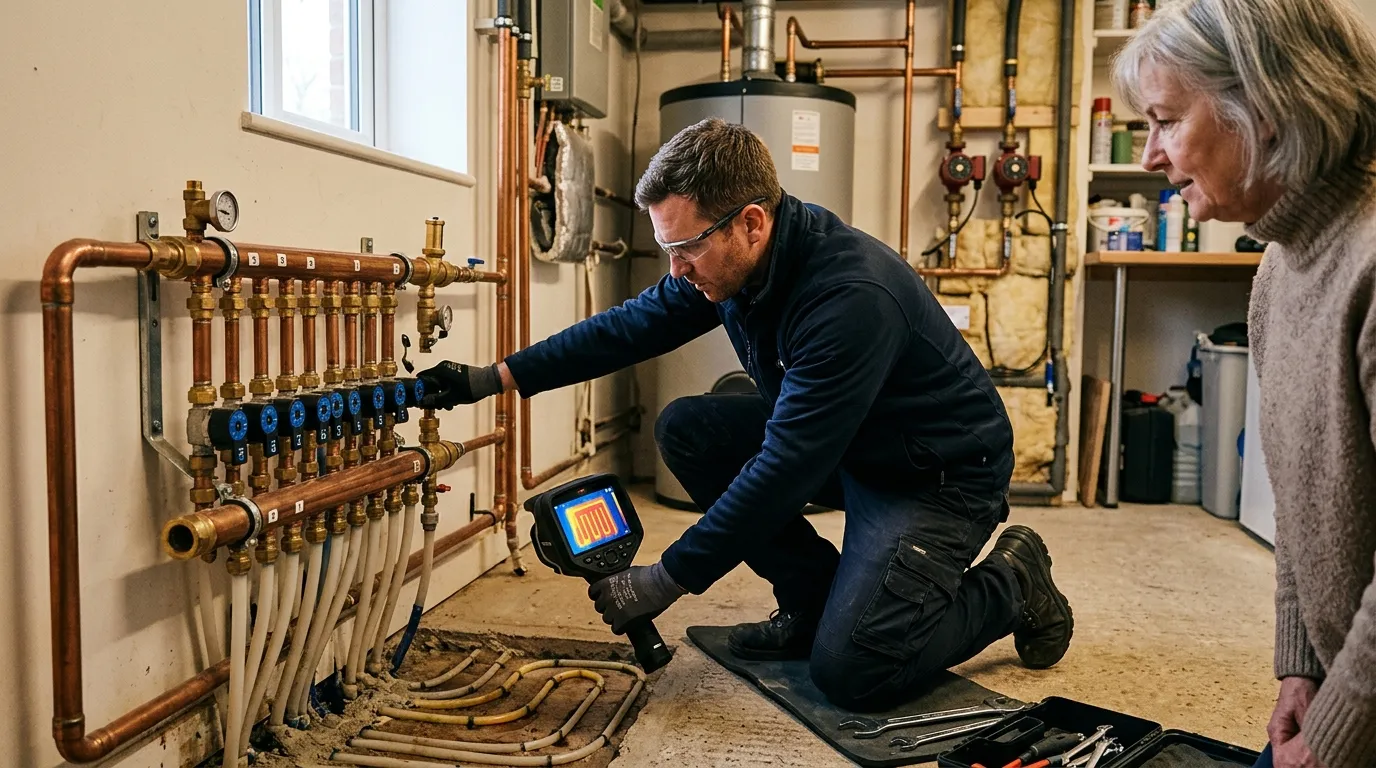
Radiant Pipe Tracing Setup
Radiant heating pipes are easier to trace than many slab leaks because the system is designed to move heat. The trick is isolation. If every zone is running, the floor becomes a warm blur. Run one loop, wait, scan, mark, then move to the next loop. A hydronic manifold with labeled loops is your friend here. An unlabeled manifold is still workable, but you’ll spend more time proving which loop is which.
The U.S. Department of Energy’s radiant heating guidance explains that hydronic radiant floors pump heated water through tubing under the floor, and that wet installations can embed tubing in concrete. That’s why thermal tracing works so well on an active loop: the tubing isn’t visible, but the floor above the tubing changes temperature in a repeatable pattern.
For hydronic PEX in slabs, common spacing is 6, 9, or 12 inches on center. A thermal line that repeats at those intervals usually points to radiant tubing. For electric radiant mats under tile, you may see closer cable spacing and sharper turns near the room edge. Don’t cut based on spacing alone. Measure from fixed references: wall plate, cabinet toe kick, toilet flange, cleanout, and doorway centerline.
A clean tracing workflow looks like this:
- Photograph the room before tape goes down.
- Turn off floor fans, forced-air registers, and direct sun exposure where possible.
- Run one radiant loop for 15 to 30 minutes.
- Mark both edges of the visible thermal line, not only the center.
- Recheck the pattern after the loop is off to see whether the line cools evenly.
Radiant pipe tracing matters most before setting anchors, drilling an island, moving a toilet, or cutting concrete for a new drain. A half-inch PEX loop hit by a rotary hammer can turn a clean remodel into a wet demolition job before lunch.
Camera Specs Plumbers Need
When plumbers locate slab leaks & radiant heating pipes with thermal, the camera’s sensitivity and controls matter more than marketing range. For indoor slab work, a 256 x 192 sensor is a practical floor. A 384 x 288 or 320 x 240 class camera gives more usable detail, especially when the pipe signal is faint. Resolution won’t fix a bad setup, but it helps you separate a pipe line from a warm smear.
Thermal sensitivity, often listed as NETD, should be below 50 mK for serious diagnostic work. Lower is better. Manual level and span also matter. Radiometric temperature data helps if you’re writing reports, comparing before-and-after repair scans, or documenting a claim for a property manager. A non-radiometric optic can still help you find patterns, but it gives you less proof after the job.
Pixfra builds thermal devices around readable heat contrast in hard outdoor conditions. For a plumber adding thermal to a truck kit, the same basic idea applies: choose a device that keeps small temperature differences visible, survives jobsite handling, and doesn’t die halfway through a slab scan. You can review Pixfra thermal imaging cameras or the Pixfra thermal monocular lineup if your work also includes outdoor site checks, long battery needs, or low-light scanning around properties.
| Spec | Good target for slab work | Why it matters |
|---|---|---|
| Sensor resolution | 256 x 192 minimum | Cleaner pipe routes and fewer false marks |
| NETD | Under 50 mK | Better faint contrast on thick floors |
| Manual span/level | Yes | Stops auto mode from hiding the leak |
| Radiometric data | Preferred for reports | Supports documentation and callbacks |
| Battery runtime | 3 hours or more | Covers setup, scan, and recheck |
Phone clip-ons are useful for quick screening. A dedicated handheld or optic is better for paid location work because the lens, battery, focus, and controls are built for repeated scanning. FLIR E8-XT-class and Klein TI250-class tools are common in building diagnostics; Pixfra thermal optics sit closer to outdoor and detection use. Pick the tool by the job: reports need radiometric data, while fast field spotting needs clarity and endurance.
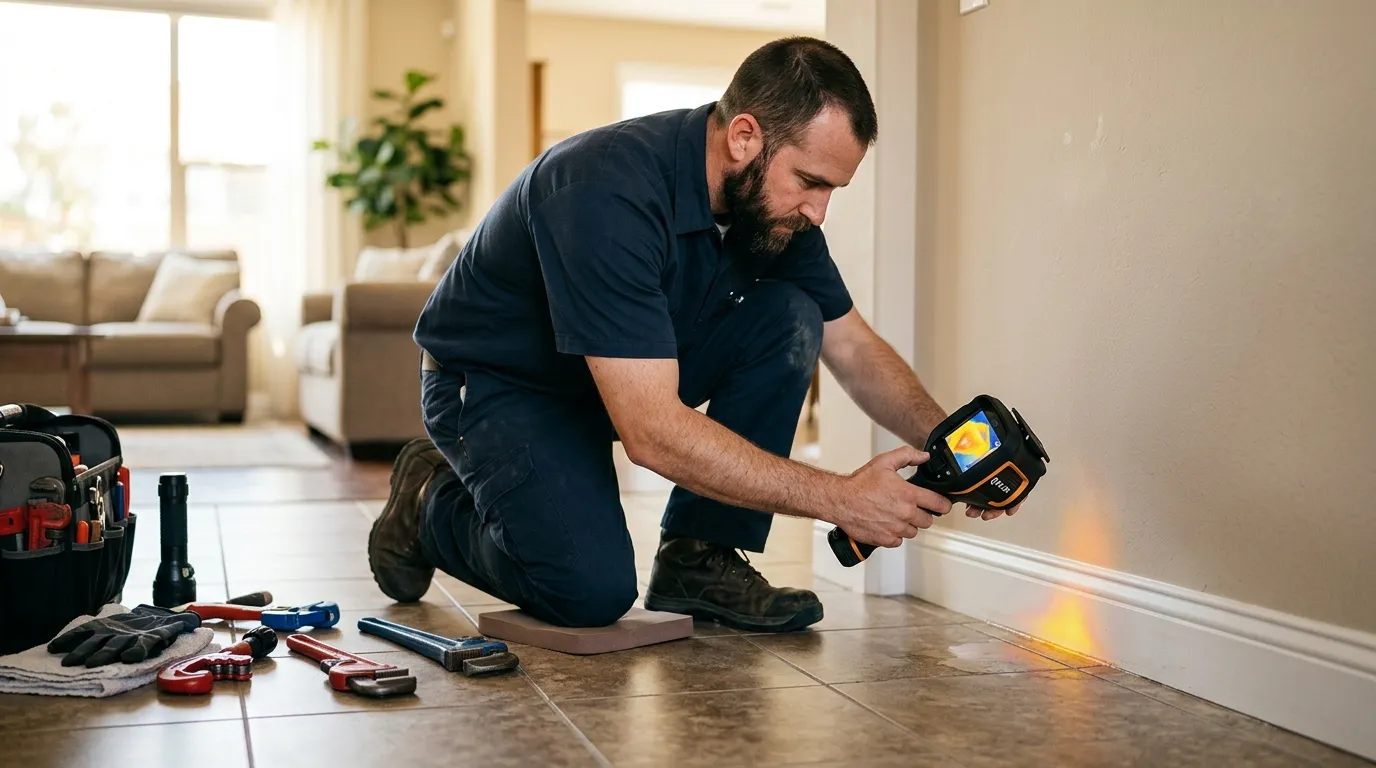
Thermal Limits Before Cutting
Thermal cameras read surface temperature. That sentence saves floors. A camera doesn’t see through concrete like X-ray equipment, and it doesn’t identify copper, PEX, PVC, rebar, post-tension cable, or conduit by material. The image is the surface response to heat, moisture, airflow, and time.

This advice doesn’t apply cleanly to every job. Inactive pipes with no temperature difference, deep lines under thick carpet, wet slabs after flooding, and sunlit floors near glass all reduce confidence. A leak under epoxy flooring can spread sideways before showing on the surface. A radiant loop under stone may look wider than the actual tubing path because stone conducts heat well.
Before concrete cutting, stack evidence. Use thermal to narrow the zone. Use a pressure gauge to prove the system is losing pressure. Use acoustic listening to refine the point. Use a moisture meter at baseboards and floor joints. If the slab has post-tension cables, get cable locating handled before anyone pulls a trigger.
| Tool | Best use | Weak spot |
|---|---|---|
| Thermal camera | Fast pattern mapping | Needs temperature contrast |
| Acoustic locator | Pinpoint active leaks | Struggles with background noise |
| Pressure test | Confirms leak exists | Doesn’t show exact location |
| Moisture meter | Tracks water migration | Can be fooled by old moisture |
Cutting concrete also changes the safety picture. OSHA’s construction silica guidance says employers must limit respirable crystalline silica exposure, and OSHA notes that water applied to saw blades can reduce dust when cutting concrete, brick, block, stone, and rock. That’s not paperwork trivia. It affects how you plan the cut, who stays in the room, and what controls go on the truck.
Field Checklist For Concrete
The best slab scan is repeatable. If another plumber on your crew can’t follow your marks and reach the same conclusion, the scan needs more structure. Start with the water meter, shutoff valves, manifold, water heater, and fixture map. Then scan. The camera comes after the plumbing logic, not before it.
Use this jobsite checklist before you cut:
- Record the room, floor type, outdoor temperature, and time of scan.
- Capture a baseline thermal image before running fixtures or loops.
- Create a 10 to 20 degrees F difference when possible.
- Mark pipe routes with tape arrows and leak suspects with circles.
- Re-scan after 10 minutes and photograph every marked area.
- Confirm with pressure, acoustic, moisture, or manifold isolation.
- Check for post-tension cable risk before saw work.
- Plan silica dust control, water control, and repair access.
A good final mark is boring: a taped area, a photo, a pressure reading, and a reason. The homeowner may only care where the floor gets opened, but your reputation sits in the gap between “I think” and “I can prove why.”
FAQ
Can thermal cameras find slab leaks?
Yes, thermal cameras can help find slab leaks when the leaking water changes the floor’s surface temperature. Thermal works best on active hot water leaks, fresh cold line changes, and wet concrete patterns that grow during testing.
How deep can thermal see?
Thermal cameras don’t see depth through concrete; they read surface temperature. A deeper pipe can still create a visible pattern if enough heat reaches the surface, but thick flooring, carpet pad, and low temperature difference can hide it.
Can thermal trace radiant pipes?
Yes, thermal can trace radiant pipes when a loop is active and isolated. Run one hydronic zone at a time, wait 15 to 30 minutes, then mark the line pattern before drilling, anchoring, or cutting.
Should plumbers cut from thermal?
No, plumbers should confirm thermal findings before cutting concrete. Pair the scan with pressure testing, acoustic listening, moisture readings, manifold isolation, and post-tension cable locating when the slab may contain tensioned cables.
For the next slab job, build a Pixfra thermal routine around one habit: baseline scan, controlled heat change, marked re-scan, then confirmation. Pixfra can help you see the pattern; the strongest cut decision still comes from disciplined plumbing proof.