
Ever missed spotting a deer because it blended too well into the brush? Or wondered what’s rustling around your backyard after dark? The right observation gear changes everything. We’ve spent years testing equipment in the field, and we’re here to share what actually works for spotting wildlife—without the gear-snob talk.
Whether you’re tracking nocturnal animals, birdwatching at dawn, or just curious about your local ecosystem, modern technology makes it easier than ever to connect with nature on your terms. Let’s break down the tools that’ll take your wildlife watching from guesswork to real-time observation.
Binoculars: Your First Line of Sight
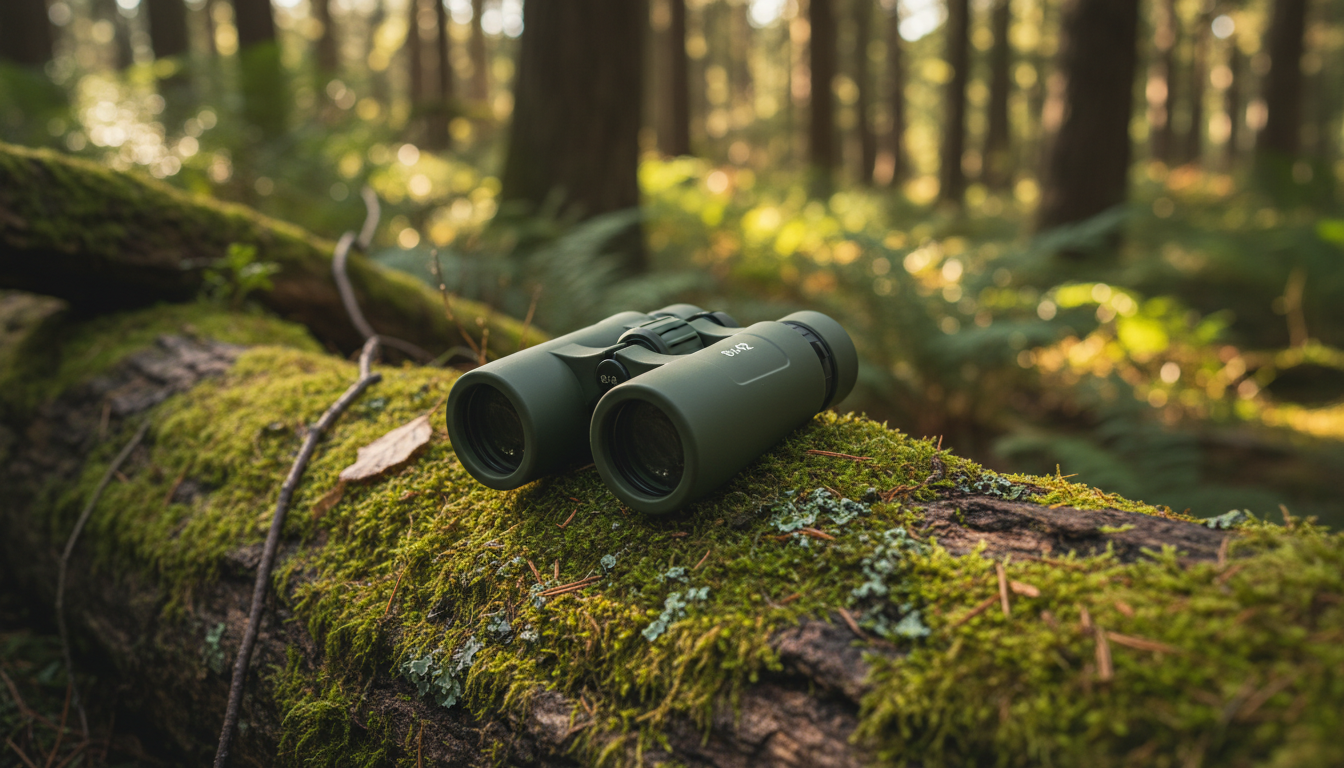
Binoculars are a must-have for any nature watcher or birder. But forget the expensive models that require a mortgage. What matters is finding a pair that’s lightweight, waterproof, and has moderate magnification—typically 8x or 10x power.
Here’s the deal with binocular specs: those numbers like 8×42 tell you the magnification (8x) and the lens diameter in millimeters (42mm). Bigger lenses gather more light, which helps in low-light conditions like early morning or dusk. We recommend starting with an 8×42 configuration for most wildlife watching—it’s the sweet spot between power and stability.
Look for models with good grip, especially if you’re planning multi-hour observation sessions. Your hands will thank you. And waterproofing isn’t just nice to have—it’s a must when weather turns or you’re near water.
Trail Cameras: 24/7 Wildlife Monitoring
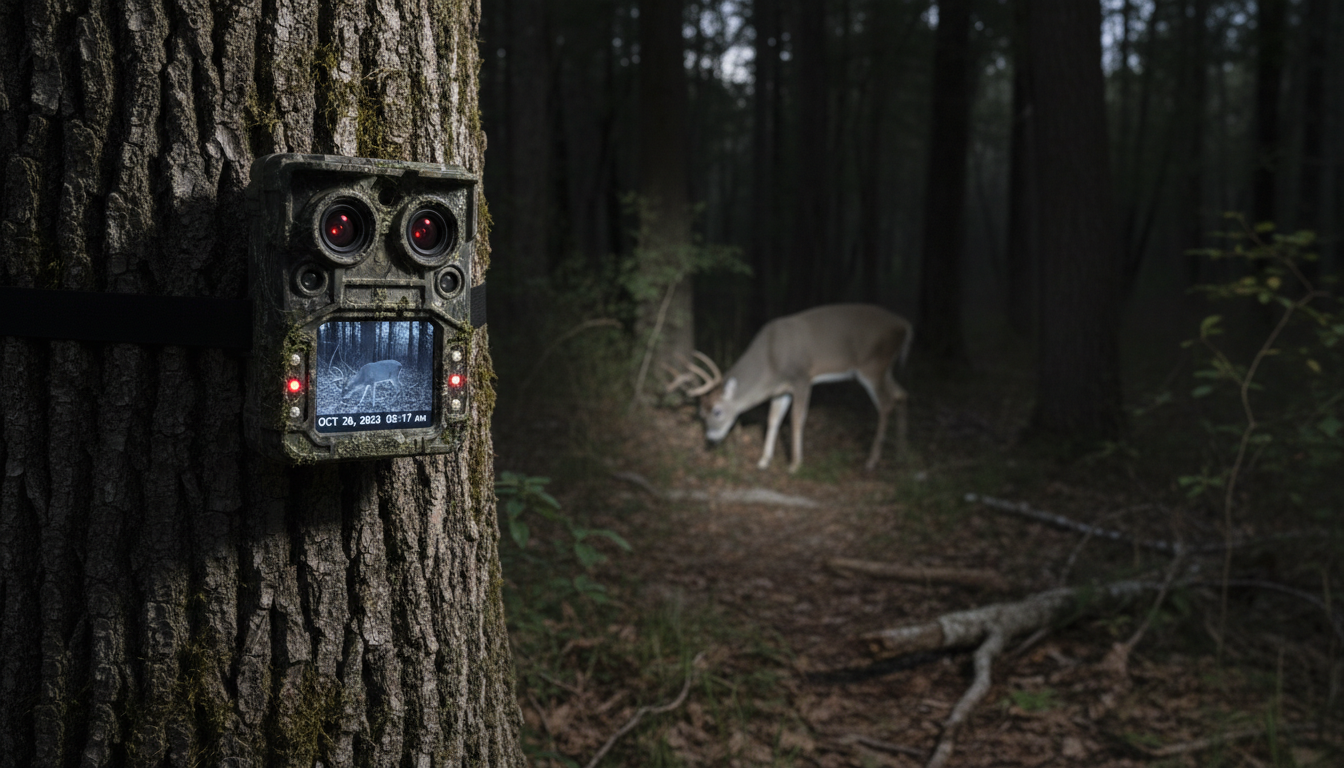
Trail cameras are a wonderful way to capture wildlife without disturbing it, as they are placed in strategic locations and set to take pictures or video whenever they detect motion. These weatherproof cameras have become surprisingly affordable and user-friendly.
Modern trail cameras offer features like fast trigger speeds (under 0.5 seconds), high-resolution sensors, and night vision capabilities. Some even have cellular connectivity that sends images straight to your phone. Battery life on quality models can last weeks, making them perfect for long-term monitoring of animal patterns.
Set them up near trails, water sources, or feeding areas. You’ll be amazed at what passes by when you’re not around.
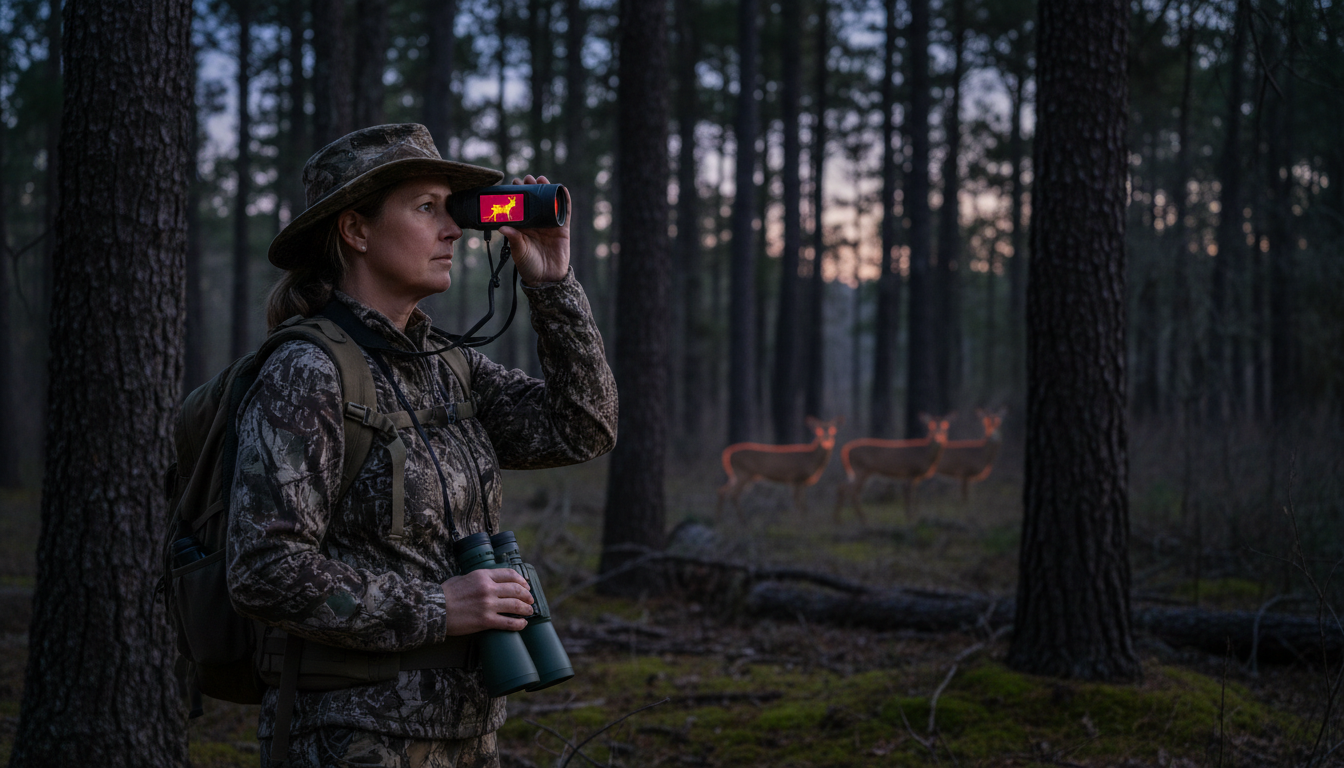
Thermal Imaging: See What Hides in the Dark
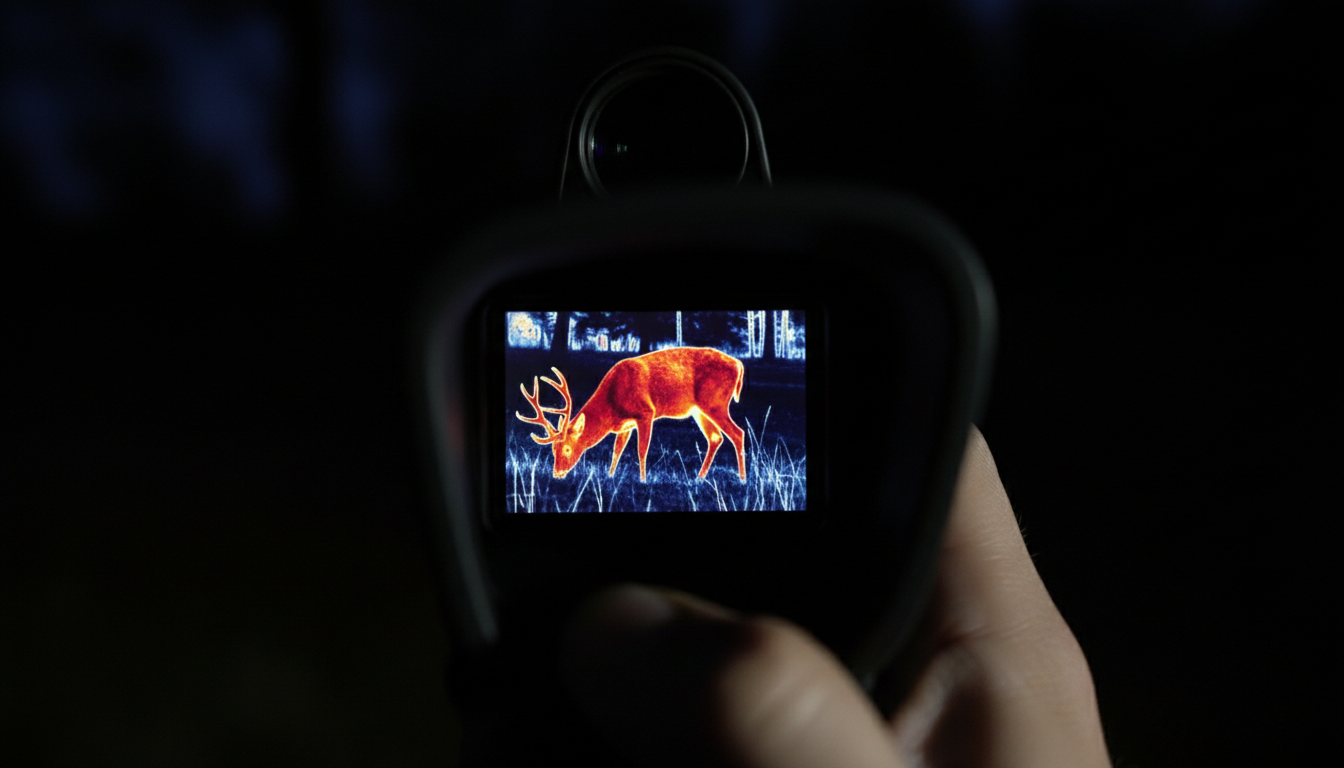
This is where things get interesting. Thermal imaging technology has changed the game for wildlife observation. Thermal imaging cameras see through darkness and ignore visual camouflage, and unlike all other nighttime vision systems, they require no light whatsoever to produce a clear image.
Thermal devices detect heat signatures—not light. That means total darkness, fog, or light vegetation won’t stop you from spotting animals. We’ve found thermal imaging particularly valuable for nocturnal species like owls, bats, and foxes that are nearly impossible to observe with traditional methods.
Thermals can work just as well in daytime as at nighttime, as it matters much less what time of day it is, and much more what the temperature differential is. On cold days, warm-blooded animals stand out brilliantly even at noon.
Products like the Pixfra Sirius HD, Draco, or Pegasus 2 LRF offer different ranges and features depending on your budget and observation needs. Pairing thermal with traditional optics—using thermal to locate, then binoculars to identify—gives you the best of both worlds.
Spotting Scopes: For Long-Distance Detail
When binoculars don’t cut it distance-wise, spotting scopes step in. These are essentially small telescopes that excel at observing distant birds, waterfowl, or wildlife across open terrain.
Spotting scopes typically offer magnifications from 15x to 60x and require a tripod for stable viewing. They perform well in low-light conditions when paired with larger objective lenses. The downside? They’re bulkier and less portable than binoculars, so they’re best for stationary observation points.
Pair your scope with a quality tripod—shaky images at high magnification are useless.
Field Accessories: The Supporting Cast
Magnifying Glasses: Don’t overlook the micro-world. A simple magnifying glass opens up observation of insects, plants, and small creatures that are easy to miss.
Weatherproof Field Notebooks: Apps are great, but a waterproof notebook never runs out of battery. Record what you see, when, and where. Over time, you’ll build a valuable personal database of wildlife patterns.
GPS Devices: Track your locations and mark spots where you’ve seen specific species. This data helps you return to productive areas and understand animal territories.
Quality Backpack: You need somewhere to carry all this gear. Look for cases with waterproof ratings (IP67 or higher), foam padding, and customizable compartments. Your expensive optics deserve protection from the elements.
Night Vision vs. Thermal: What’s the Difference?
People often confuse these two technologies. Night vision amplifies existing light—it needs at least some ambient light to work. Thermal imaging doesn’t use any light – it detects heat signatures, which means thermal can see in absolute darkness and through light cover like grass or fog, which night vision cannot do.
For wildlife observation, thermal wins for pure detection capability. For species identification at closer ranges, night vision or quality binoculars provide better detail. Many serious observers use both.
How to Choose Your Observation Setup
Start simple. If you’re new to wildlife watching, begin with quality 8×42 binoculars and a field guide for your region. That’s enough to get you started and hooked.
As your interest grows, add a trail camera to monitor a specific area. This passive observation teaches you about animal behavior and patterns without requiring your constant presence.
When you’re ready to explore nocturnal wildlife or want to spot camouflaged animals, invest in thermal imaging. The IR Torch or ARC LRF offer different approaches to low-light observation.
Quick Setup Recommendation:
- Beginner: 8×42 binoculars + field notebook
- Intermediate: Add trail camera + thermal monocular
- Advanced: Add spotting scope + thermal binoculars + GPS
Remember: the best tool is the one you’ll actually use. Don’t buy equipment that’s so complicated or heavy you’ll leave it home.
Ethical Wildlife Observation
Better tools mean you can observe from farther away—and you should. Just because you can see that sleeping deer in the dark doesn’t mean you should approach and startle it. Maintain respectful distances, especially during breeding seasons or with protected species.
Your gear should help you appreciate wildlife without disturbing their natural behaviors. Stay quiet, move slowly, and remember you’re visiting their home.
Conclusion
The best tools for wildlife observation depend on what you want to see and when. Binoculars remain the foundation for any setup, offering versatility and portability. Trail cameras provide 24/7 monitoring without your presence. And thermal imaging opens up the nocturnal world in ways traditional optics simply can’t match.
Start with the basics, learn what works for your local environment and target species, then expand your kit as needed. Technology has made wildlife observation more accessible than ever—the hard part is choosing where to start watching. But that’s the fun part.
Grab your gear and get out there. The wildlife won’t watch itself.
Frequently Asked Questions
What’s the best magnification for wildlife binoculars?
For most wildlife watching, 8x or 10x magnification works best. Higher magnification makes the image shakier and reduces your field of view, making it harder to locate and track moving animals. An 8×42 or 10×42 setup balances magnification, brightness, and stability well.
Can thermal imaging work during the day?
Yes, thermal imaging works any time there’s a temperature difference between the animal and its surroundings. On cold days, thermal can be just as effective at noon as midnight. It’s particularly useful for spotting animals hidden in tall grass or dense vegetation, regardless of lighting conditions.
How far can trail cameras detect motion?
Most quality trail cameras detect motion up to 60-80 feet, though this varies by model. Detection range depends on the camera’s sensor sensitivity and the size of the animal. Look for cameras with trigger speeds under 0.5 seconds to avoid missing fast-moving wildlife.
Do I need waterproof binoculars for wildlife watching?
We strongly recommend waterproof binoculars. Weather changes quickly outdoors, and moisture can permanently damage non-waterproof optics. Even morning dew or high humidity can be problematic. The small price premium for waterproofing is worth it for long-term reliability.
What’s the difference between thermal imaging and night vision?
Night vision amplifies existing light, so it needs at least minimal ambient light to function. Thermal imaging detects heat signatures and works in complete darkness. Thermal can also see through light fog, rain, and vegetation. For pure detection capability, thermal is superior, but night vision often provides clearer detail for species identification.