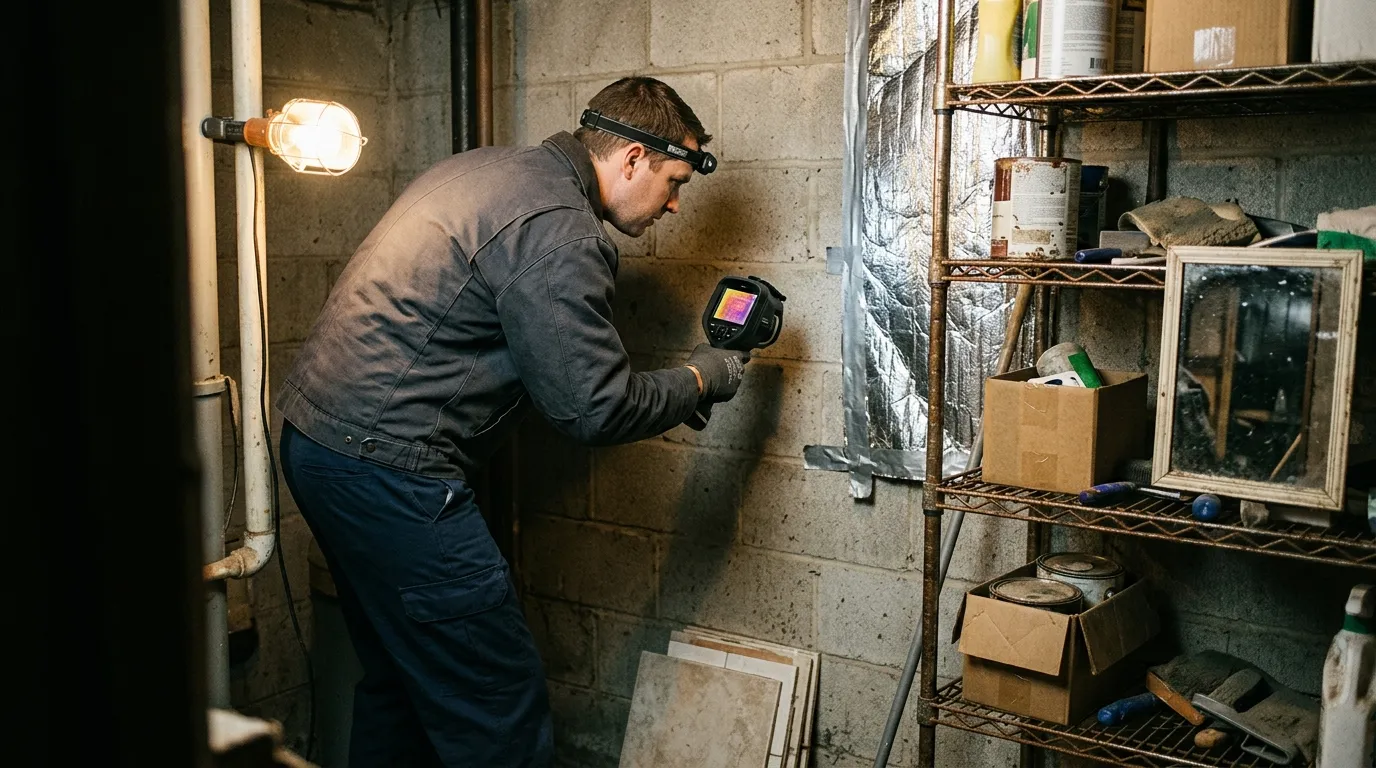
Thermal imaging for pest control pros can help identify likely rodent nesting zones inside walls by reading surface-temperature patterns, but it can’t see through drywall like an X-ray. The real value is narrowing the search: which wall bay, which soffit run, which rim-joist area, and which void deserves a borescope hole or trap placement first.
Thermal Imaging for Pest Control Pros
Thermal imaging for pest control pros is best used as a fast, noninvasive screening tool: scan for odd heat patterns, compare them against construction details, then confirm with droppings, gnaw marks, odor, camera inspection, or trap results. A warm patch alone doesn’t prove a nest. A warm patch beside scratching reports, rub marks, and a known entry point is worth your time.
A homeowner hears scratching at 2:10 a.m. behind the pantry. You arrive at 8:30 a.m. The wall is quiet. No animal is standing there waving at the lens (would be nice). What thermal can still catch is the residue of activity: a slightly warmer void, disturbed insulation, airflow from a chewed gap, or a moisture pattern from urine. Those clues fade as the wall equalizes, so timing matters.
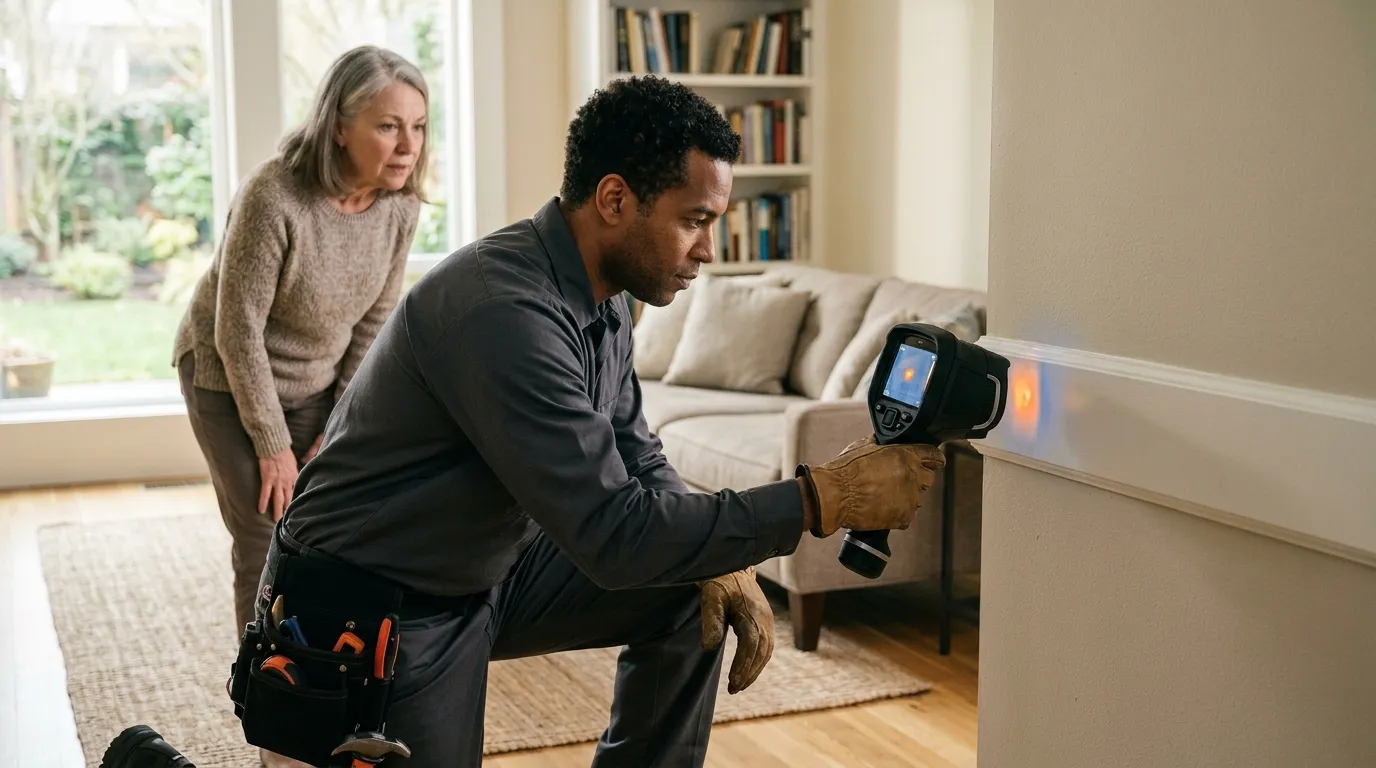
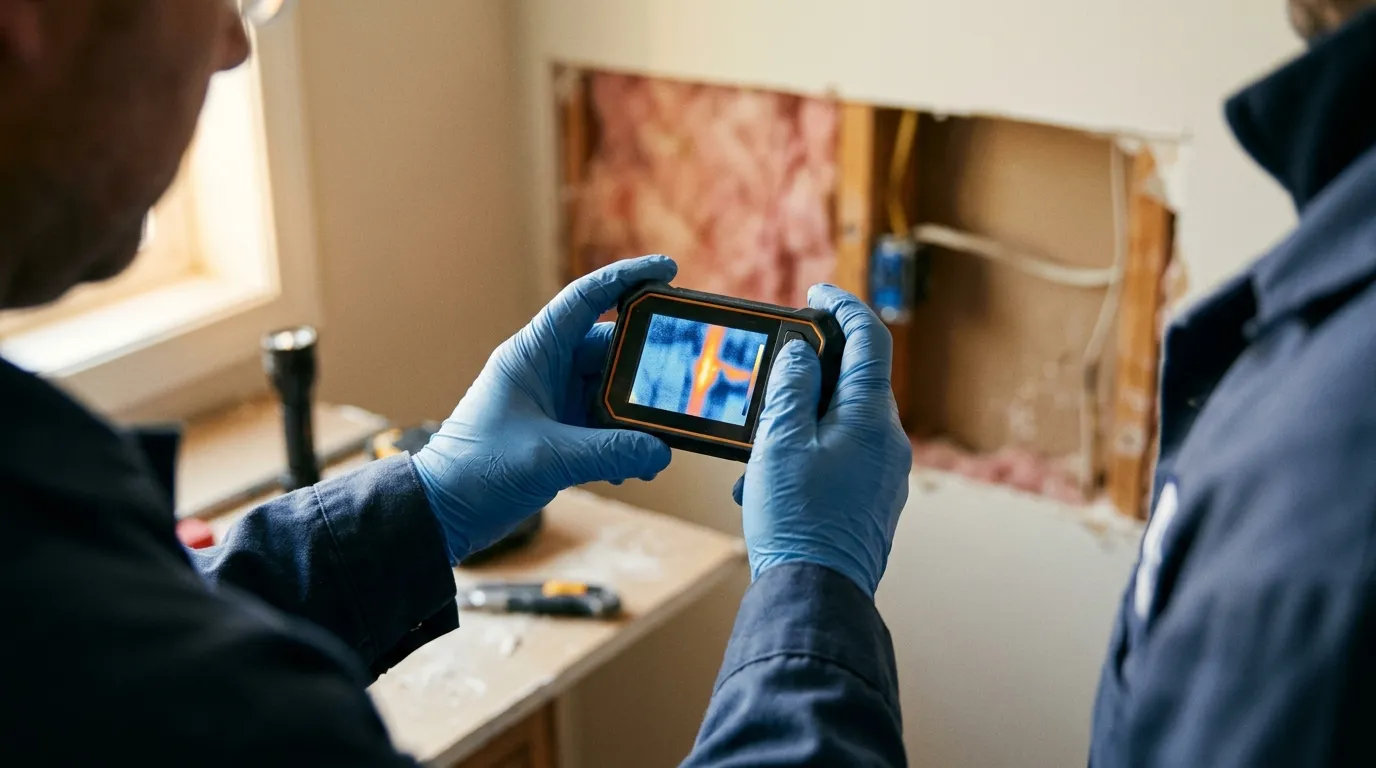
Thermal imaging also helps you talk to the customer without guessing. Instead of “we think they’re somewhere in this wall,” you can show a saved thermal image, a visible-light photo, and a marked inspection point. That’s useful when the next step is drilling a 3/8-inch borescope hole in painted drywall.
| Thermal clue | What it may mean | What else to check |
|---|---|---|
| Warm oval between studs | Active rodent body heat or nest material | Listen, inspect baseboard gaps, check attic/crawlspace path |
| Cold vertical streak | Air leakage in wall cavity | Exterior gap, plumbing chase, dryer vent, sill plate |
| Irregular cool patch | Moisture from urine or leak | Moisture meter, odor, plumbing history |
| Warm line at ceiling | Attic activity or HVAC influence | Soffit entry, insulation displacement, duct location |
| Hot/cold metal edge | Reflection, not rodent heat | Change angle 30-45 degrees and rescan |
The argument you see in homeowner forums usually starts with one question: “Can a thermal camera find the mouse nest in my wall?” The fair answer is: sometimes it can find a strong suspect area. It won’t identify species, count rodents, or prove nesting without supporting evidence.
Rodent Nests in Walls
Rodent nests in walls tend to sit where rodents get cover, warmth, and a short route to food. In U.S. homes, that often means kitchen wall voids, pantry backs, garage-to-house partitions, dropped ceilings, attic knee walls, rim joists, and plumbing chases. House mice use small voids well. Roof rats are more likely to work attics, soffits, and upper wall routes. Norway rats usually make you start lower: crawlspace, garage slab edge, basement, or foundation openings.
The Centers for Disease Control and Prevention says mice can fit through a hole about 1/4 inch wide, roughly the width of a pencil, and its rodent seal-up guidance tells property owners to inspect around pipes, vents, doors, windows, utility lines, attics, basements, and crawlspaces. That 1/4-inch number changes the scan. You stop looking only for big gaps and start looking at utility penetrations, door sweeps, cable lines, and the tiny dark slit under garage trim.
A thermal scan gets more useful when you think like a rodent and a builder at the same time. Studs, blocking, insulation, pipes, and ducts all create patterns. So do nests. The trick is separating normal construction from fresh biological activity.
- Start at the complaint area, but don’t trust it blindly.
- Track likely routes from food source to void.
- Scan both sides of the wall when you can.
- Compare suspect wall bays with the next two bays.
- Treat shiny metal, tile, glass, and foil-faced insulation as unreliable thermal surfaces.
This is where thermal imaging overlaps with other trades. The same surface-pattern logic explains how plumbers locate slab leaks & radiant heating pipes with thermal: the camera reads surface effects, then the pro confirms the cause with trade-specific evidence.
Best Thermal Scan Conditions
Best results usually come when the building has a temperature difference to work with and the wall surface hasn’t been recently disturbed. For rodent work, scan late evening, early morning, or after a quiet period when HVAC, direct sun, cooking heat, and bathroom steam haven’t painted the wall with false patterns.
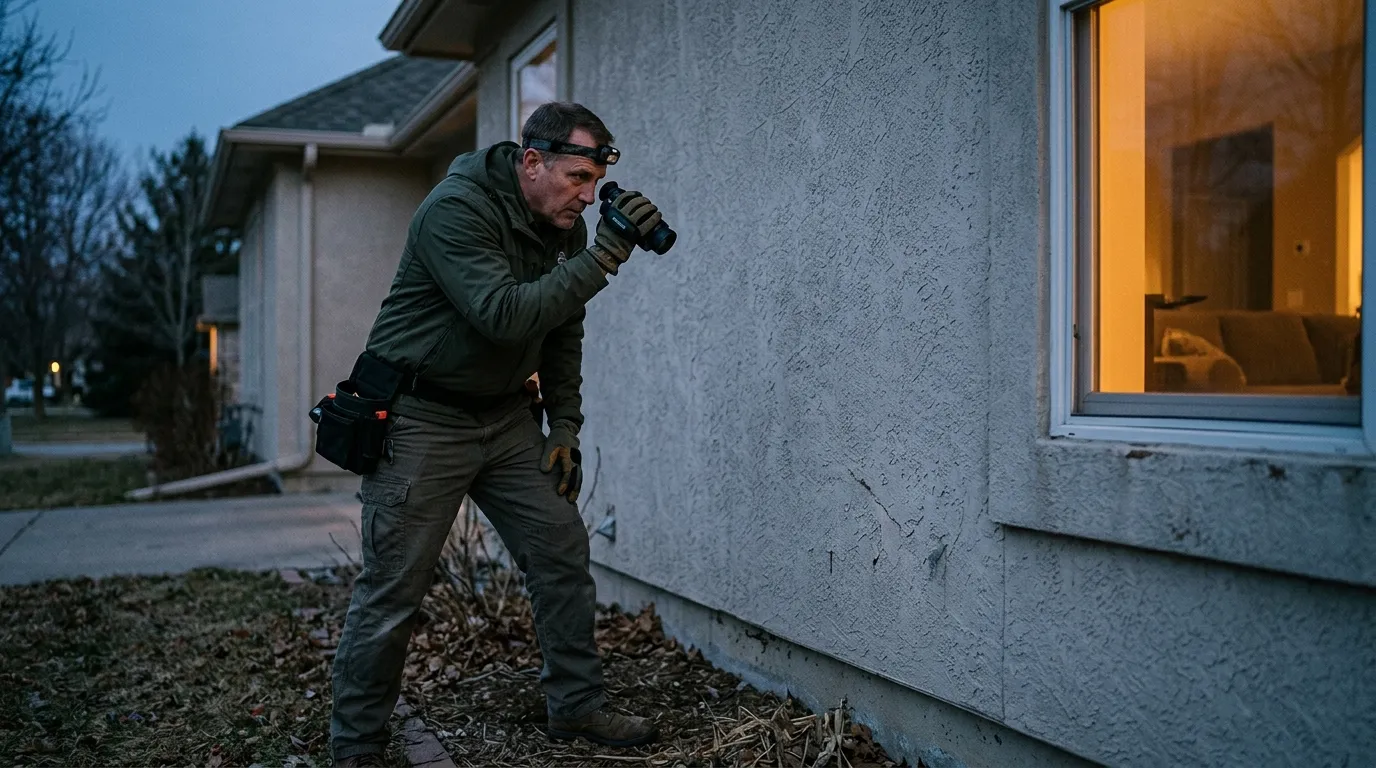
A cold winter morning in Minnesota gives you better contrast than a mild 72°F afternoon in San Diego. Drywall over an insulated exterior wall may show air leaks clearly. Interior partitions can be harder because both sides sit close to the same temperature. Don’t fight physics. If the image looks flat, change timing before you blame the camera.
Use this pre-scan setup when the customer can cooperate:
- Keep HVAC settings steady for at least 30 minutes.
- Avoid space heaters near the complaint wall.
- Keep pantry, garage, and attic access doors closed until you arrive.
- Turn off bright task lights that heat small wall areas.
- Ask when scratching was last heard and where the person stood.
Thermal cameras read surface temperature and infrared radiation. Painted drywall is usually friendly. Shiny stainless trim is not. Glass can reflect your own body heat back at the camera. A foil-faced duct can make a wall look warmer or colder depending on angle. If a heat mark vanishes when you move two steps left, you’re probably seeing reflection.
One practical move: scan from low, middle, and high angles. Rodent nests in walls don’t always sit at outlet height. Mice may use the lower bay behind cabinets, then climb a plumbing chase. Roof rats may sit near top plates or soffit returns. If you only scan from eye level, you miss the weird stuff.
Thermal Inspection Workflow
A good thermal inspection workflow keeps you from chasing every blotch on the screen. Walk the exterior first, scan likely entries, then scan interior complaint zones. After that, confirm. Thermal comes before the drill bit, not after the drywall is already open.
Here is a field sequence that works for rodent calls:
- Interview the customer for time, sound, room, and repeat pattern.
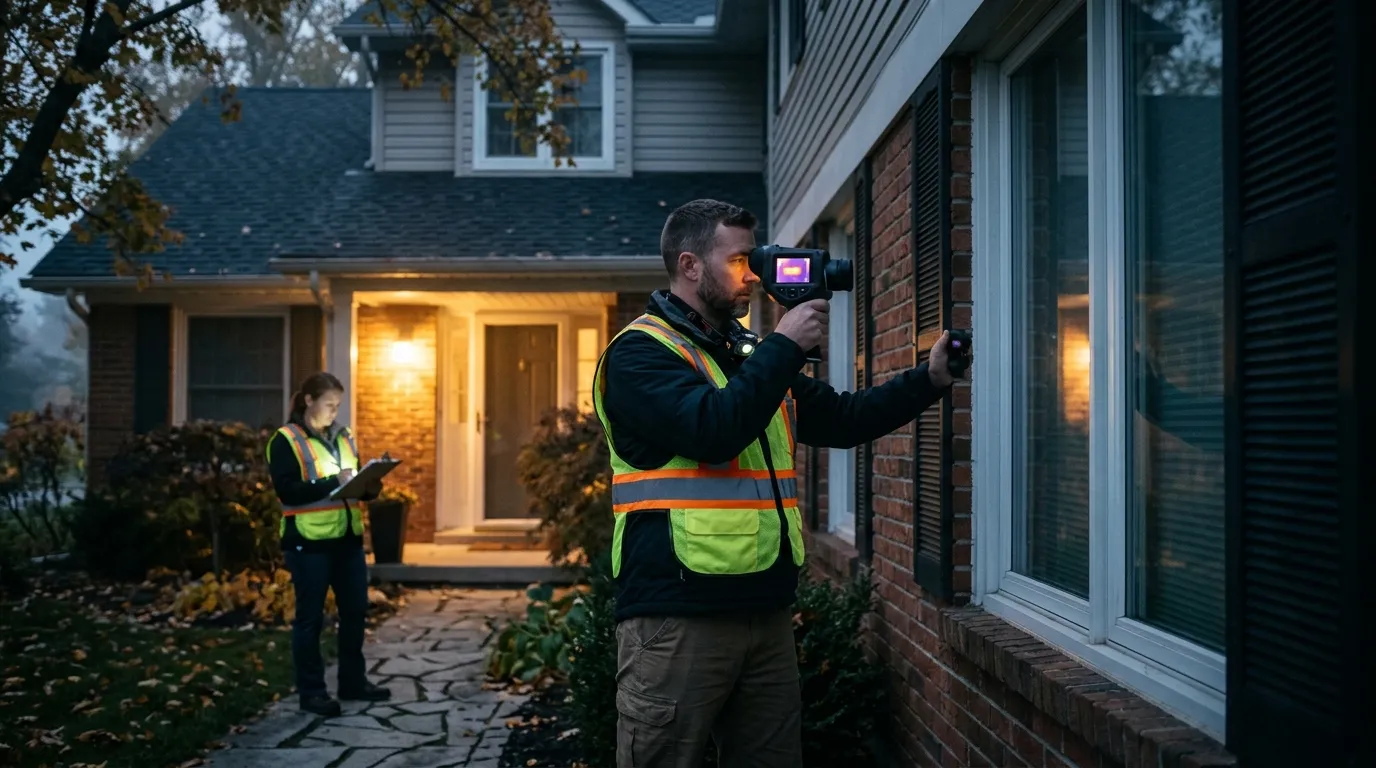
- Inspect exterior gaps, soffits, vents, foundation edges, garage seals, and utility penetrations.
- Scan exterior walls around likely entry points.
- Scan interior walls, ceilings, cabinets, and baseboards tied to the complaint.
- Mark suspect spots with painter’s tape and photograph each mark.
- Confirm with a borescope, tracking dust, traps, or follow-up inspection.
- Seal entry points after activity is controlled.
That last step matters. The U.S. Environmental Protection Agency describes Integrated Pest Management as a prevention-first approach using inspection, monitoring, and reports, and the EPA Integrated Pest Management guidance places prevention and low-risk control ahead of routine pesticide use. Thermal imaging fits that model because it improves inspection quality before chemicals or wall openings enter the job.
When you scan, don’t park on one suspicious patch and stare at it for five minutes. Move. Compare. A nest-like warm spot should make sense in the building: maybe it sits below an attic trail, beside a pipe chase, or near a gnawed garage seal. A random hot rectangle at 4 feet high may be a wall-mounted TV heat ghost from last night.
Document your confidence level in plain language:
| Confidence | Thermal finding | Required backup |
|---|---|---|
| Low | One weak warm area | Rescan at better time |
| Medium | Warm area plus customer sound report | Exterior entry or droppings |
| High | Thermal anomaly plus droppings, odor, entry path, or borescope view | Treatment and exclusion plan |
| Confirmed | Nest, rodent, or fresh material seen | Cleanup and closure steps |
High confidence is enough to recommend a targeted next step. Confirmed means you saw the thing or proved active use. Customers respect that distinction.
Evidence, Safety, and Limits
Thermal imaging has limits on rodent jobs. It won’t see through concrete block, thick plaster with metal lath, loaded shelving, mirrors, tile, or foil-backed insulation in any useful way. It also won’t tell you whether a warm void contains one mouse, five mice, a warm pipe, a recessed light, or air from a duct until you check.
The safety side is less glamorous, but it matters on paid work. CDC guidance says rodent urine, droppings, and nesting material should not be vacuumed or swept because contaminated particles can become airborne; its cleanup guidance for rodents recommends wetting droppings or nesting material with disinfectant and letting it sit before removal. On heavy infestations, CDC also lists coveralls, gloves, eye protection, shoe protection, and HEPA respiratory protection as added precautions.
So don’t open a wall cavity, find a dirty nest, and let a helper hit it with a shop vac. That can turn a contained job into an exposure problem. Bagging, disinfecting, and controlled removal protect the crew and the customer.
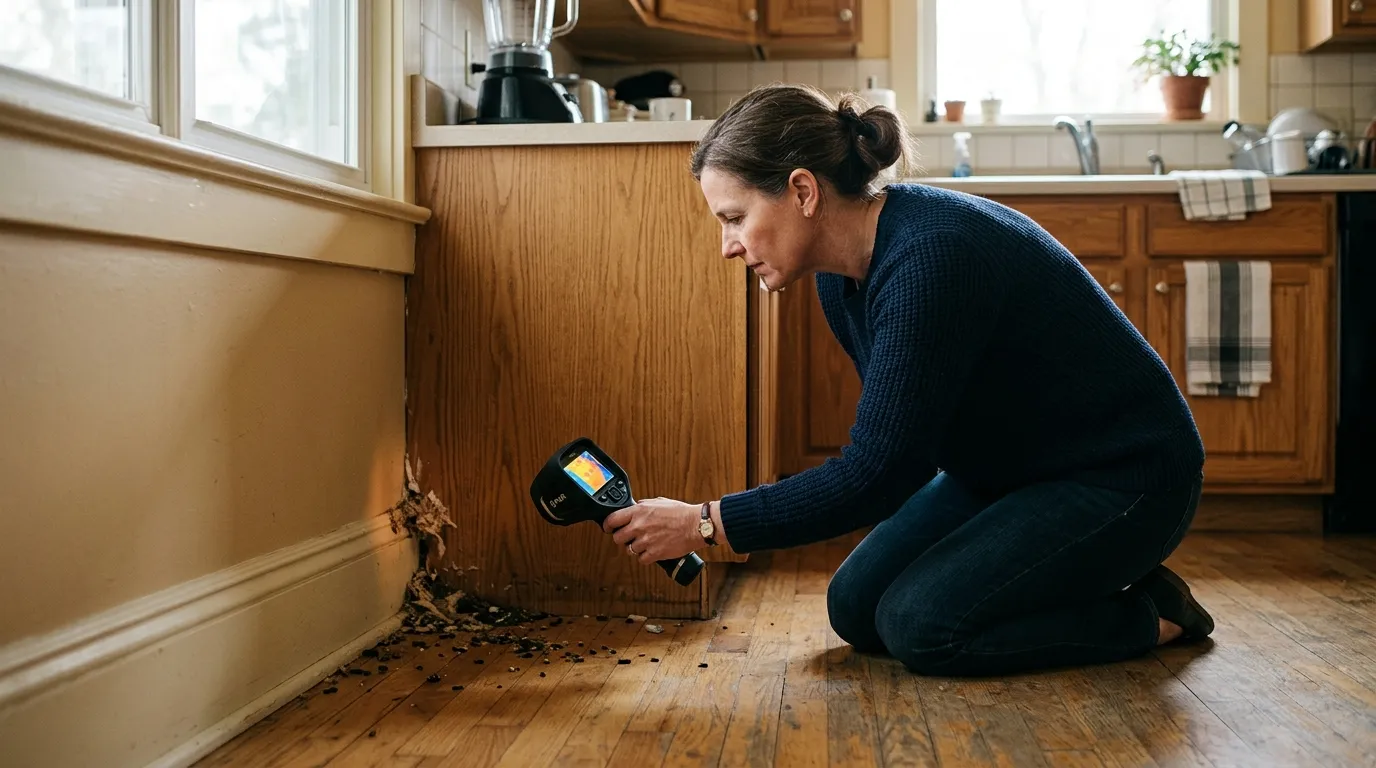
Thermal also shouldn’t replace old-school signs. Fresh droppings beat a vague heat blob. Gnaw marks near a pipe penetration beat a pretty color palette. A smear mark along a baseboard tells you where the animal travels. The thermal image helps you pick where to look first.
Use this “do not overclaim” checklist before you tell a customer you’ve found the nest:
- Did the thermal mark line up with a likely travel route?
- Did the pattern remain visible from more than one angle?
- Did you rule out HVAC, plumbing, sunlight, appliances, and reflections?
- Did you find physical evidence within 6-10 feet of the mark?
- Can you explain the next confirmation step without promising magic?
The best pest control pros sound more credible when they narrow the claim. “This is the strongest suspect wall bay” beats “the nest is definitely right there” unless you have visual confirmation.
Camera Specs for Pros
For wall-void rodent work, sensitivity and resolution matter more than color palettes. A camera with a 256 x 192 thermal sensor can handle close interior scans. A 384 x 288 or 640 x 512 sensor gives you more detail when you’re scanning across a garage, attic, warehouse wall, or multi-family corridor. If the device has a NETD rating at or below 50 mK, it can pick up smaller temperature differences than a rougher entry-level unit.
Phone thermal add-ons are fine for a homeowner checking a drafty door. For paid pest control inspections, a dedicated handheld or monocular-style thermal device is easier to hold steady, faster to wake, and less annoying when your gloves are dirty. Devices like the FLIR ONE Edge Pro or Seek Thermal Compact can help with simple checks, but pros doing repeatable inspections should look at higher-resolution tools and better battery life.
A practical pest-control camera setup should include:
| Spec | Better target | Why it matters |
|---|---|---|
| Thermal resolution | 256 x 192 minimum | Cleaner wall-bay comparison |
| NETD sensitivity | <=50 mK | Finds subtle temperature differences |
| Refresh rate | 25 Hz or higher | Smoother scanning while walking |
| Focus | Adjustable or close-focus friendly | Better cabinet, attic, and baseboard work |
| Image storage | Thermal plus visible photo | Easier customer reporting |
Pixfra builds thermal optics for people who work in dark, low-contrast spaces, so the same strengths that help outdoors also matter indoors: clean target separation, stable handling, and practical field durability. For thermal imaging for pest control pros, the buying question isn’t “Can it make a colorful image?” It should be “Can my tech scan ten wall bays, save evidence, and explain the result without guessing?”
Train your team on false positives before you roll this into service calls. Put a warm water bottle behind drywall scrap. Scan a wall with a known plumbing line. Aim at a window and watch your own reflection. Let new techs make those mistakes in the shop, not in a customer’s kitchen while everyone is staring at the screen.
FAQ
Can thermal find mouse nests?
Thermal can identify likely mouse nesting areas when body heat, disturbed insulation, airflow, or moisture changes the wall surface temperature. It still needs confirmation from droppings, a borescope, traps, odor, or entry-point evidence.
Can thermal see through drywall?
No. Thermal cameras read surface temperature and infrared radiation from the visible surface, so drywall blocks direct viewing of rodents inside the wall. The camera may detect surface patterns caused by activity behind the drywall.
When should pest pros scan?
Scan early morning, late evening, or soon after repeated scratching is reported. Avoid scans right after direct sun, cooking heat, space heaters, showers, or aggressive HVAC cycling because those create false patterns.
What confirms a wall nest?
A confirmed wall nest requires visual evidence, fresh nesting material, droppings, odor, borescope footage, trap activity, or repeated thermal patterns tied to an entry route. Thermal alone should be reported as a suspect location.
If your team is adding thermal to rodent inspections, start with a repeatable scan sheet: complaint time, exterior entry points, thermal image, visible photo, confidence level, and confirmation step. Pixfra thermal optics can help pest control pros make that inspection faster, cleaner, and easier to explain to the customer.