Thermal core module integration is the process of turning a detector-plus-processing core into a sellable thermal monocular, handheld camera, clip-on unit, or OEM device with your housing, software, QA plan, and label. For a US buyer, the project succeeds when you lock the interface, calibration path, temperature claims, firmware rights, and supplier role before tooling starts.
A bare sensor can make a picture. A branded device has to survive returns, reseller questions, firmware updates, FCC review, packaging claims, and a buyer who asks why two units read different temperatures on the same object. That’s where the real work sits.
Thermal Core Module Integration Steps
Thermal core module integration works best when you treat the core as a calibrated imaging engine. The practical workflow is:

1. Freeze use case and price target.
2. Select detector, lens, interface, and SDK.
3. Build SoC, power, housing, and UI.
4. Validate image quality, calibration, and temperature accuracy.
5. Lock production tests.
Start with the product, not the module catalog. A 256 × 192 handheld scanner for home inspection, a 384 × 288 outdoor monocular, and a 640 × 512 vehicle-mounted camera may all use uncooled LWIR cores, yet the integration risk is different. The first project is cost and UX sensitive. The second lives or dies on image tuning, startup time, battery life, and focus feel. The third needs vibration control, connector discipline, and repeatable video output.
The common mistake is buying the lowest-cost “OEM core” because the demo image looks clean on a laptop. Demo benches hide problems. A USB preview in an office doesn’t tell you whether the core keeps contrast after a cold soak, whether NUC interrupts the user at the wrong second, or whether the vendor will give you a stable firmware branch when your first 500-unit order ships.
| Integration layer | Buyer decision | Better choice for B2B devices | Risk if skipped |
|---|---|---|---|
| Sensor/core | Resolution, NETD, frame rate | Pick by use case, not spec sheet rank | Costly core with weak real-world fit |
| Optics | FOV, focus, lens material | Validate with target distance | Blurry edge detail and weak ID range |
| SoC | Raw frame or processed video | Keep core ISP unless you need custom analytics | Long firmware cycle |
| Brand control | UI, housing, label, firmware | Freeze ownership in the PO | Same device sold by the factory |
A core supplier may offer a module, a finished private-label device, and its own retail brand in the same conversation. That isn’t automatically bad. It is risky when the supplier won’t define who owns firmware changes, serial-number history, app assets, calibration files, and channel rights.
If you’re still sourcing at the supplier stage, use a due-diligence step before engineering starts. It fits naturally with our earlier guide on how to vet a thermal optics supplier on alibaba, especially when the listing shows the same housing under six brand names.
Core Specs Before Tooling
Resolution gets attention first, but it rarely answers the whole question. A 640 × 512 core can disappoint if the lens is too wide for the target distance, while a well-tuned 384 × 288 core can feel better in a handheld product because the image starts faster, the battery lasts longer, and the bill of materials stays inside the retail price target.
Look at known module families to set expectations. Teledyne FLIR lists Boson in 320 × 256 and 640 × 512 formats, while FLIR Lepton 3.5 is a 160 × 120 micro module for smaller devices. Seek Thermal’s Mosaic Core is listed in 320 × 240 and 200 × 150 options. Those products sit in different classes. Comparing them by resolution alone is like comparing a phone camera, a dashcam, and a cinema sensor because all three record video.
A practical spec review should include the uncomfortable numbers too: startup time, power draw during shutter events, operating temperature, mechanical tolerance around the lens mount, minimum focus distance, video latency, and firmware change control. Ask for the current datasheet revision and the date. If the vendor sends a cropped screenshot from a trade-show deck, pause.
| Spec | Ask for | Why it matters |
|---|---|---|
| NETD | Value at f/1.0 or stated lens condition | Lower noise helps detail in low-contrast scenes |
| Pixel pitch | 12 µm or 17 µm class | Affects optics size, sensitivity, and cost |
| Spectral range | Usually 8 µm to 14 µm LWIR | Confirms fit for uncooled outdoor thermal imaging |
| Output format | 14-bit raw, YUV, RGB, UVC, MIPI | Defines SoC work and image-control rights |
| Calibration | Factory file, NUC method, dead-pixel map | Decides temperature repeatability and service plan |
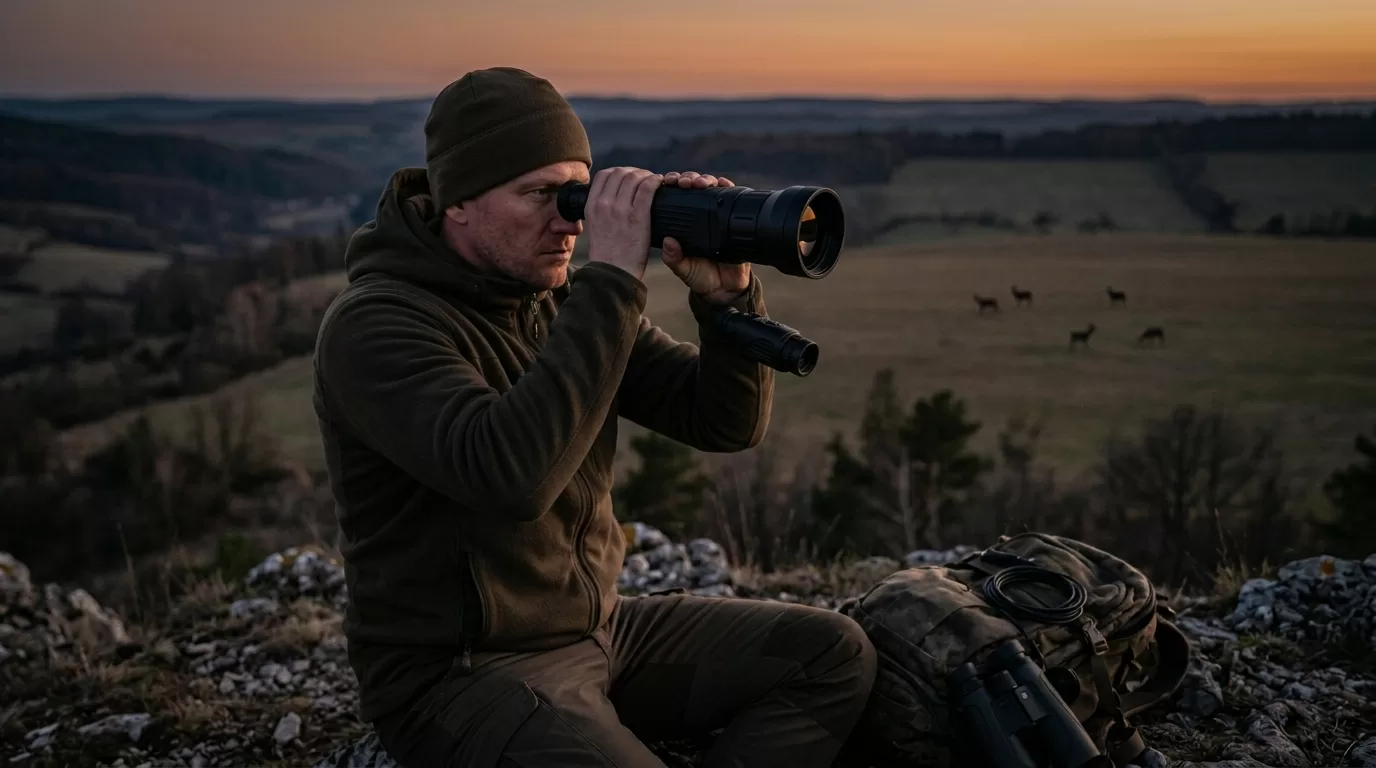
Field of view deserves a full test, not a spreadsheet guess. Place a person, a vehicle, a roof vent, or an electrical cabinet at the actual target distance. Walk away from the monitor. If the product buyer can’t tell what matters in five seconds, a better core won’t save the device.
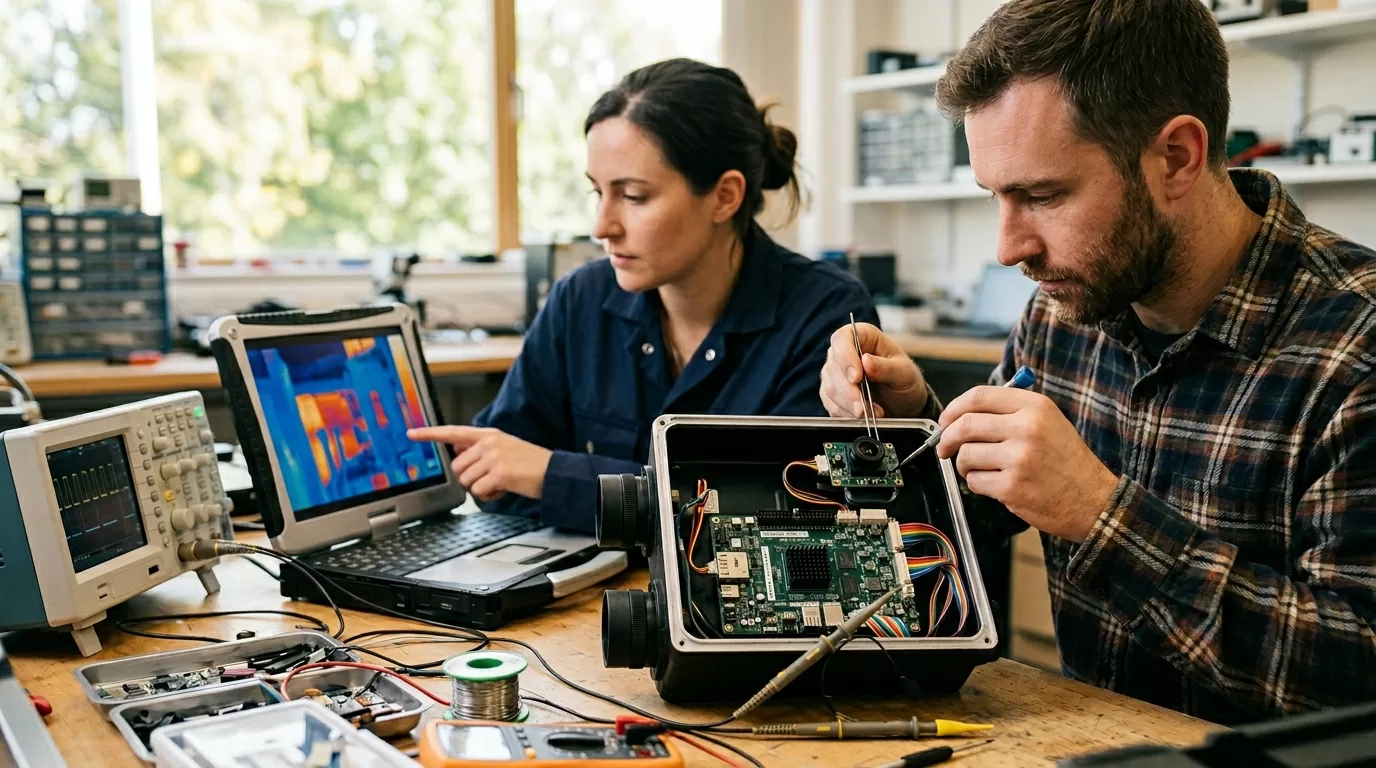
SoC Integration Depth
The SoC question is where OEM projects slow down. Integrators ask for “deep integration,” but that phrase can mean four different jobs: receiving ready-to-display video, controlling the core over UART or I2C, pulling 14-bit radiometric frames, or moving the full image pipeline onto your own processor.
For most branded outdoor optics, processed video from the core is the better starting point. The module’s internal ISP already handles gain, contrast, non-uniformity correction, bad pixels, and color palettes. Your SoC can focus on menus, recording, Wi-Fi, app pairing, battery logic, and overlay graphics. This path ships faster and creates fewer ways to break the image.
Raw-frame integration makes sense when your product value depends on analytics. Examples include fixed security cameras with human/vehicle detection, industrial temperature alarms, multi-sensor fusion with visible light, or a device that needs custom AGC behavior for snow, smoke, or reflective metal. In those cases, negotiate the SDK, radiometric equations, calibration-file access, and firmware support hours before paying for tooling.
| Integration depth | Typical interface | Best fit | Main drawback |
|---|---|---|---|
| Display video | USB UVC, BT.656, HDMI bridge | Fast private-label device | Less control over image pipeline |
| Controlled core | UART, I2C, SPI plus video | Branded handhelds | Vendor commands must stay stable |
| Raw radiometric data | MIPI CSI-2, parallel, USB bulk | Measurement or analytics products | More engineering and test burden |
| Custom ISP | Vendor SDK plus SoC pipeline | High-volume differentiated device | Long validation cycle |
SoC choice should follow the interface. A Rockchip RK3566, NXP i.MX 8M Mini, Qualcomm QCS-series processor, or Ambarella CV-series chip can all be right in a different device. The bad choice is selecting a processor because your last camera project used it, then discovering the thermal core needs a video bridge, level shifting, more boot time, or memory bandwidth you didn’t budget.
One more detail: overlays matter. Reticles, palettes, battery icons, compass data, recording timers, Wi-Fi status, and logo placement should be drawn after the thermal image pipeline unless the core vendor gives you a clean overlay API. If your overlay burns into recorded radiometric frames, service teams will hate that file six months later.
Calibration And Temperature Accuracy
Temperature measurement is the part buyers over-trust. A datasheet line that says “±2°C or ±2%” doesn’t mean your finished device will hit that number on wet concrete, polished aluminum, animal fur, or a small hot component at the edge of the frame. It means the module met the vendor’s stated test condition.

Radiometric calibration usually starts at the factory with blackbody references, dead-pixel correction, and non-uniformity correction tables. After integration, your housing, lens window, heat from the SoC, and startup profile can shift readings. A compact device can warm its own core. The user turns it on, points at a breaker panel, and sees the first minute drift. That feels like a defect even when the sensor is working.
If your product claims human febrile temperature screening, the scope changes. The IEC 80601-2-59:2017 standard and 2023 amendment apply to screening thermographs used under controlled environmental conditions, and the standard sets laboratory characterization test limits. That doesn’t apply to a hunting monocular or a general outdoor viewer. Don’t borrow medical-style claims for a device built for observation.
Use this test plan before approving a pilot run:
1. Measure a matte blackbody reference at two or more object temperatures.
2. Repeat after cold start, 5 minutes, 15 minutes, and 30 minutes.
3. Test at low, room, and high ambient temperatures.
4. Record readings at center, edge, and corner regions.
5. Save raw frames, processed images, device logs, and firmware versions.
Emissivity settings need plain-language UX. If the device lets users choose 0.95, 0.80, or 0.60 with no context, support tickets will follow. Matte electrical tape, human skin, painted walls, and oxidized metal behave differently from shiny stainless steel. For a B2B product, presets beat a blank numeric field.
For thermal core module integration, treat temperature accuracy as a finished-device claim. The core vendor’s calibration is only the first layer. Your lens window, enclosure heat, firmware defaults, and QA station decide whether your brand can defend the number printed on the package.
Supplier Control And Labeling
Private label is fast when the factory has a mature platform. It’s dangerous when “your brand” only means a logo file on the boot screen. The same factory may sell under its own brand, supply an Amazon seller, and offer you an exclusive color. That setup can work for a low-volume catalog test. It won’t work for a distributor building a US dealer network.

Ask for the rights that match your plan. If you’re ordering 100 units for channel testing, a standard firmware branch is fine. If you’re ordering 5,000 units across two years, you need BOM freeze terms, firmware-release notice, spare-part access, calibration-file retention, and a written plan for sensor end-of-life. Verbal promises disappear when the purchasing manager changes.
US labeling deserves special care. The Federal Trade Commission says an unqualified Made in USA claim needs the product to be “all or virtually all” made in the United States, and the FTC’s 2021 Made in USA Labeling Rule brought civil penalties into play for false labels. If your core, PCB, lens, and housing are imported, use a qualified claim or country-of-origin marking that your trade counsel approves.
| Supplier issue | Ask this question | Evidence to request |
|---|---|---|
| Own-brand conflict | Will the same housing sell under your brand? | Channel list and exclusivity terms |
| Firmware control | Who approves updates after shipment? | Release-note process and rollback plan |
| Calibration trace | Can serial numbers map to test data? | Calibration logs by serial number |
| Certification | Which exact model was tested? | Reports matching PCB, radio, enclosure, label |
If the product includes Wi-Fi, Bluetooth, USB, digital clocks, or other RF-emitting electronics, plan the compliance path early. The Federal Communications Commission equipment authorization process can affect import and marketing timing for devices sold in the United States. A radio module with its own grant helps, but enclosure changes, antennas, labeling, and host integration still need review.
This advice doesn’t apply with the same force to a lab-only evaluation kit. If you’re buying 10 modules for internal tests, speed matters more than exclusivity. Just mark the purchase as engineering stock and avoid presenting the prototype as a finished market-ready product.
Production Test Checklist
A branded thermal device needs production tests that catch bad units before customers do. Visual image review alone isn’t enough. A rushed operator can miss a stuck column, an offset temperature reading, a loose lens, a weak battery connector, or a firmware mismatch between the menu and the core.
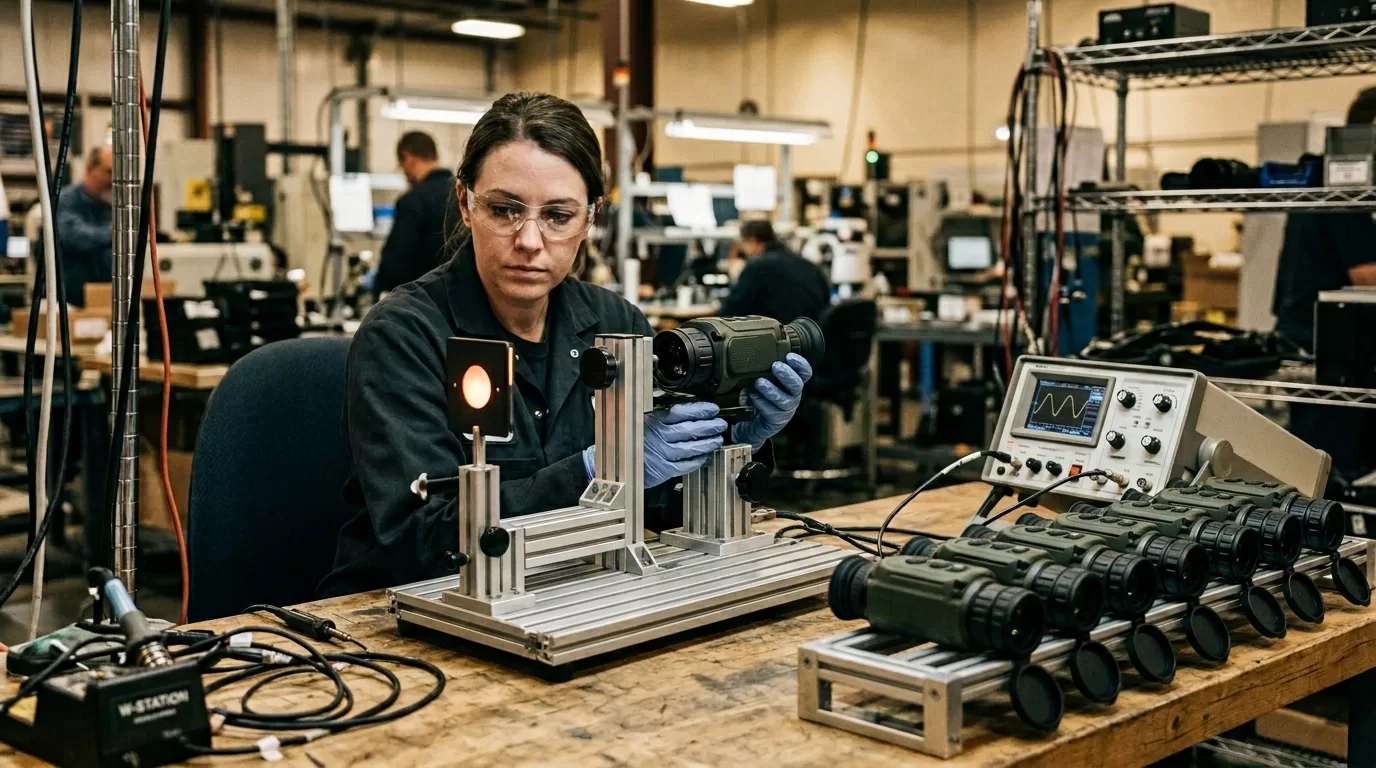
Build the QA station around repeatable targets. Use a controlled thermal reference, a focus target at the real working distance, a dark scene for noise checks, and a known hot/cold object for contrast response. Save the serial number, MAC address if present, core firmware, app firmware, calibration result, and final inspector ID. When a dealer sends back unit 0427, you want facts.
A clean pilot plan looks like this:
1. EVT: prove the sensor, SoC, power, display, and housing concept.
2. DVT: test image quality, temperature drift, drop, vibration, water resistance, and battery heat.
3. PVT: run production fixtures, operator instructions, packaging, labels, and serial tracking.
4. MP: ship only after defect categories and rework limits are written down.
Don’t let packaging outrun engineering. A printed claim like “detects heat signatures at 1,000 yards” needs a target definition. Is that a human-size heat source? A vehicle? A bright object against a cold field? Detection, recognition, and identification are different jobs, and outdoor buyers know the difference once they use the device at night.
The final branded device should feel boring to test. Same startup behavior. Same palette defaults. Same focus feel. Same measurement result inside tolerance. Same app pairing. Boring is good here.
FAQ
What is core integration?
Core integration turns a thermal module into a finished device with optics, SoC, firmware, housing, labels, test fixtures, and support rules. The core supplies thermal imaging; the brand owns the product experience and the claims.
Is a core better than sensor?
A core is better for most branded devices because it includes processing, calibration, and usable video output. A bare sensor fits high-volume teams that can build their own image pipeline and calibration process.
Which SoC interface is best?
Use processed video over USB UVC or MIPI when speed matters. Use raw radiometric output only when your product needs custom analytics, special temperature logic, or deeper control over image processing.
How accurate are thermal readings?
Finished-device accuracy depends on calibration, optics, emissivity, ambient temperature, warm-up time, and firmware. Don’t treat the module datasheet number as a product claim until your own device passes repeatable tests.
Can factories sell your design?
Yes, unless your contract blocks it and your tooling, firmware, housing files, and channel rights are clearly controlled. Private-label buyers should define exclusivity, logo use, firmware ownership, and serial-number records before the first production order.
If you’re planning an OEM thermal optic, handheld thermal camera, or private-label outdoor device, talk to Pixfra before you freeze the module choice. We’ll help you pressure-test the core, SoC path, calibration plan, and supplier terms so the branded product can hold up after launch.