Dropship vs Stock Inventory for Thermal Optics Retailers
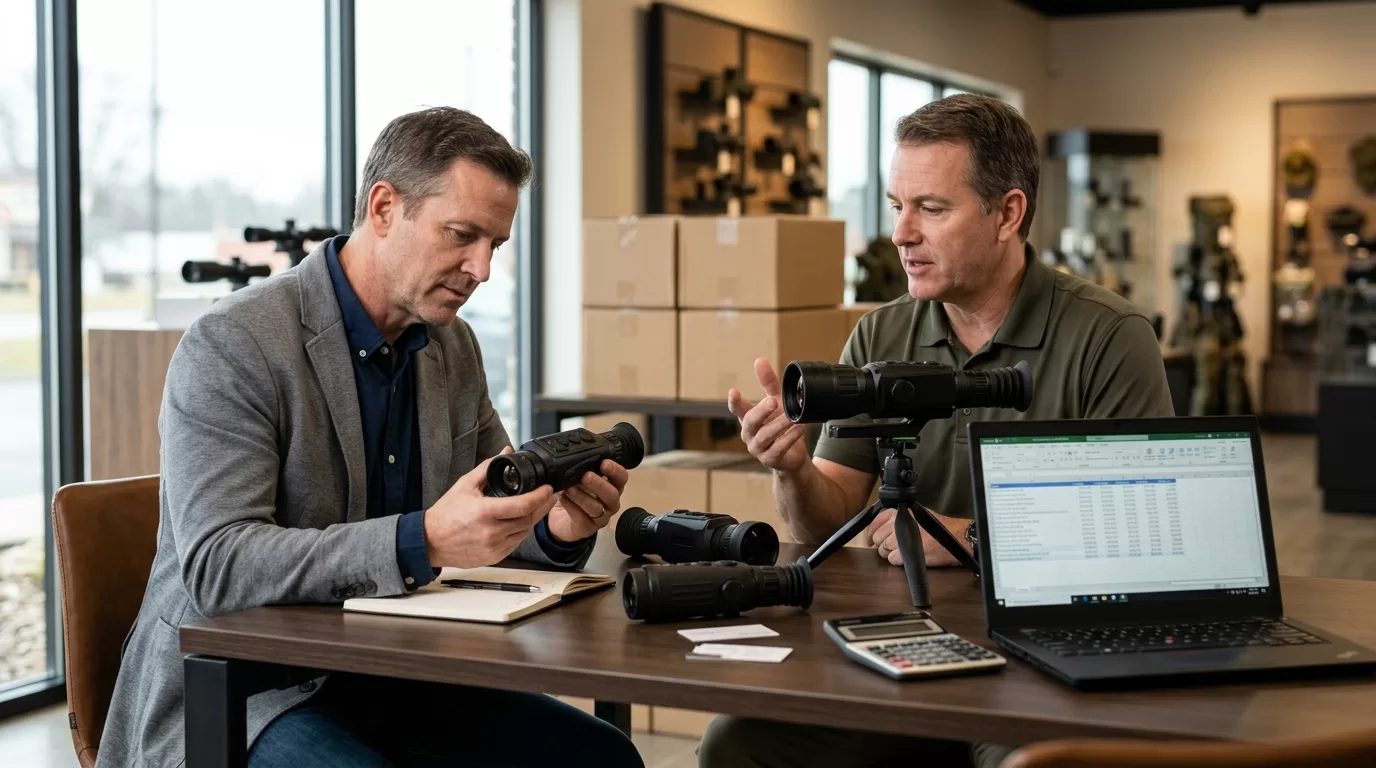
For most US dealers, dropship vs stock inventory for thermal optics retailers comes down to this: stock the SKUs that close urgent sales, and dropship the long-tail SKUs that would sit too long on your shelf. A pure dropship model protects cash but weakens shipping control; a pure stock model gives faster fulfillment and better demos but ties up money in $1,500-$4,000 devices. Dropship vs Stock Inventory Choice Dropshipping works better when you’re testing demand, offering rare lens/core combinations, or protecting cash during the off-season. Stock inventory works better when speed, demos, bundle margin, and trust close the order. Most US thermal optics retailers should run a hybrid: stock fast movers and dropship slow-turn, high-ticket variants. dropship vs stock inventory for thermal — dropship vs stock inventory choice Retail decision Dropship model Stock inventory model Better default Cash tied up Low High Dropship Shipping promise Supplier-dependent Dealer-controlled Stock Gross margin Often thinner Often stronger Stock Demo sales Weak Strong Stock SKU range Wide Limited Dropship Return handling Messier Easier to inspect Stock The reason is simple. Thermal optics are expensive, seasonal, technical, and trust-heavy. A customer buying a 384×288 thermal scope for hog hunting in Texas or a 640×512 monocular for predator control in Nebraska isn’t buying a T-shirt. They want to know whether the image will hold up at 150 yards, whether the mount fits their rifle, whether the app works, and whether the unit ships before Friday. That’s where the Reddit argument gets real. Dropshipping avoids dead inventory, especially when demand shifts from a 25 mm lens to a 35 mm lens or a brand revises firmware mid-season. Stocking gives you control over speed, serial numbers, demos, returns, and accessory bundles. The winner depends on the SKU, not your business philosophy. Use dropship for breadth. Use stock for