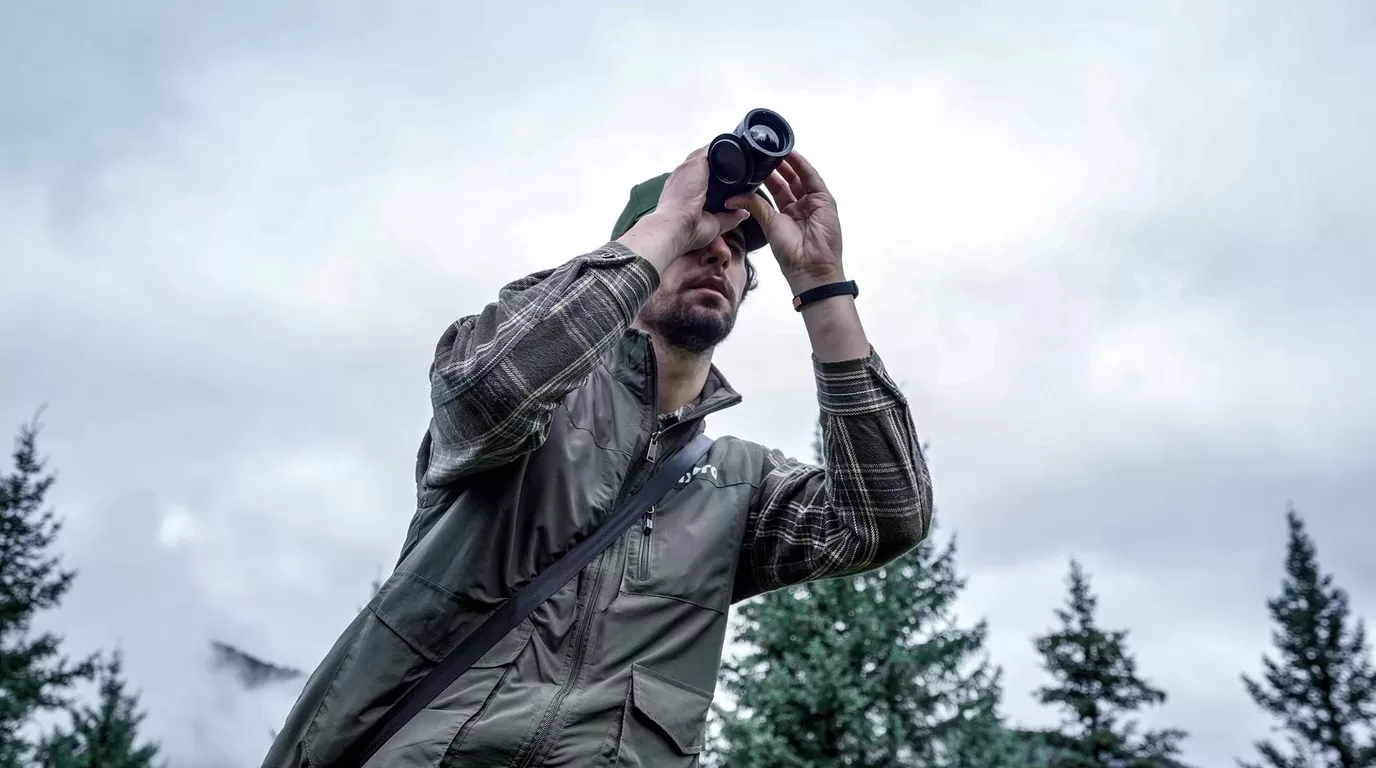
You just unboxed your new thermal device. It looks great, feels solid, and you’re ready to get out in the field. But before you do, there are a few things you need to know. Proper calibration and regular maintenance are what separate a thermal scope that performs well for a decade from one that goes fuzzy after a season. We’ve put this guide together at Pixfra to walk you through everything — from your first power-on to long-term storage. Whether you’re running a thermal scope, a monocular, or a front attachment, these steps apply across the board. What Thermal Calibration Actually Does Let’s clear something up right away: when we talk about calibrating a thermal device, we’re not talking about the same thing as zeroing your scope on a rifle. Calibration — sometimes called NUC (Non-Uniformity Correction) or FFC (Flat Field Correction) — is a sensor-level process that keeps your thermal image clean, even, and free of artifacts. Thermal devices are highly sensitive to temperature changes in their environment, and since temperature fluctuates constantly, the device needs to periodically refresh to accurately measure temperature differences. Without this process, your image starts to look grainy, washed out, or streaked with lines that shouldn’t be there. Here’s the simple version of what happens during calibration. During calibration, the device briefly covers its sensor with a shutter to create a flat, constant temperature reading. The device uses that flat reference to reset how each pixel responds to infrared energy. Think of it like resetting the baseline so your sensor knows what “neutral” looks like again. As the device operates, internal temperature changes cause each pixel to respond slightly differently, creating non-uniformity across the image. Without calibration, the image develops visible artifacts. Once the correction runs, those artifacts disappear and you’re back to a