爱永测试爱永测试爱永测试爱永测试爱永测试爱永测试爱永测试爱永测试爱永测试爱永测试爱永测试爱永测试爱永测试
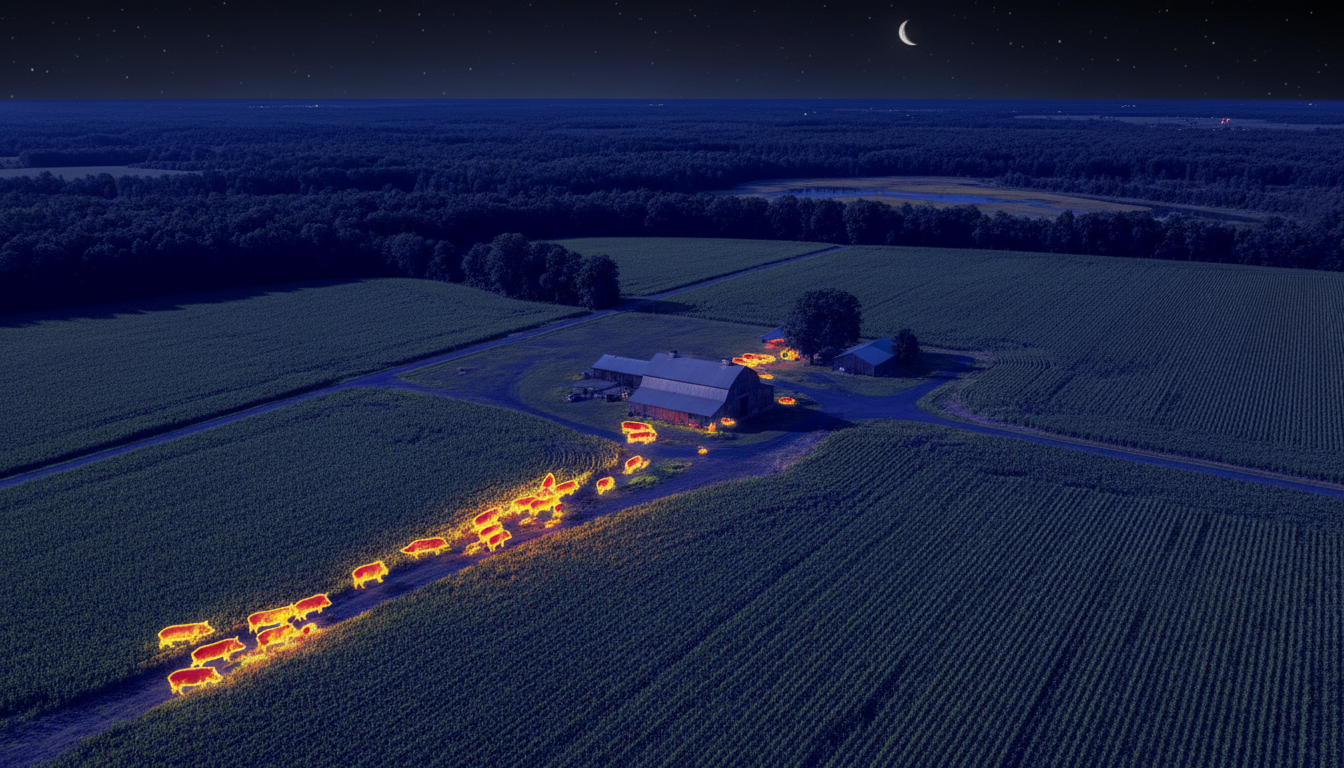
Feral hogs cause over $2.5 billion in agricultural damage across the United States each year. We’ve watched farmers struggle with this invasive species for decades, but traditional hunting methods barely made a dent in the problem. That changed when thermal scope technology became accessible to landowners and wildlife managers.
We’re diving into real-world data from operations using thermal optics for hog eradication. These aren’t theoretical numbers—they’re measurable results from ranches, farms, and commercial properties dealing with serious hog problems. The findings show success rates that traditional methods simply can’t match.
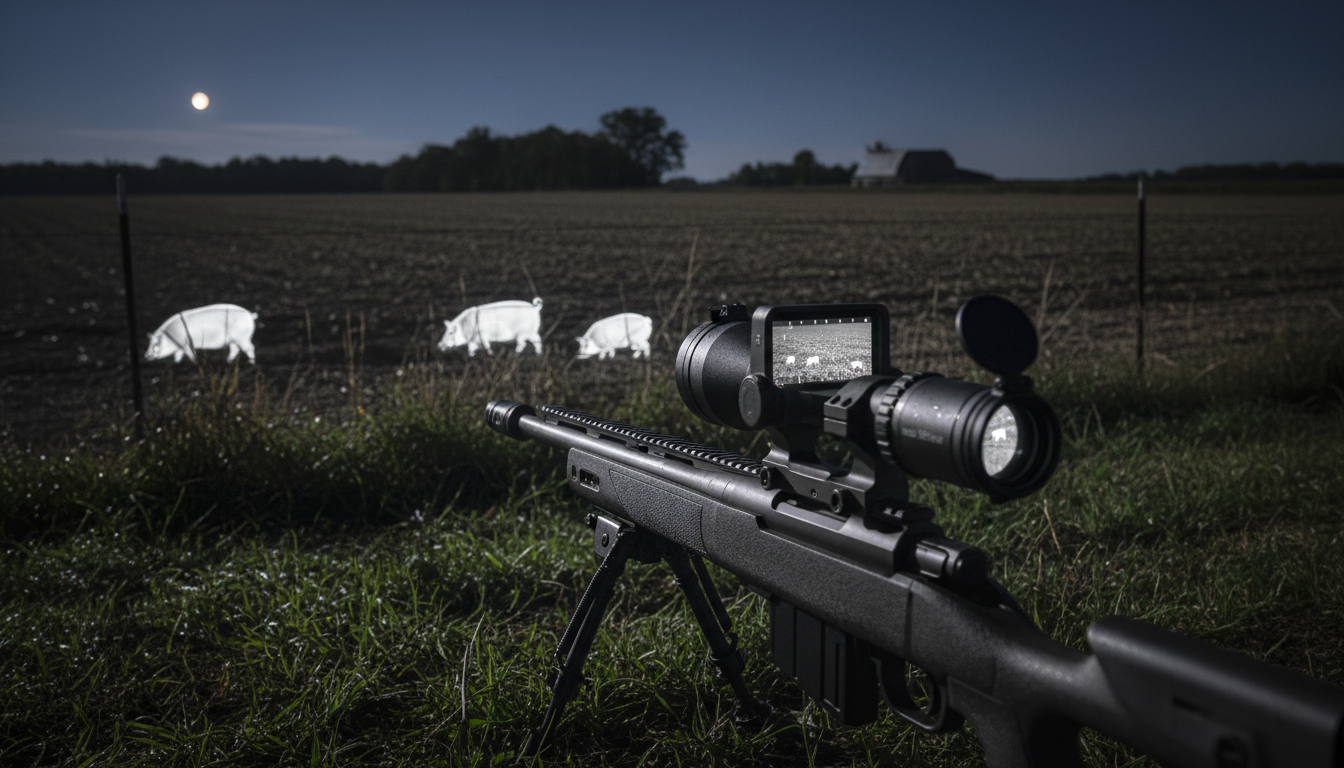
Before thermal technology, landowners tried everything. Daytime hunting reduced populations by maybe 5-10% annually. Hogs learned quickly, becoming strictly nocturnal and avoiding human activity during daylight hours. We’ve seen properties where farmers shot 50-100 hogs per year for a decade without any meaningful reduction in overall numbers.
Here’s the problem: feral hogs are primarily nocturnal feeders, with peak activity between sunset and sunrise. Their poor eyesight doesn’t matter in darkness when their sense of smell provides early warning of approaching humans. Traditional night hunting with spotlights educated survivors without eliminating sounders. Shooting one or two hogs from a group of 20 just made the remaining 18 smarter and more cautious.
The math didn’t work either. A single sow produces two litters per year with 4-8 piglets each. That’s 70% annual population growth. You’d need to remove more than 70% of the population just to maintain current numbers—an impossible target with conventional methods that averaged 15-30% removal rates.
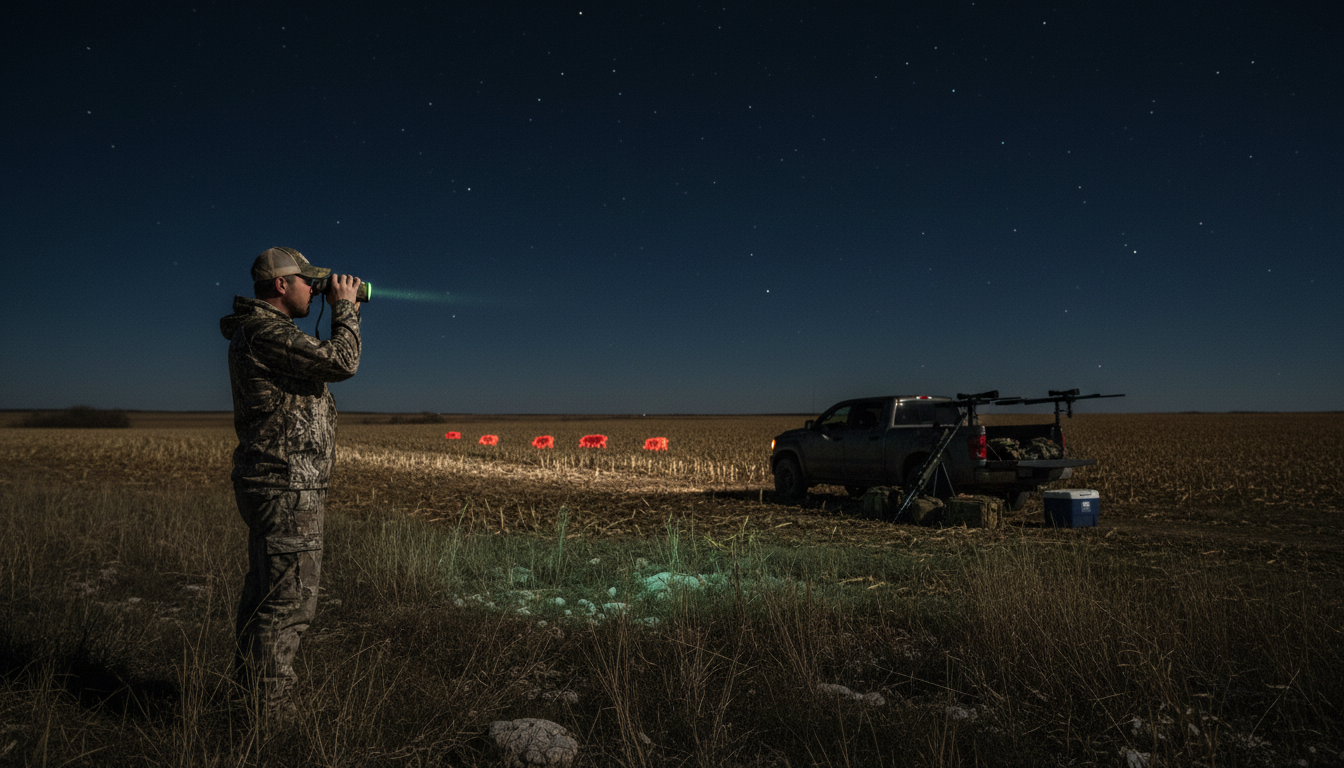
Thermal imaging detects heat signatures emitted by living creatures. Hogs maintain body temperatures around 101-103°F, creating distinct thermal signatures against cooler backgrounds. This technology works in complete darkness, through light fog, and partially through vegetation—conditions where traditional night vision fails completely.
We’ve tested multiple lämpömonokulaari systems alongside rifle-mounted thermal scopes. The combination allows operators to scan large areas quickly with handheld units like the Sirius HD, then switch to weapon-mounted optics for precision shooting. This two-device approach increased detection efficiency by roughly 60% compared to scope-only setups.
Detection ranges matter more than most people realize. Quality thermal scopes detect hogs at 500-800 yards, though identification ranges for ethical shot placement run closer to 200-300 yards. This extended detection gives operators time to assess sounder size, plan approaches, and position for maximum removal rates.
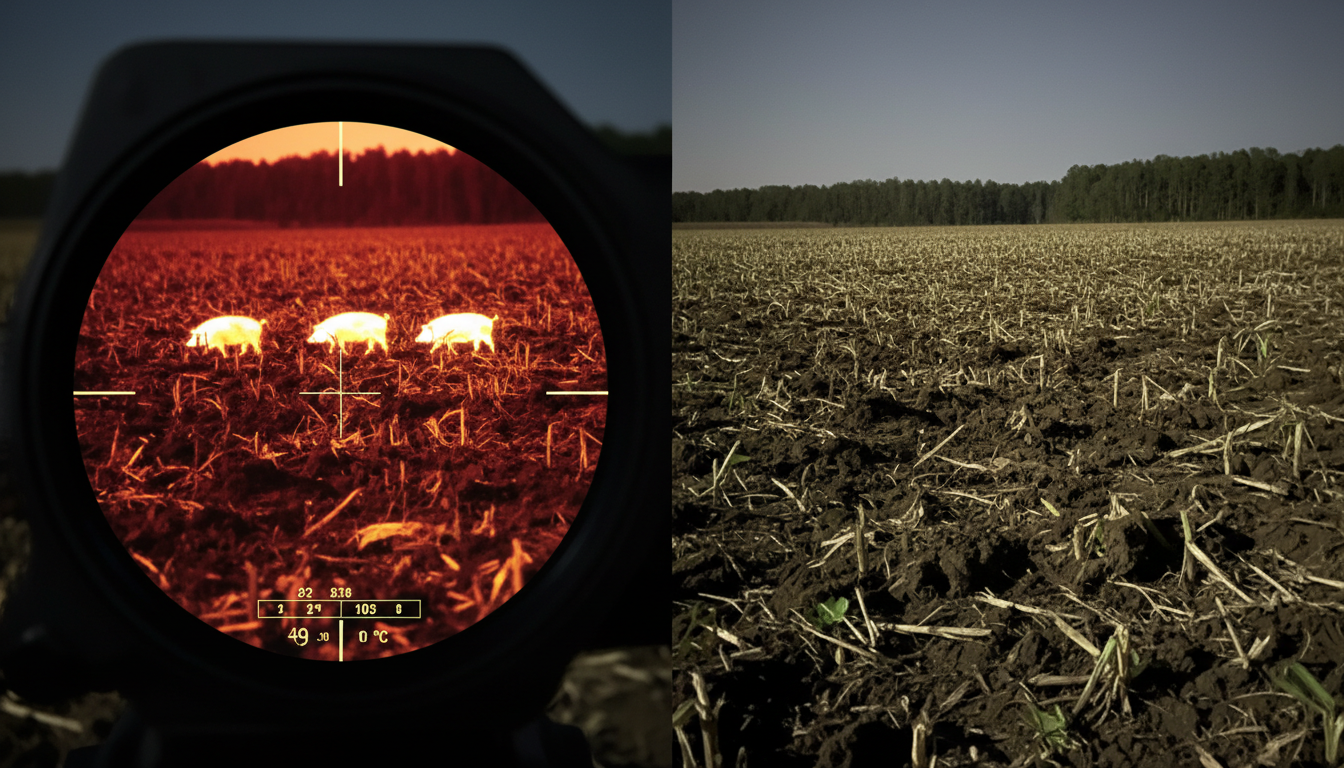
A 2,400-acre agricultural operation in South Texas provides our most detailed case study. The property runs cattle operations and grows hay, with documented crop damage exceeding $85,000 annually from feral hog activity. Previous control efforts using daytime hunting and spotlight operations removed approximately 60 hogs per year without reducing overall population or damage levels.
The operation implemented systematic thermal scope eradication in spring 2024. They equipped two operators with rifle-mounted thermal scopes featuring 640×512 resolution and integrated laser rangefinders. Supporting equipment included handheld thermal monoculars for scanning and suppressors to avoid educating survivors with gunfire.
Results from the first 8-month period:
The operation tracked sounder elimination specifically because removing entire family groups prevents method education. When operators killed one or two hogs from a group, survivors learned avoidance behaviors. Complete sounder removal eliminated this problem entirely. Of 38 sounder encounters, 32 resulted in complete elimination of all visible hogs.
We gathered data from 14 properties across Texas, Oklahoma, and Arkansas implementing thermal scope eradication programs between 2023-2025. Properties ranged from 800 to 5,200 acres with varying terrain types and initial hog population densities.
All operations used similar protocols:
Aggregate results across all 14 properties:
These numbers represent massive improvements over traditional methods. Properties that previously removed 40-80 hogs annually were now removing 150-300 hogs in similar timeframes. More importantly, they saw actual population reductions reflected in decreased field damage and fewer hog sightings during routine property inspections.
Not all thermal scopes performed equally. We tracked which technical specifications correlated with better field results. Resolution made the biggest difference—operators using 640×512 sensors consistently outperformed those with 384×288 units in both detection rates and ethical shot placement at distance.
Detection range specifications proved less reliable than manufacturers claimed. Advertised 1,800-yard detection ranges meant “detecting a heat signature exists” not “identifying it as a hog suitable for shooting.” Practical identification ranges for ethical shots maxed out around 250-350 yards even with premium optics.
Features that measurably improved results:
Operators using equipment like the Pegasus 2 LRF with built-in rangefinding reported 25% higher first-shot success rates compared to scopes requiring separate ranging tools. This translated directly to higher sounder elimination percentages because missed first shots scattered groups before follow-up engagement.
We documented three primary thermal hunting tactics across participating operations: vehicle-based patrol shooting, spot-and-stalk approaches, and stationary observation from elevated positions. Each showed different success rates and applications.
Vehicle-based operations produced highest overall numbers. Operators drove slowly (5-15 mph) along field edges and access roads while scanning with thermal monoculars or handheld units. Upon detecting hogs, they’d approach within 75-150 yards using vehicles, then shoot from stable positions using vehicle supports or shooting sticks. This method averaged 8-12 hogs per successful night.
Spot-and-stalk approaches worked better for cautious sounders or pressured areas. Operators detected hogs from distance, then stalked within shooting range on foot using terrain features and wind direction. This method took longer per engagement but achieved 92% sounder elimination rates when operators reached shooting positions—the highest of any tactical approach.
Stationary observation from towers or elevated stands proved least effective. While comfortable and allowing long observation periods, hogs’ unpredictable movement patterns meant operators spent significant time watching empty fields. This approach averaged just 2-4 hogs per night across properties that tested it.
Wind direction mattered more than expected. Hogs’ exceptional sense of smell detected human scent at 200+ yards with favorable wind conditions. Operations that religiously checked wind and approached from downwind positions averaged 40% higher sounder elimination rates than those that ignored wind considerations.
Thermal scopes represent significant upfront investment—quality units range from $2,500 to $6,000 for rifle-mounted systems. We calculated actual return on investment for agricultural operations based on prevented crop damage and reduced infrastructure costs.
A 1,200-acre hay and cattle operation in Oklahoma documented their costs and savings:
Initial Investment:
Documented Savings:
The operation recovered their entire thermal scope investment in under 3 months of use. Projected 5-year savings exceeded $120,000 if damage reduction rates held steady. Even accounting for equipment maintenance and ammunition costs, the ROI substantially exceeded alternative control methods including trapping or commercial helicopter operations.
Commercial hog control operators using thermal scopes reported even better economics. Their efficiency increased by 300-400%, allowing single operators to manage properties that previously required multiple hunters with conventional equipment.
Thermal scope effectiveness varied by season, though not as dramatically as we initially expected. Summer operations faced challenges when ambient temperatures approached hog body heat, reducing thermal contrast. Operators compensated by hunting during cooler hours after midnight when temperature differentials improved.
Winter provided optimal thermal conditions with maximum contrast between hogs and backgrounds. However, shorter nights and reduced hog activity during extreme cold snaps limited opportunities. Properties in southern climates maintained year-round operations, while northern locations saw 40-50% reduced winter activity.
Spring planting season produced highest return rates for agricultural operations. Hogs concentrated on freshly planted fields, making them predictable and accessible. Operations focused thermal scope efforts during 6-8 week spring windows removed 60-70% of annual totals during these concentrated periods.
Summer heat required equipment adaptations. Battery life decreased in high temperatures—operators carried 2-3 spare battery sets compared to one set during moderate weather. Some thermal scopes experienced performance degradation above 95°F ambient temperature, though premium units maintained functionality across all tested temperature ranges.
Thermal scopes aren’t silver bullets. We documented several limitations and challenges that affected real-world results. Target identification at extended distances remained problematic—thermal signatures show heat, not details. Operators needed closer approaches than detection ranges suggested to confirm targets as hogs rather than deer, cattle, or other animals.
Heavy vegetation reduced effectiveness significantly. While thermal imaging penetrates light brush better than night vision, dense forest canopy or thick undergrowth blocked heat signatures completely. Properties with 40%+ forest cover saw 35-50% lower hog removal rates than open terrain locations using identical equipment and tactics.
Legal restrictions limited applications in some states. While most southern states allow night hunting with thermal optics on private land for feral hogs, several jurisdictions restrict the technology or require special permits. Georgia, for example, permits night hog hunting but with specific regulatory restrictions on optic types depending on county regulations.
Weather affected operations more than anticipated. Heavy rain, dense fog, and high humidity reduced detection ranges by 30-40%. Operators in coastal regions or high-rainfall areas averaged fewer productive nights per month compared to drier inland locations. Wind speeds above 20 mph created enough vegetation movement to generate false signatures and complicate target identification.
Our case study data shows thermal scopes transformed feral hog eradication from a frustrating losing battle into a manageable program. Success rates exceeding 85% for sounder elimination represent massive improvements over traditional methods that struggled to reach 40%.
The numbers tell the story: properties using systematic thermal scope programs reduced hog populations by 70-90% within first seasons. Crop damage decreased proportionally, with documented savings often exceeding $20,000-$40,000 annually on mid-sized agricultural operations. First-year return on investment averaged 300-500% based on prevented damage alone.
But here’s the thing—thermal scopes aren’t magic. They’re tools that require skill, planning, and consistent application. The most successful operations we studied treated hog eradication as ongoing wildlife management rather than occasional hunting trips. They maintained detailed records, tracked results, and continuously refined tactics based on what worked.
For landowners dealing with serious hog problems, the data supports thermal scope investment. When you’re looking at $10,000-$50,000 in annual damage, spending $4,000-$6,000 on equipment that can reduce that damage by 70%+ isn’t a gamble—it’s smart business. The technology works. The results prove it.
What success rate can I realistically expect using thermal scopes for hog control?
Based on our case study data, trained operators using quality thermal equipment (640×512 resolution or better) averaged 85% sounder elimination rates when engaging entire groups. Properties implementing systematic programs removed 150-300 hogs in first-year efforts, representing 60-80% population reductions on most properties. Individual results vary based on terrain, hog population density, and operator skill level. Expect a learning curve for the first 3-5 outings as you develop effective tactics for your specific property.
How much does a complete thermal scope setup cost for hog eradication?
Quality thermal rifle scopes suitable for hog control range from $2,500 to $6,000. A complete setup including the scope, proper mounting system, handheld thermal monocular for scanning, shooting sticks or bipod, spare batteries, and ammunition runs $4,000-$8,000 depending on equipment choices. Mid-range setups around $4,500-$5,500 provide excellent results for most agricultural operations. Based on prevented crop damage, typical ROI occurs within 3-6 months on properties with active hog problems.
Can thermal scopes see hogs through thick forest and heavy brush?
Thermal imaging penetrates light brush and vegetation better than night vision, but heavy forest canopy and thick undergrowth significantly reduce effectiveness. Our case studies showed properties with 40% or more forest cover experienced 35-50% lower hog removal rates compared to open terrain locations. Thermal works best in agricultural fields, pastures, cleared areas, and light cover. Dense forests require different tactics including trail watching at transition zones between heavy cover and open feeding areas.
What’s the difference between 384×288 and 640×512 resolution thermal scopes?
Resolution directly impacts your ability to identify targets at distance and make ethical shots. In our field testing, operators using 640×512 resolution averaged 30% higher harvest rates than those with 384×288 units. The higher resolution provides clearer target identification at 200-300 yards, reducing misidentification risks and improving first-shot success rates. For serious hog eradication programs, 640×512 represents the minimum recommended resolution. Budget models with 384×288 work but limit effective range and target identification capabilities.
Are thermal scopes legal for night hunting feral hogs in my state?
Most southern states including Texas, Oklahoma, Arkansas, Louisiana, Mississippi, Alabama, and Florida allow thermal scope use for night hog hunting on private land without restrictions since feral hogs are classified as invasive pests. Georgia permits night hog hunting but with some county-level restrictions. Several northern states restrict night hunting regardless of equipment type. Always verify current regulations with your state wildlife agency before purchasing equipment or conducting night operations. Laws change frequently as thermal technology becomes more common.
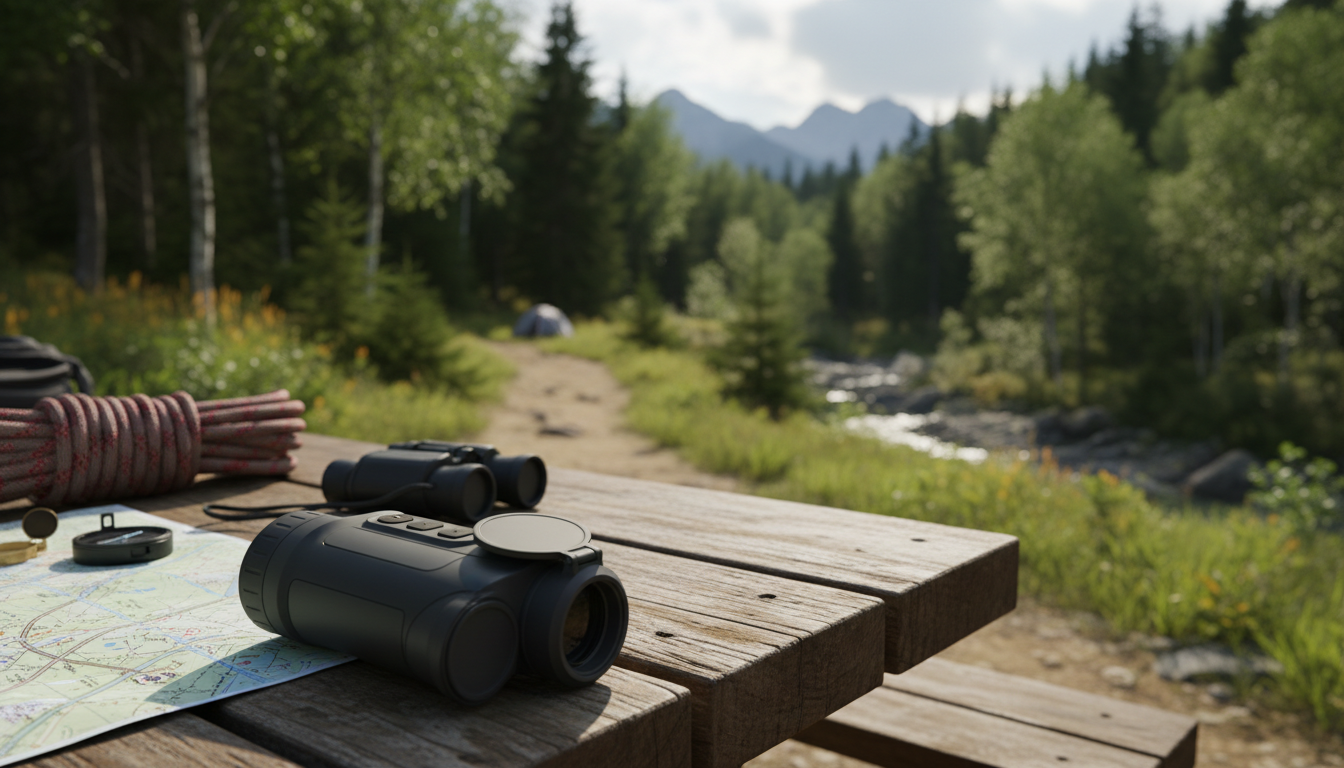
Useimmat ihmiset luulevat, että lämpökamerat on tarkoitettu vain metsästäjille, jotka jäljittävät riistaa pimeässä. Mutta asia on näin: näillä laitteilla on kymmeniä käytännöllisiä käyttötarkoituksia, jotka voivat tehdä elämästäsi helpompaa, turvallisempaa ja kustannustehokkaampaa. Olipa kyseessä sitten vesivuotojen havaitseminen kotona tai karjan tarkkailu yöllä, lämpökuvaus avaa mahdollisuuksia, jotka ulottuvat paljon metsän ulkopuolelle.
Esittelemme sinulle seitsemän käytännön käyttötapaa, jotka osoittavat, kuinka monipuolisia nämä kädessä pidettävät laitteet todellisuudessa ovat. Ja jos olet kiinnostunut miten lämpökuvaus oikeastaan toimii, lämpömonokulaarit havaitsevat infrapunasäteilyä – eli käytännössä lämpöä – ja muuntavat sen silmille näkyviksi kuviksi.
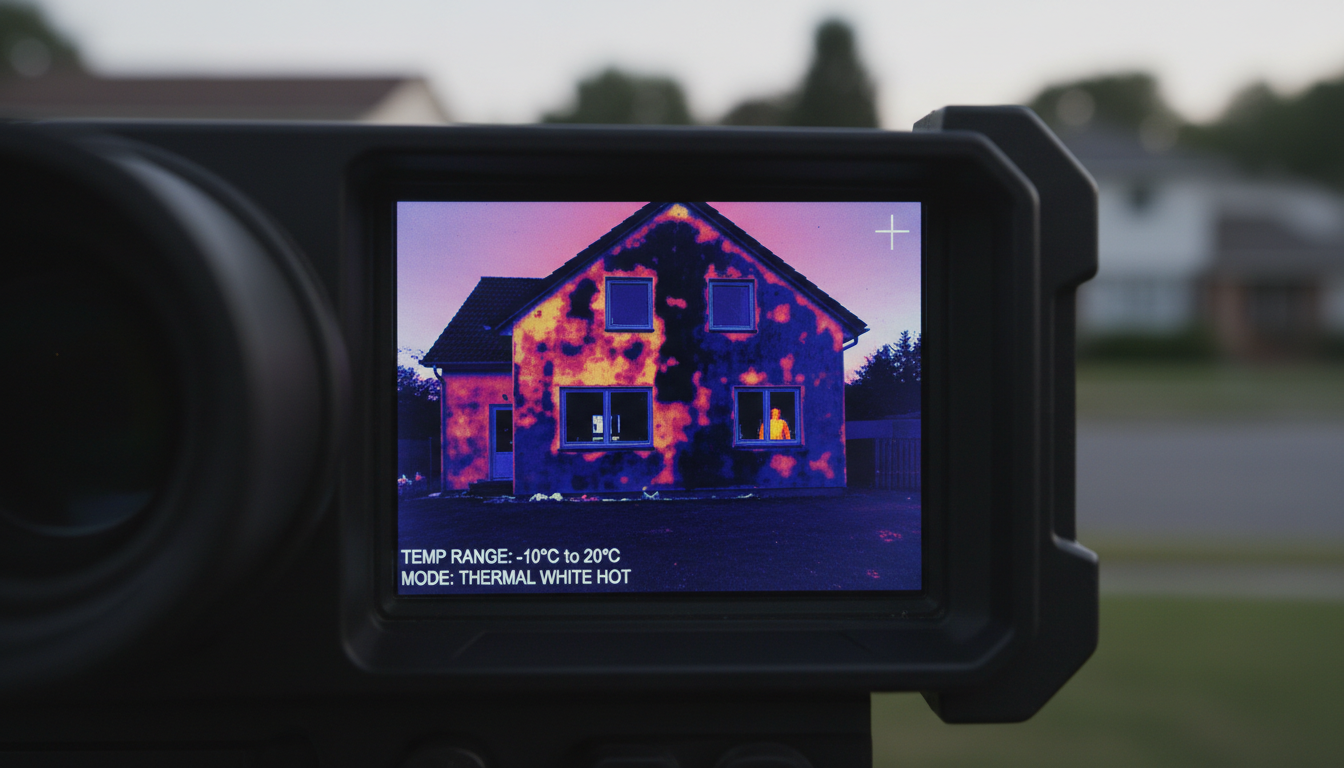
Lämmityslaskusi on korkea, mutta et tiedä, mistä lämpö karkaa. Lämpökamera ratkaisee tämän ongelman muutamassa minuutissa.
Kävele talosi ympäri lämpökameran kanssa, niin huomaat heti kylmät kohdat, joissa eristys puuttuu tai on huonontunut. Ikkunat ja ovet, joita ei ole tiivistetty kunnolla, näkyvät näytöllä lämpötilaeroina. Voit tarkistaa seinäonteloiden aukot ilman, että sinun tarvitsee purkaa mitään.
Tämä toimii myös ympäri vuoden. Kesällä huomaat, mistä viileä ilma vuotaa ulos ja kuuma ilma pääsee sisään. Eräs talonomistaja säästi yli $400 vuodessa, kun hän löysi ja korjasi lämpökuvauksella havaitsemansa eristysaukot. Laite maksaa itsensä takaisin jo muutaman vuoden kuluttua alhaisempien energiakustannusten ansiosta.
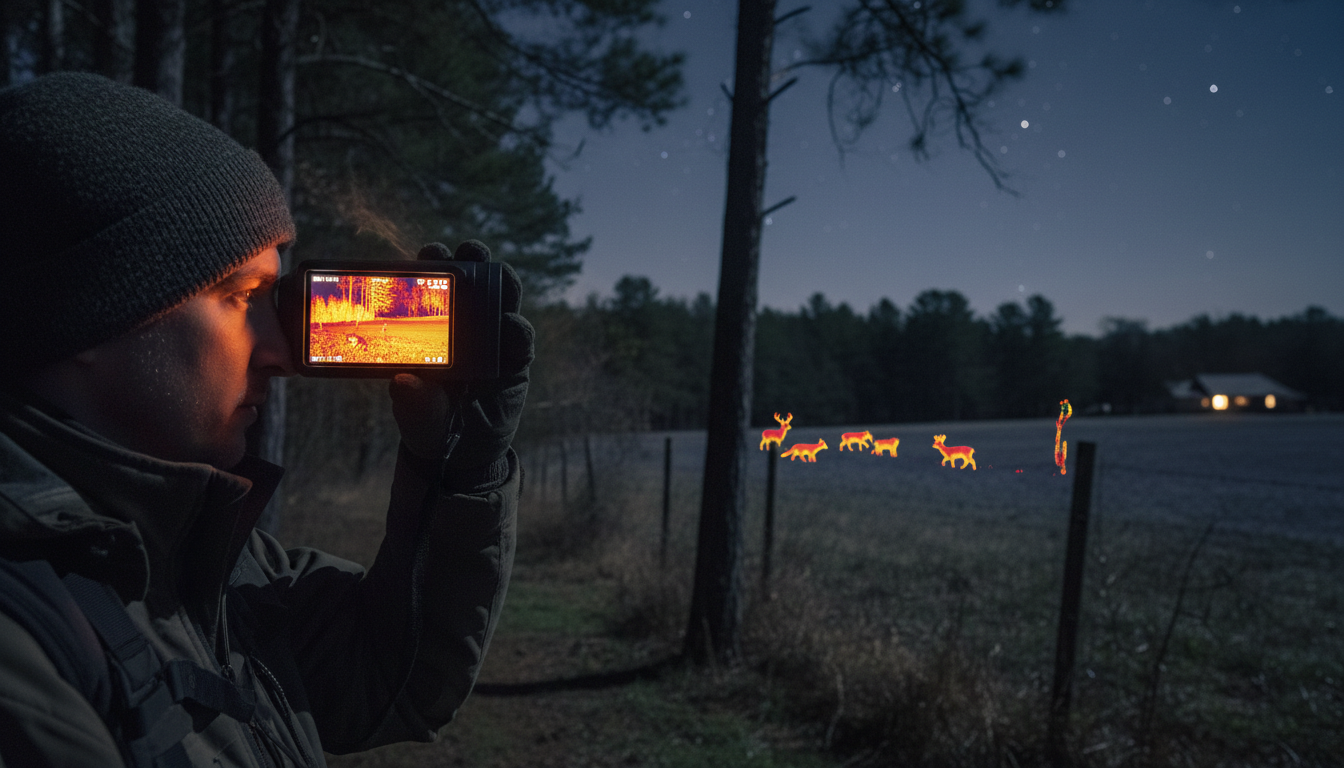
Mikään ei voita lämpökameraa, kun haluat pitää silmällä kiinteistöäsi pimeän tultua. Perinteiset valvontakamerat eivät toimi hyvin hämärässä, mutta lämpömonokulaarit toimivat täydellisesti täydellisessä pimeydessä.
Voit tarkkailla tonttiasi ilman, että kukaan huomaa näkyviä valoja. Ihmisten tai eläinten lämpösignaalit erottuvat selvästi viileämmästä taustasta, joten voit havaita tunkeilijat, kodin lähellä olevat villieläimet tai muut epätavalliset tapahtumat tontillasi. Olemme havainneet, että esimerkiksi seuraavanlaiset mallit Pixfra Sirius HD tai Pegasus 2 LRF tarjoavat erinomaiset tunnistusalueet kiinteistöjen valvontaan.
Monet kiinteistönomistajat käyttävät lämpömonokulaareja tarkistaakseen aidat, ulkorakennukset ja tontin rajat ilman, että heidän tarvitsee kiertää koko aluetta jalkaisin. Yhdestä näköalapaikasta käsin voi tarkistaa suuret alueet nopeasti, jolloin kierrokset sujuvat nopeammin ja turvallisemmin.
Olitpa sitten ostamassa taloa tai remontoimassa nykyistä kotiasi, lämpökuvausmonokulaarit paljastavat piilevät ongelmat ennen kuin niistä kehkeytyy kalliita katastrofeja.
Seinien takana olevat vesivuodot näkyvät lämpötilan poikkeamina. Ylikuumenuvat sähköpiirit – jotka muodostavat palovaaran – näkyvät kuumina pisteinä. Seinien sisään jäänyt kosteus, joka johtaa homeen muodostumiseen, luo selkeitä lämpökuvioita. Ammattimaiset talotarkastajat käyttävät lämpökameraa säännöllisesti, mutta sinun ei tarvitse palkata tarkastajaa jokaista tarkastusta varten.
Lämpökamerat auttavat myös paikantamaan seinien kantopalkkeja ilman, että joudutaan poraamaan koereikiä. Niiden avulla voidaan havaita huonosti tiivistetyt ilmakanavat, katon vuotokohdat ja perustuksen ongelmat. Eräs tuntemamme urakoitsija käyttää lämpökuvausta jokaisella työmaalla varmistaakseen eristyksen asennuksen ennen seinien sulkemista. Sen avulla on havaittu virheitä, joiden korjaaminen olisi myöhemmin tullut maksamaan tuhansia.
Voit tarkkailla yöllisiä eläimiä häiritsemättä niiden luonnollista käyttäytymistä. Lämpökameramonokulaarien avulla voit tarkkailla villieläimiä, jotka ovat aktiivisia silloin, kun normaalisti nukut – tai kun on yksinkertaisesti liian pimeää nähdä mitään.
Lepakot, ketut, pesukarhut ja muut yöllä aktiiviset eläimet näkyvät selvästi lämpökameran kuvissa. Tutkijat käyttävät tätä tekniikkaa eläinten käyttäytymisen, populaatioiden koon ja liikkumistottumusten tutkimiseen häiritsemättä eläimiä tai niiden elinympäristöä. Se sopii erinomaisesti myös lintuharrastajille, jotka seuraavat pöllöjä tai muita yöllä aktiivisia lajeja.
Jos harrastat villieläinvalokuvausta tai luonnon dokumentointia, lämpökameramonokulaarit auttavat sinua löytämään kohteet ensin, minkä jälkeen voit vaihtaa kameraasi, kun olet paikallistanut ne. Pixfra Arc LRF tarjoaa erinomaisen kantaman luonnonhavainnointiin ja on samalla riittävän kevyt pitkäaikaiseen kenttäkäyttöön.
Kun joku on eksynyt tai loukkaantunut, jokainen minuutti on tärkeä. Lämpökamera parantaa etsintä- ja pelastustoimien onnistumisprosentteja huomattavasti, sillä se havaitsee kehon lämmön etäisyyksiltä, joilta se olisi mahdotonta taskulamppujen tai yönäkölaitteiden avulla.
Etsintäryhmät pystyvät kartoittamaan laajoja alueita nopeasti, jopa harvassa aluskasvillisuudessa tai täydellisessä pimeydessä. Ihmisen lämpösignaali erottuu selvästi viileämmästä ympäristöstä, minkä ansiosta hänet voidaan havaita tilanteissa, joissa hän olisi paljaalla silmällä näkymätön. Tämä toimii metsissä, vuorilla, kaupunkialueilla – missä tahansa, missä joku saattaa tarvita apua.
Hätäpalvelujen työntekijät käyttävät lämpömonokulaareja paikantaakseen romahtaneisiin rakennuksiin loukkuun jääneitä ihmisiä, erämaissa eksyneitä retkeilijöitä tai savuisissa tiloissa olevia henkilöitä. Teknologia on pelastanut lukemattomia ihmishenkiä lyhentämällä etsintäaikaa monissa tapauksissa tunneista minuutteihin.
Maanviljelijöillä ja karjankasvattajilla on kymmeniä käyttötarkoituksia lämpömonokulaareille, jotka säästävät aikaa ja ehkäisevät tappioita.
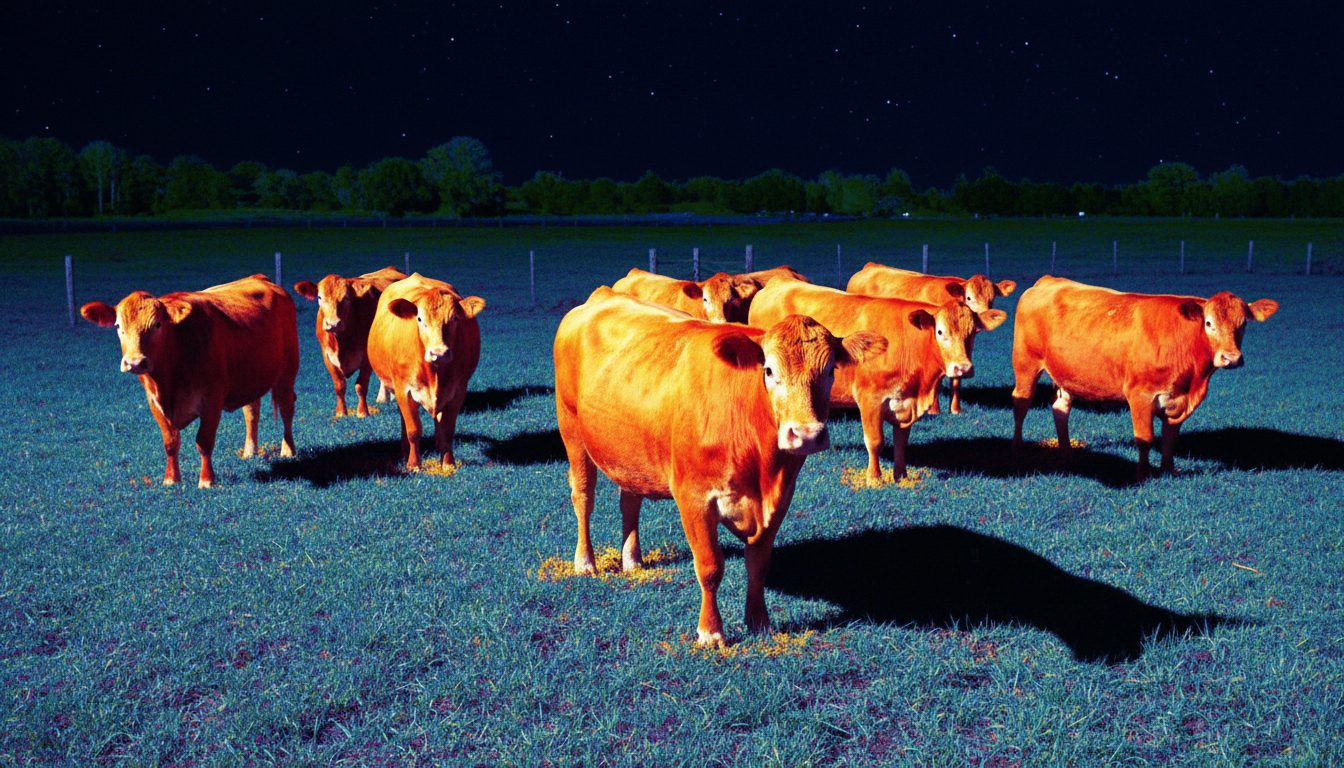
Tarkista eläimet yöllä häiritsemättä karjaa. Huomaa lehmä, joka on erkaantunut laumasta tai makaa, vaikka sen ei pitäisi. Tunnista sairaat eläimet kuumeen avulla – kohonnut ruumiinlämpö näkyy välittömästi lämpökuvissa. Voit tarkistaa suuret laidunalueet nopeasti ilman, että sinun tarvitsee ajaa tilasi jokaiseen kolkkaan.
Lämpökuvaus auttaa myös saalistajien torjunnassa. Kojootit, villisiat ja muut karjaa uhkaavat eläimet näkyvät selvästi jopa pitkän matkan päästä. Jotkut karjatilalliset käyttävät lämpömonokulaareja poikimiskaudella tarkistaakseen raskaana olevia lehmiä yöllä ilman, että ne säikähtävät valojen tai ajoneuvojen melun vuoksi. Pixfra Draco tarjoaa vankkaa suorituskykyä maatalouskäyttöön kohtuulliseen hintaan.
Palomiehet hyödyntävät lämpökameraa pelastaakseen ihmishenkiä ja tehdäkseen turvallisempia päätöksiä vaarallisissa tilanteissa. Teknologia on kuitenkin hyödyllistä myös palontorjunnassa ja palojen varhaisessa havaitsemisessa.
Metsänhoitohenkilöstö käyttää lämpökameroita tulipalojen varhaiseen havaitsemiseen – joskus ne havaitaan jo ennen kuin savua on edes näkyvissä. Lämpökohdat, jotka saattavat syttyä uudelleen tulipalon sammuttamisen jälkeen, näkyvät selvästi. Niiden avulla voidaan tarkistaa nopeasti laajoja alueita ja varmistaa, että tulipalo on täysin sammunut.
Aktiivisissa palontorjuntatilanteissa lämpökuvauslaitteet auttavat paikantamaan savuisissa rakennuksissa loukkuun jääneitä ihmisiä ilman, että pelastajien tarvitsee mennä vaarallisille alueille. Ne tunnistavat rakennuksen kuumimmat kohdat, mikä auttaa pelastushenkilöstöä kohdentamaan toimensa tehokkaammin. Teknologia toimii savun ja pimeyden läpi – kahdessa olosuhteessa, joissa tavallinen näkö menettäisi toimintakykynsä kokonaan.
Jotkut maaseudun kiinteistönomistajat pitävät lämpökameroita nimenomaan metsäpalojen havaitsemiseksi kuivina vuodenaikoina. Kun palon voi havaita jo kaukaa, saa kriittisiä lisäminuutteja evakuointiin tai hätäpalveluiden kutsumiseen.
Lämpökamerat tarjoavat paljon enemmän hyötyä kuin pelkän riistan havainnoinnin metsässä. Energiakustannusten säästämisestä hengenpelastukseen hätätilanteissa – nämä laitteet osoittavat arvonsa lukuisissa käyttökohteissa. Olitpa sitten kodinomistaja, joka haluaa alentaa lämmityskustannuksia, karjankasvattaja, joka tarkkailee karjaansa, tai joku, joka arvostaa kiinteistön turvallisuutta, lämpökuvaustekniikka tarjoaa käytännön etuja, joita tulet käyttämään säännöllisesti.
Monipuolisuus on se, mikä todella erottuu edukseen. Yhdellä laitteella voi suorittaa kotitarkastuksia, luonnonhavainnointia, turvallisuuden valvontaa ja paljon muuta. Kun lämpökuvaustekniikka tulee yhä edullisemmaksi ja helpommin saataville, yhä useammat ihmiset huomaavat, kuinka hyödyllisiä nämä laitteet ovat arjessa. Jos olet ajatellut, että lämpömonokulaarit ovat tarkoitettu vain metsästäjille, toivomme, että nämä seitsemän käyttötapaa ovat osoittaneet sinulle toisin.
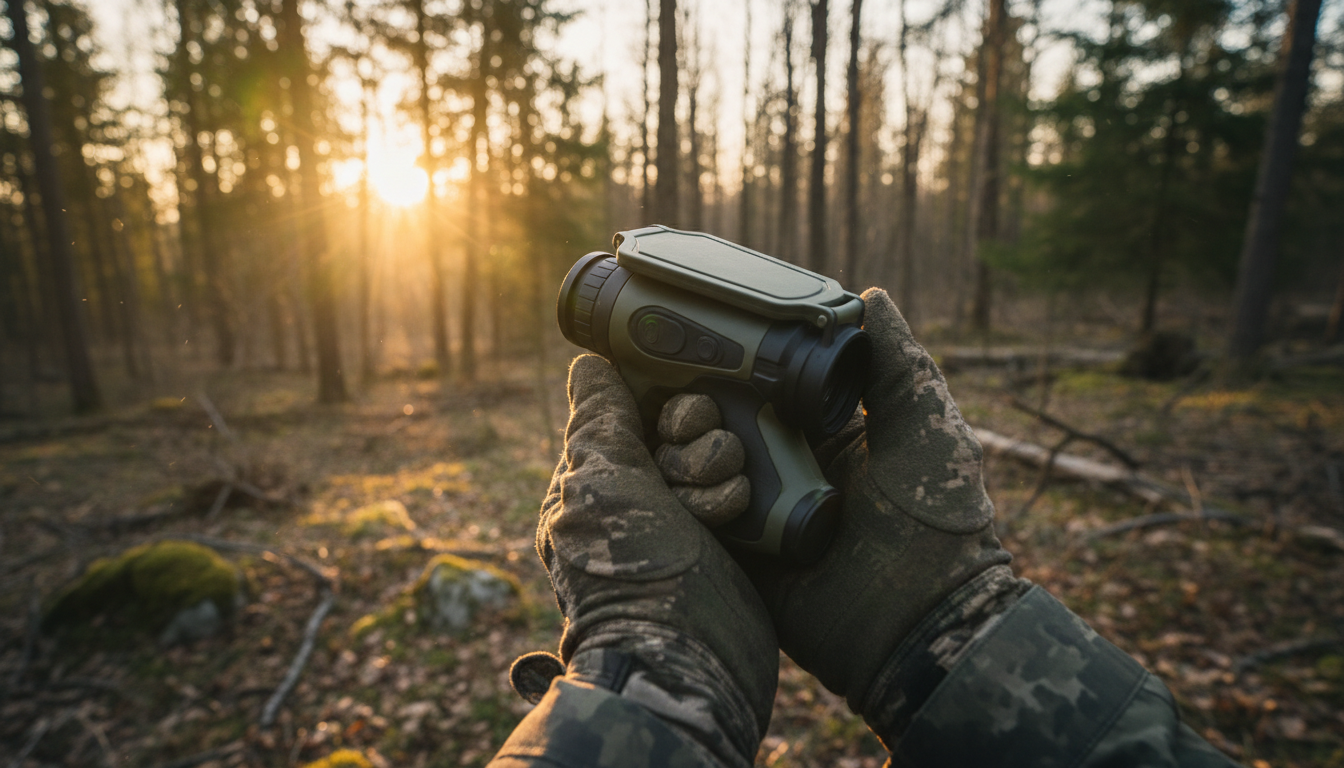
Your thermal monocular is more than just a piece of gear—it’s a serious investment in your outdoor adventures. Whether you’re scanning for game before dawn, tracking heat signatures through fog, or keeping watch in complete darkness, you need that device working flawlessly when it counts. But here’s the thing: thermal imaging tech isn’t indestructible. Dust, moisture, temperature swings, and rough handling can quietly degrade performance until you’re left squinting at blurry images right when you need clarity most.
We’ve put together this guide to help you protect your investment and maximize your thermal monocular’s lifespan. From lens cleaning techniques that won’t scratch coatings to battery habits that prevent field failures, we’ll walk you through the maintenance routines that actually make a difference. Most of these practices take just minutes but can add years to your device’s service life. Let’s get into it.
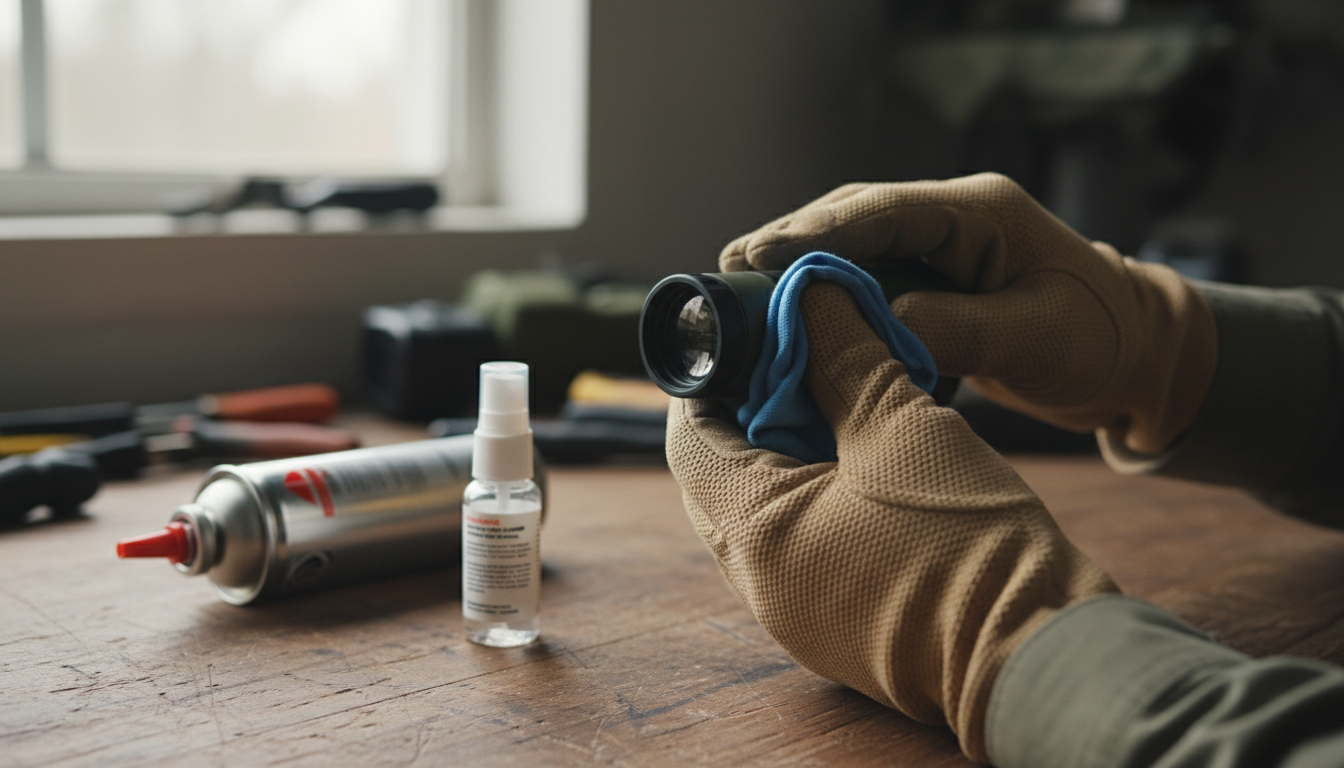
Your lens is the gateway to clear thermal images, and it’s also the most vulnerable part of your monocular. One wrong move with the wrong cloth and you’ve got permanent scratches on expensive optics.
Start by removing loose dust before you touch the lens surface. Use a soft air brush or compressed air to blow away particles—this prevents you from dragging grit across the glass when you wipe. Never use your shirt, paper towels, or anything rough. Those materials act like sandpaper on specialized coatings.
For actual cleaning, reach for a microfiber cloth designed for optics. If you’ve got stubborn smudges or fingerprints, add a small amount of lens cleaning solution specifically made for optical surfaces. Skip household glass cleaners—they contain chemicals that damage the anti-reflective coatings on thermal lenses. Apply the cleaner to your cloth, not directly to the lens, then wipe gently from the center outward using a rolling motion.
If you’re dealing with mud or heavy debris, rinse the lens with water first before wiping. This simple step prevents scratching when you clean. And always keep your lens caps on when the monocular isn’t actively in use. It sounds basic, but lens caps are your first line of defense against scratches, dust, and accidental impacts. Check out our Sirius HD ja Pegasus 2 LRF models—both feature durable lens protection systems designed for field use.
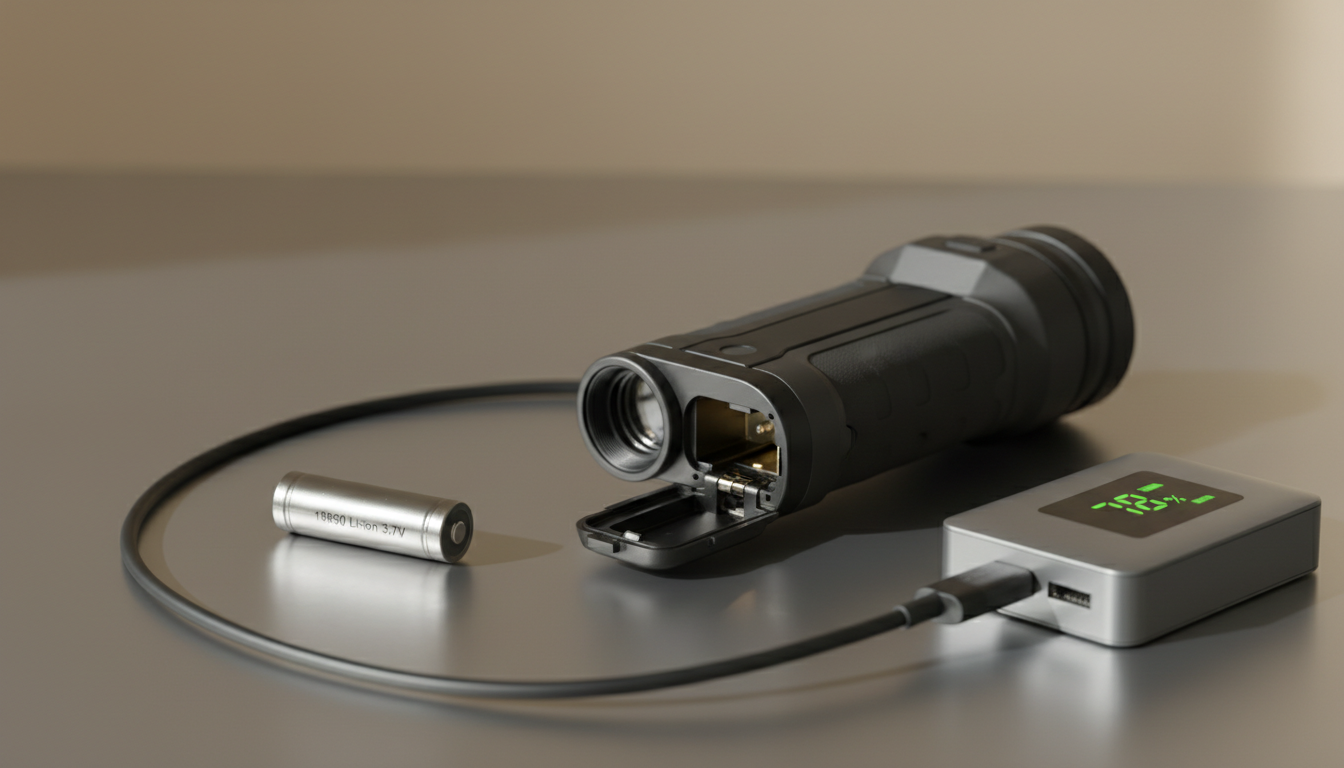
Battery issues will end your hunt faster than anything else. Dead power means dead device, no matter how good your thermal sensor is.
Most thermal monoculars run on rechargeable lithium-ion batteries. These batteries perform best when you follow a few simple habits. First, use only the charger that came with your device or one specified by the manufacturer. Generic chargers might work, but they can degrade battery health over time or even create safety risks.
Don’t let your battery drain completely if you can avoid it. Deep discharges shorten lifespan. Instead, try to keep your charge between 50-80% for everyday storage. If you’re storing your monocular for months during off-season, charge the battery to about 50% before putting it away. This preserves battery chemistry better than storing it fully charged or fully drained.
Temperature matters more than you might think. Never charge your battery when it’s freezing cold—below 32°F can damage cells permanently. Similarly, avoid leaving your monocular in hot vehicles or direct sunlight for extended periods. Heat accelerates battery degradation and can affect calibration of the thermal sensor itself.
Remove batteries if you’re storing the device for several months. This prevents potential leakage that could corrode internal electronics. Store those batteries separately in a cool, dry place, and check them periodically to make sure they’re holding their charge.
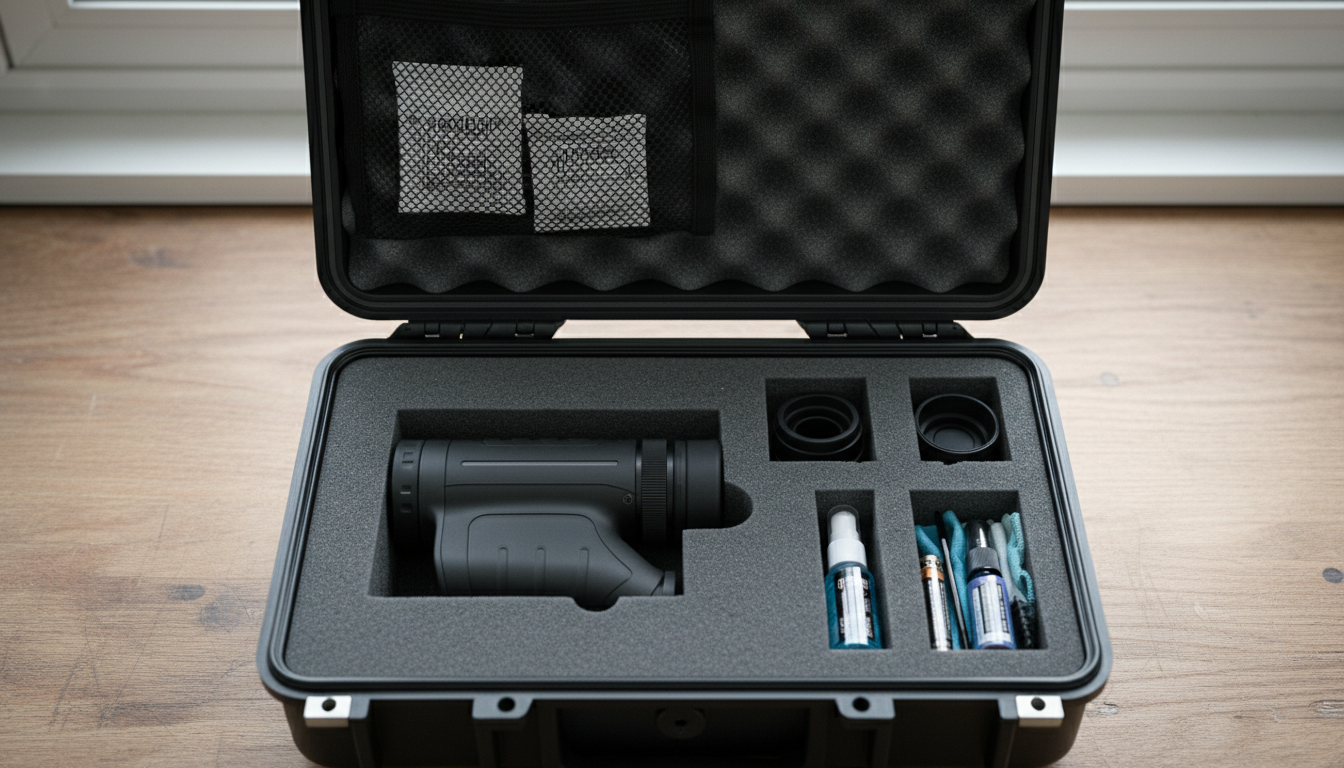
How you store your thermal monocular between uses directly impacts its longevity. Temperature and humidity are your biggest concerns here.
Find a cool, dry location away from direct sunlight. Extreme temperatures—whether hot or cold—can mess with sensitive electronics and throw off sensor calibration. High humidity creates condensation inside the device, which can short circuits or promote corrosion and mold growth on internal components.
Consider adding silica gel packets to your storage case to absorb excess moisture. These inexpensive desiccant packs can prevent a lot of humidity-related problems. If you live in a particularly humid climate, you might even want to use a dehumidifier in your storage area.
Always use a protective case—preferably the original case with foam inserts, or a hard case with padding. This protects against accidental drops and impacts that could damage the lens or internal components. Your case should have separate compartments for accessories like cables, spare batteries, and cleaning tools. Keeping these items separate prevents scratches and pressure damage to the monocular body.
After using your device in wet conditions, dry it completely before storage. Inspect all seals and ports to make sure water hasn’t penetrated. Even if your monocular is rated for water resistance, it’s smart to keep it as dry as possible during storage to maintain those seals over time.
Software updates aren’t just about new features—they often include bug fixes, performance improvements, and better image processing algorithms. Manufacturers release firmware updates based on real-world testing and user feedback, and these updates can genuinely improve your device’s performance.
Check your manufacturer’s website every few months for firmware updates. The process usually involves connecting your monocular to a computer via USB and running the update software. Follow the instructions carefully and don’t disconnect during an update.
Calibration is equally important. Your thermal sensor needs periodic calibration to maintain image accuracy. Many modern thermal monoculars have automatic calibration features that run when needed, but some situations call for manual calibration. If you notice image quality degrading, temperature readings seeming off, or strange artifacts in your thermal view, run a calibration cycle.
Most devices include a calibration function in their menu system—it typically takes just seconds. The monocular will briefly shutter the sensor or perform an internal reference check to recalibrate the detector. This quick process can dramatically improve image clarity.
Before hunting season starts, perform a complete check at least a month ahead. Test battery health, update firmware, and run calibration to avoid surprises on opening morning. You don’t want to discover problems when you’re already in the field.
Thermal monoculars are built tough, but they’re still precision instruments. A few smart handling practices go a long way toward preventing damage.
Avoid sudden temperature changes when possible. If you’re moving from a warm vehicle into freezing outdoor temperatures, give your device a few minutes to acclimate gradually. Rapid temperature swings can affect sensor accuracy and create condensation inside the unit.
Keep your monocular away from magnetic interference and don’t subject it to physical shocks. Even though most models can handle typical field conditions, hard drops onto rocks or concrete can damage internal electronics or misalign optical components. Use the wrist strap that came with your device—it’s there for a reason.
If you get mud or debris on the exterior body, wipe it gently with a soft, slightly damp cloth. For stubborn dirt on the housing, you can use a bit of synthetic detergent, but keep moisture away from ports and seals. Never immerse your monocular in water unless it’s specifically rated for full submersion.
Transport your device in its protective case whenever you’re moving between locations. Whether you’re driving to your hunting spot or hiking through rough terrain, that padded case absorbs impacts that would otherwise reach your monocular.
Even with perfect maintenance, you might encounter occasional problems. Knowing how to troubleshoot can save you time and frustration.
Blurry or unclear images: First, clean the lens—fingerprints and dust are the usual culprits. If that doesn’t help, check your focus adjustment to make sure it’s set correctly for your viewing distance. Still blurry? The issue might be internal, requiring manufacturer service or recalibration.
Battery drains too fast: Replace old batteries with fresh ones. Lithium-ion batteries typically need replacement after 2-3 years of heavy use. Also check your settings—high brightness, maximum refresh rates, and features like Wi-Fi or video recording drain power quickly. Adjust these settings to balance performance with battery life.
Device won’t power on: Make sure the battery is charged and properly installed. Try a different battery if you have one. Check that battery contacts are clean and free of corrosion. If the device still won’t turn on, you’ll likely need professional service.
Image quality degraded over time: Run a calibration cycle. Thermal sensors can drift slightly over time, and recalibration often restores optimal performance. If calibration doesn’t help, consult your user manual or contact the manufacturer.
Quality thermal monoculars typically last 5-10 years with proper care. The microbolometer sensors are rated for thousands of operating hours. Your biggest longevity factors are protecting against hard impacts, keeping moisture out, and storing properly during off-season.
Think of maintenance as preventive medicine. A few minutes after each outing to clean your lens, check seals, and properly store your device will prevent problems that could cost hundreds to repair. Regular inspection catches wear early, before small issues become major failures.
Buy quality accessories that protect your gear. Invest in a good case, quality batteries, and proper cleaning supplies. These relatively small expenses protect a much larger investment. And when it comes time to upgrade, well-maintained gear holds its resale value significantly better than neglected equipment.
At Pixfra, we design our thermal imaging products—like the Draco ja Arc LRF models—with durability in mind. But even the toughest gear benefits from smart maintenance practices. Treat your equipment right, and it’ll deliver reliable performance season after season.
Maintaining your thermal monocular isn’t complicated—it just takes consistency. Clean your lenses carefully with the right materials, manage your batteries properly, store in controlled conditions, keep firmware updated, and handle with reasonable care. These habits take minimal time but can literally add years to your device’s lifespan while maintaining peak performance.
Your thermal monocular gives you capabilities in the field that were military-only technology just a few years ago. Return the favor by giving it the basic care it needs. A few minutes of maintenance after each outing beats days without your gear while it’s off getting repaired—or worse, shopping for an expensive replacement.
Start building these habits now. Your future self, glassing heat signatures through pre-dawn darkness with crystal-clear optics, will thank you.
How often should I clean my thermal monocular lens? Clean your lens after each use, especially if you’ve been in dusty or dirty conditions. For light use in clean environments, a quick inspection and cleaning every few outings is fine. Always remove visible dust or fingerprints before your next outing to maintain optimal image quality. Use proper lens cleaning materials—never rough fabrics or household cleaners.
Can I use regular glass cleaner on my thermal monocular? No. Household glass cleaners contain chemicals that can damage the specialized anti-reflective coatings on thermal lenses. These coatings are what make your thermal imaging work properly, and damaging them can cause permanent image degradation. Always use lens cleaning solutions specifically designed for optical instruments, or plain isopropyl alcohol at 90%+ concentration applied to a microfiber cloth.
What’s the best temperature for storing my thermal monocular? Store your device in a cool, dry environment with stable temperatures between 50-70°F if possible. Avoid locations with extreme heat or cold, direct sunlight, or high humidity. If you’re storing for several months, keep the battery at around 50% charge and remove it from the device to prevent potential leakage. Temperature stability matters more than hitting an exact number.
Why does my thermal monocular battery seem to drain faster than it used to? Lithium-ion batteries naturally degrade over time, typically needing replacement after 2-3 years of regular use. Battery drain can also increase if you’re using high brightness settings, maximum refresh rates, or power-hungry features like Wi-Fi and video recording. Try lowering brightness, adjusting settings, and replacing the battery if it’s more than two years old.
How long should a quality thermal monocular last? With proper maintenance, quality thermal monoculars typically last 5-10 years or longer. The microbolometer sensors are rated for thousands of operating hours. The biggest factors affecting longevity are protection from physical impacts, keeping the device dry, proper storage during off-season, and basic maintenance like lens cleaning and battery care. Well-maintained devices often outlast their owners’ need for upgrades.
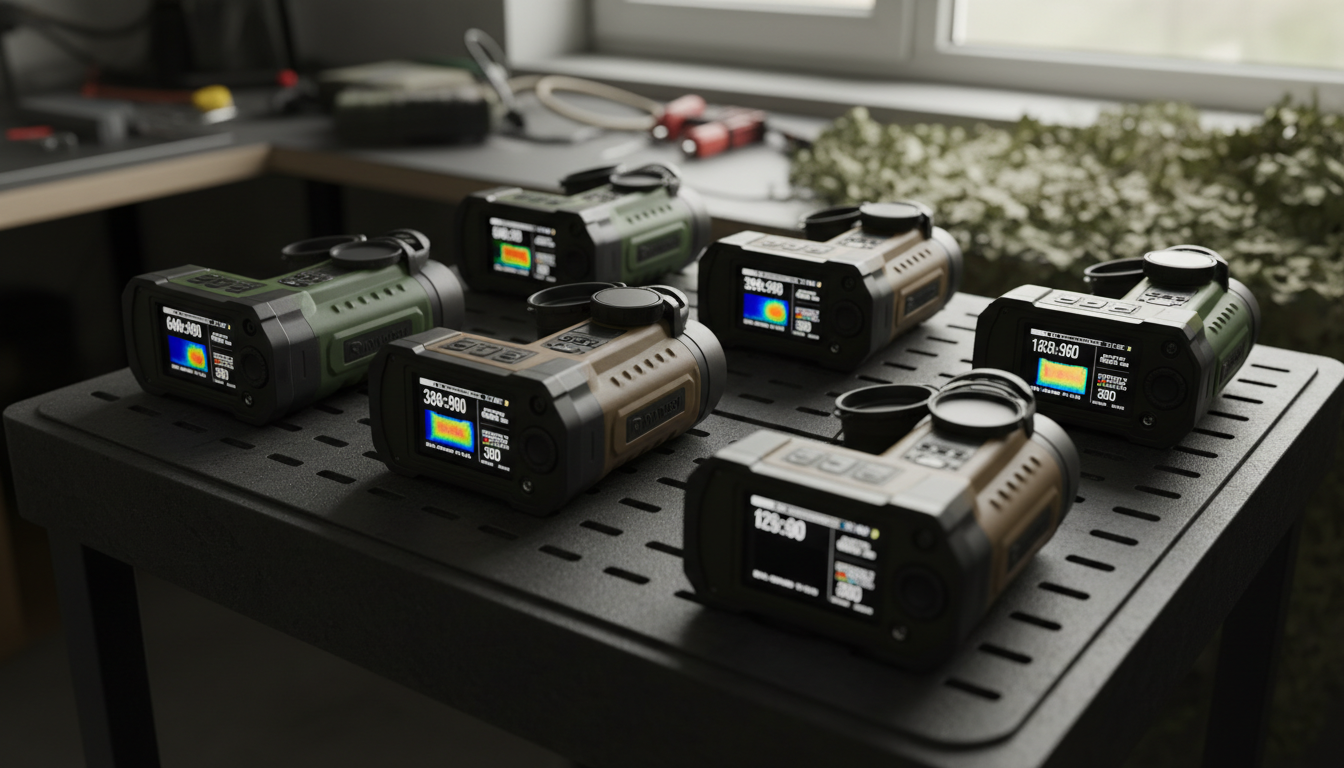
When you’re shopping for a thermal monocular, you’ll see specs like “640×480 resolution” and “50Hz refresh rate” plastered everywhere. But what do these numbers actually mean for your hunting trips or property scanning? And more importantly, which ones should you care about?
We’ve tested thermal devices in field conditions and talked to users who’ve spent thousands on gear. Here’s what you need to know about resolution and Hertz before making that investment.
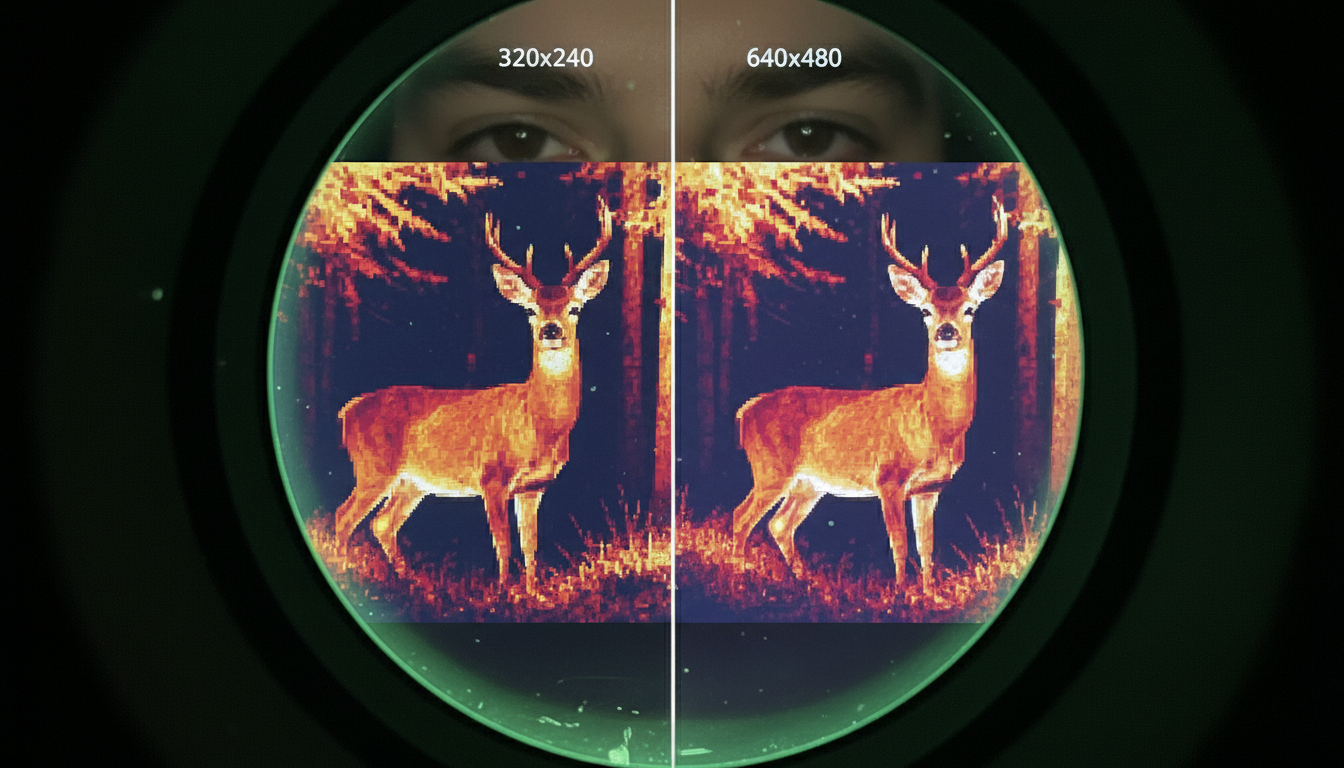
Here’s where it gets tricky. Your thermal monocular actually has two different resolutions, and manufacturers sometimes blur the line between them.
Se sensor resolution is what captures heat information. Think of it as the camera itself—common sizes are 256×192, 384×288, or 640×480 pixels. A 384×288 sensor has 110,592 individual pixels detecting temperature differences in front of you.
Se display resolution is the screen you look through. This number is often higher than the sensor resolution. You might see a monocular with a 384×288 sensor but a 1280×960 display. That doesn’t mean you’re getting more thermal information—it just means the display is upscaling what the sensor captures.
Your image quality is limited by the sensor, not the display. A high-resolution screen won’t fix a low-resolution sensor, but it can make the thermal image sharper and easier on your eyes during long scanning sessions.
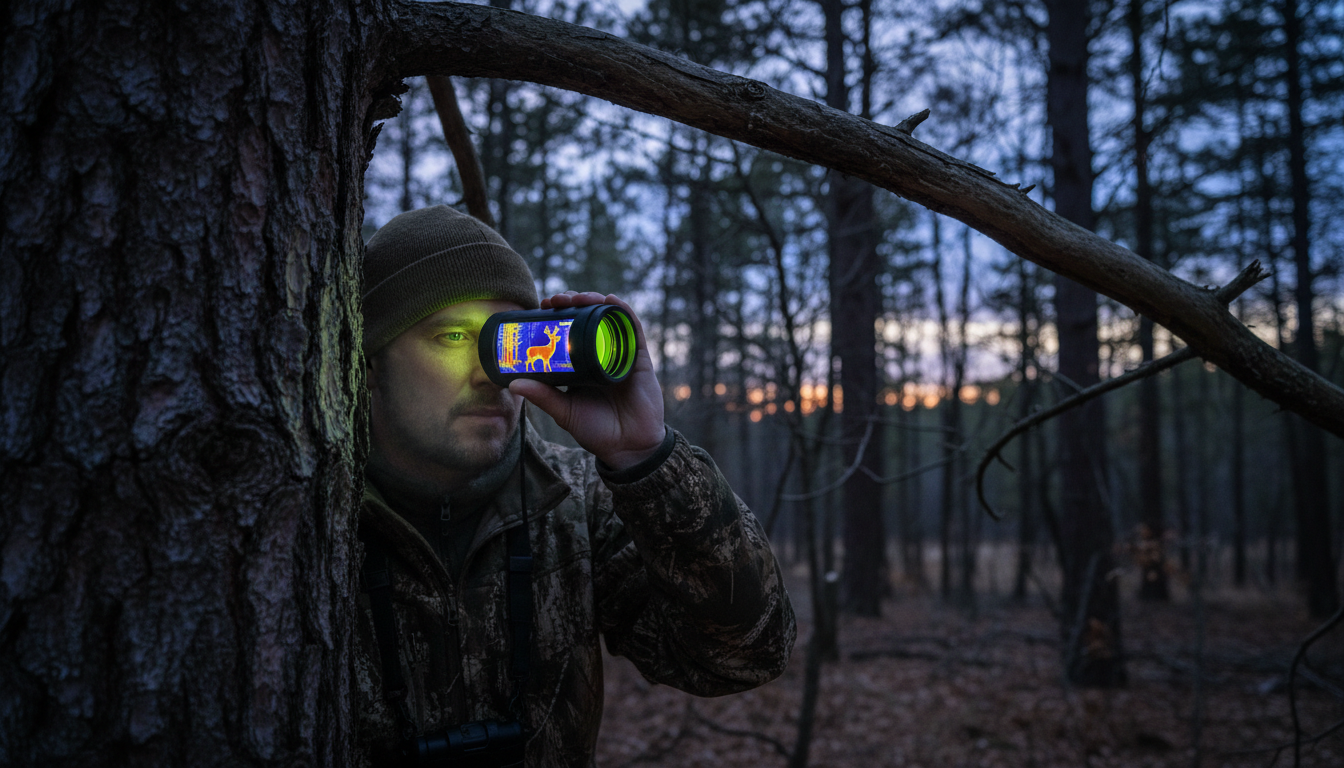
Budget devices with 256×192 sensors work fine for close-range scanning under 300 yards. We’ve used them on smaller properties where most activity happens within that range.
For properties over 100 acres, we recommend at least 384×288 resolution. This gives you clear recognition to 400-500 yards and handles most hunting scenarios. You’ll see enough detail to identify species and count animals.
If you’re scanning open terrain beyond 500 yards regularly, 640×480 resolution delivers better identification capability. Models like the Draco and Arc LRF from Pixfra offer reliable scanning at this level without jumping to premium pricing.
High-end 1280×1024 sensors provide exceptional detail even at full zoom, but they come with premium price tags. Unless you’re working at extreme distances or need professional-grade performance, you’ll get solid results from the mid-range options.
Hertz (Hz) tells you how many times per second your thermal monocular updates the image. A 30Hz device refreshes 30 times per second, while a 60Hz model does it twice as fast.
Standard thermal monoculars run at 30Hz or 50Hz. For most scanning work, 30Hz feels smooth enough. You can track moving deer, scan for hogs, and navigate terrain without noticeable lag.
Higher refresh rates like 50Hz or 60Hz provide smoother images when you’re moving fast or tracking quick targets. The difference becomes obvious when you’re panning across open fields or following running animals. Your eye picks up less blur and you can make faster identification decisions.
Low-end devices sometimes use 9Hz refresh rates to meet export regulations or cut costs. These create choppy images that make scanning frustrating. Movement appears stuttered, and you’ll struggle to track anything that’s not standing still.
Resolution and refresh rate affect different aspects of your thermal image. Resolution determines detail and clarity—how well you can identify what you’re seeing. Refresh rate affects smoothness and motion tracking—how well you follow moving targets.
A 384×288 sensor at 50Hz gives you decent detail with smooth motion tracking. That combination handles most hunting and property management tasks. You get clear thermal signatures without the choppy feel of low refresh rates.
A 640×480 sensor at 30Hz flips the priority. You see more detail in each frame but might notice slight motion blur when panning quickly. For stationary observation or methodical scanning, this works well.
The sweet spot for active scanning? Combine at least 384×288 resolution with 50Hz refresh. Products like the Sirius HD offer this balance, letting you cover ground quickly while maintaining image quality.
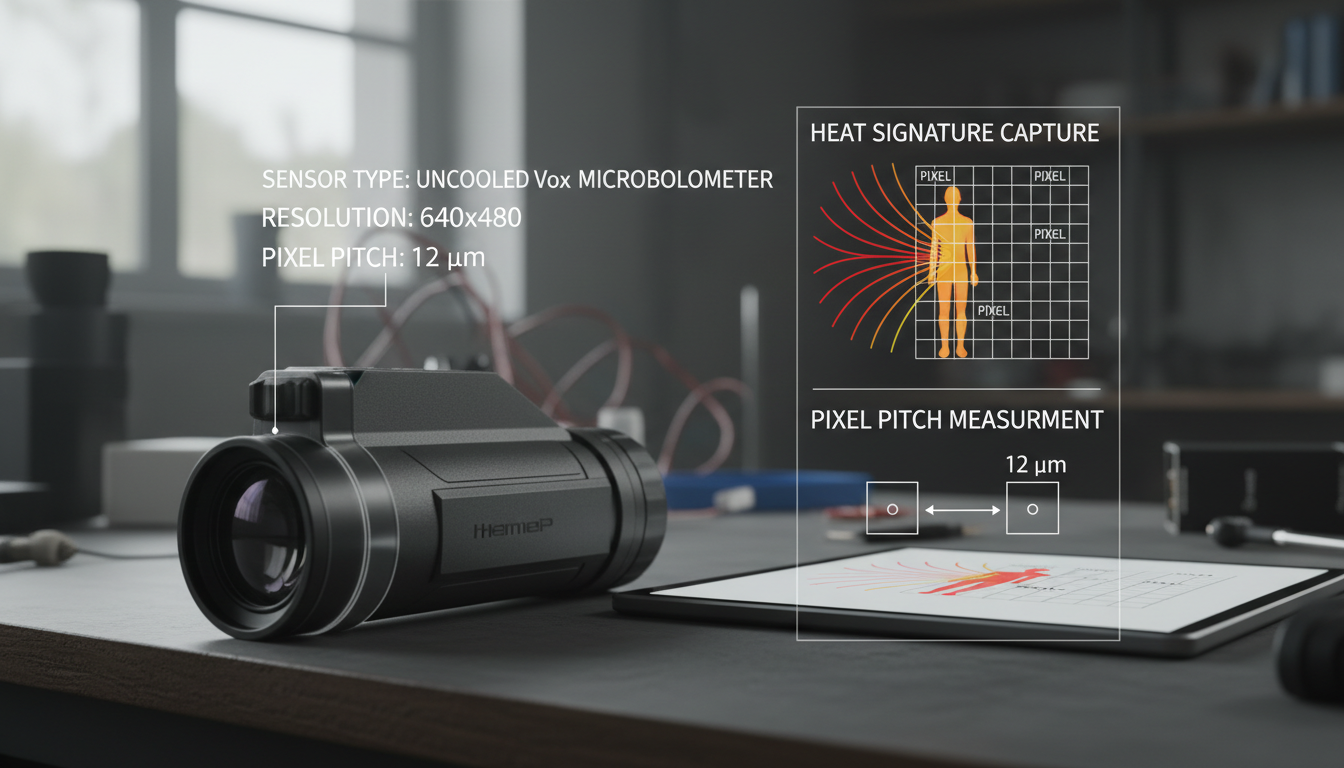
Pixel pitch measures the distance between sensor pixels, listed in micrometers (µm). You’ll typically see 12µm or 17µm ratings.
Smaller pixel pitch (12µm) packs pixels tighter together, creating sharper images at longer distances. This helps when you need to spot small targets far away. But here’s the catch—tighter spacing means each pixel collects less heat information per measurement.
Larger pixel pitch (17µm) captures more thermal data per pixel, which improves performance in challenging weather conditions like fog or rain. You’ll see better contrast when everything’s close to the same temperature.
If you hunt in varied conditions and different distances, 17µm with good thermal sensitivity often outperforms 12µm sensors. The extra thermal information helps more than the slight resolution advantage in real-world use.
256×192 (49,152 pixels): Entry-level units good for 200-300 yards. Works for small properties, close-range wildlife observation, and getting familiar with thermal technology. Budget-friendly but limited zoom capability.
384×288 (110,592 pixels): The middle ground that balances performance and cost. Handles medium-range scanning to 500 yards, provides useful digital zoom, and covers most hunting scenarios. Our Pegasus 2 LRF operates in this range.
640×480 (307,200 pixels): Professional-grade imaging with extended range beyond 800 yards. Three times the pixels of 256×192 means significantly better detail and comfortable digital zooming. Good for large properties and long-range identification.
1280×1024 (1,310,720 pixels): Premium territory with maximum detail even at full zoom. These sensors excel at extreme distances and challenging conditions, but cost reflects their capabilities.
The display type affects your viewing experience as much as pixel count. AMOLED displays provide brighter contrast, more vivid thermal color palettes, and faster response times than standard LCD screens.
Display resolution should match or exceed sensor resolution. A 640×480 sensor paired with a 1920×1080 display gives you sharp, easy-to-read thermal images. The extra display pixels help render overlay graphics like reticles, rangefinder readings, and menu systems clearly.
Higher display resolution also reduces eye strain during extended observation sessions. When you’re scanning for hours, a crisp display makes a real difference in comfort and effectiveness.
We’ve seen people spend thousands on 640×480 sensors with 60Hz refresh rates, then use them for tasks where a 384×288 at 30Hz would work fine. And we’ve seen hunters with budget units struggle because they genuinely needed more capability.
For property scanning under 300 yards, perimeter security, or learning whether thermal works for you, 256×192 at 30Hz handles the job. You’re not missing much by starting here.
Wildlife observation and hunting on properties up to 200 acres benefits from 384×288 resolution at 50Hz. This combination gives you enough detail to identify species and smooth enough motion to track movement patterns. Our IR Torch pairs well with devices in this range for situations requiring illumination alongside thermal detection.
Search and rescue, large property management, or serious hunting applications justify stepping up to 640×480 at 50Hz or higher. You’re covering more ground, working at greater distances, and need reliable performance in challenging conditions.
NETD (Noise Equivalent Temperature Difference) measures how small a temperature difference your sensor can detect. It’s expressed in millikelvins (mK). Lower numbers mean better performance.
A sensor with <25mK NETD sees smaller temperature variations than one rated at 40mK. This matters most in fog, humidity, or when everything’s close to the same temperature—like summer mornings when the ground and animals haven’t separated thermally yet.
NETD affects image quality differently than resolution. High resolution with poor NETD gives you detailed but low-contrast images where everything looks similar. Good NETD with moderate resolution provides clear thermal contrast, making targets pop against backgrounds.
Look for devices that balance both. A 384×288 sensor with <25mK NETD often outperforms a 640×480 sensor with 40mK NETD in real hunting conditions.
You’ll notice some thermal devices are limited to 9Hz refresh rates despite having high-resolution sensors. This relates to export regulations that restrict thermal technology.
Devices with 640×480 or higher resolution combined with refresh rates above 9Hz often face export restrictions. Manufacturers create 9Hz versions to comply with international regulations, making those models available in more markets.
For domestic use in hunting and property management, you want at least 30Hz if possible. The choppy 9Hz image makes tracking difficult and reduces your overall effectiveness. Spend your money on a 30Hz or higher device unless regulations in your area require otherwise.
Entry-level thermal monoculars ($800-$1,500) typically offer 256×192 resolution with 30Hz refresh rates. They work for close-range needs and help you figure out if thermal technology fits your activities.
Mid-range devices ($1,500-$3,500) step up to 384×288 or 640×480 resolution with 50Hz refresh rates. This tier delivers the best value for serious use. You get professional-grade performance without extreme pricing.
Premium monoculars ($3,500+) feature 640×480 or higher resolution, 50-60Hz refresh, integrated laser rangefinders, and advanced image processing. These make sense when your activities depend on equipment performance or you’re covering extreme distances.
Don’t chase maximum detection range numbers that exceed your realistic needs. Focus on recognition range that matches your property size, refresh rate that supports your scanning style, and resolution that provides enough detail for confident identification.
We’ve run thermal monoculars in rain, fog, freezing temperatures, and summer heat. Here’s what actually matters in the field:
Resolution helps most when you need to identify targets at your maximum working distance. If you rarely scan beyond 400 yards, paying premium prices for 1280×1024 sensors doesn’t improve your results.
Refresh rate becomes obvious when you’re actively moving. Stationary observation works fine at 30Hz. Active scanning, vehicle-mounted use, or tracking fast animals benefits noticeably from 50Hz or higher.
Thermal sensitivity (NETD) affects every scan you make. Good NETD performs in varied weather and lighting conditions. Poor NETD only works well in ideal thermal contrast situations.
Resolution and Hertz work together to define your thermal monocular’s performance. Resolution determines how much detail you see, while Hertz controls how smoothly you see it.
For most hunters and property managers, 384×288 resolution at 50Hz provides the sweet spot between performance and cost. This combination delivers clear identification to 500 yards with smooth motion tracking.
Budget-conscious users can start with 256×192 at 30Hz for close-range work. Those needing extreme performance should look at 640×480 at 50Hz or higher, but expect to pay significantly more.
Match your specs to your actual use case, not marketing hype. The right thermal monocular enhances how you work in the field—it’s about practical performance, not impressive spec sheets.
What’s more important in a thermal monocular: resolution or refresh rate?
Both matter, but for different reasons. Resolution affects detail and identification range—how clearly you see targets. Refresh rate affects motion smoothness and tracking capability. For stationary observation, prioritize resolution. For active scanning or moving platforms, refresh rate becomes equally important. Most users benefit from balancing both with at least 384×288 resolution at 50Hz.
Can a high display resolution make up for a low sensor resolution?
No. The display only shows what the sensor captures. A 256×192 sensor displayed on a 1920×1080 screen still provides 256×192 worth of thermal information. The high-res display makes the image sharper and easier to view, but it can’t create thermal detail that the sensor didn’t capture. Always check sensor resolution first.
Why do some thermal monoculars have 9Hz refresh rates?
Export regulations restrict high-performance thermal technology. Devices with 640×480 or higher resolution combined with refresh rates above 9Hz face export limitations. Manufacturers create 9Hz versions to comply with international regulations. For domestic hunting and scanning, avoid 9Hz if possible—the choppy image makes tracking difficult.
How much resolution do I need for hunting at 300-500 yards?
For consistent identification at 300-500 yards, we recommend at least 384×288 resolution. This provides enough pixels to distinguish species, count animals, and judge size. Budget 256×192 sensors struggle beyond 300 yards. If you regularly work at the 500-yard end, consider stepping up to 640×480 for better detail and comfortable digital zooming.
Does higher resolution always mean better thermal images?
Not necessarily. Resolution combines with other factors like thermal sensitivity (NETD), pixel pitch, and lens quality to create your final image. A 384×288 sensor with excellent NETD and good optics can outperform a 640×480 sensor with poor thermal sensitivity in challenging conditions like fog or low-contrast environments. Look at the complete package, not just resolution numbers.
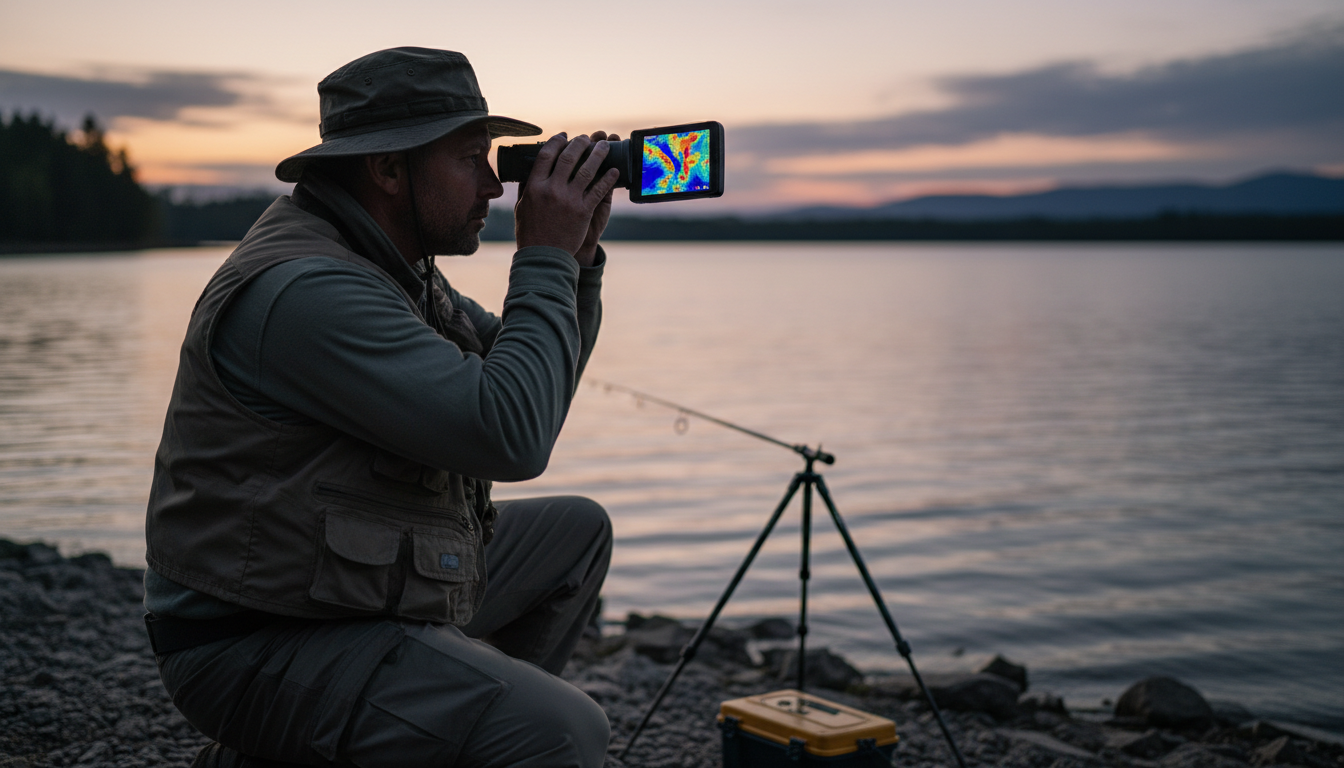
You’ve probably heard anglers talking about thermal scopes and wondered if they’re the secret weapon for finding fish. The short answer? Not quite the way you’d think. Fish are cold-blooded creatures whose temperature is not constant and depends on the water temperature, which makes them really hard to spot with thermal technology. But that doesn’t mean thermal scopes are useless for fishing—you just need to know what they can and can’t do.
We’re going to walk you through how thermal imaging actually works around water, why you won’t see fish swimming below the surface, and the surprising ways thermal scopes can still help you catch more fish. If you’re interested in exploring different thermal imaging options, check out our range of outdoor thermal devices designed for various applications.
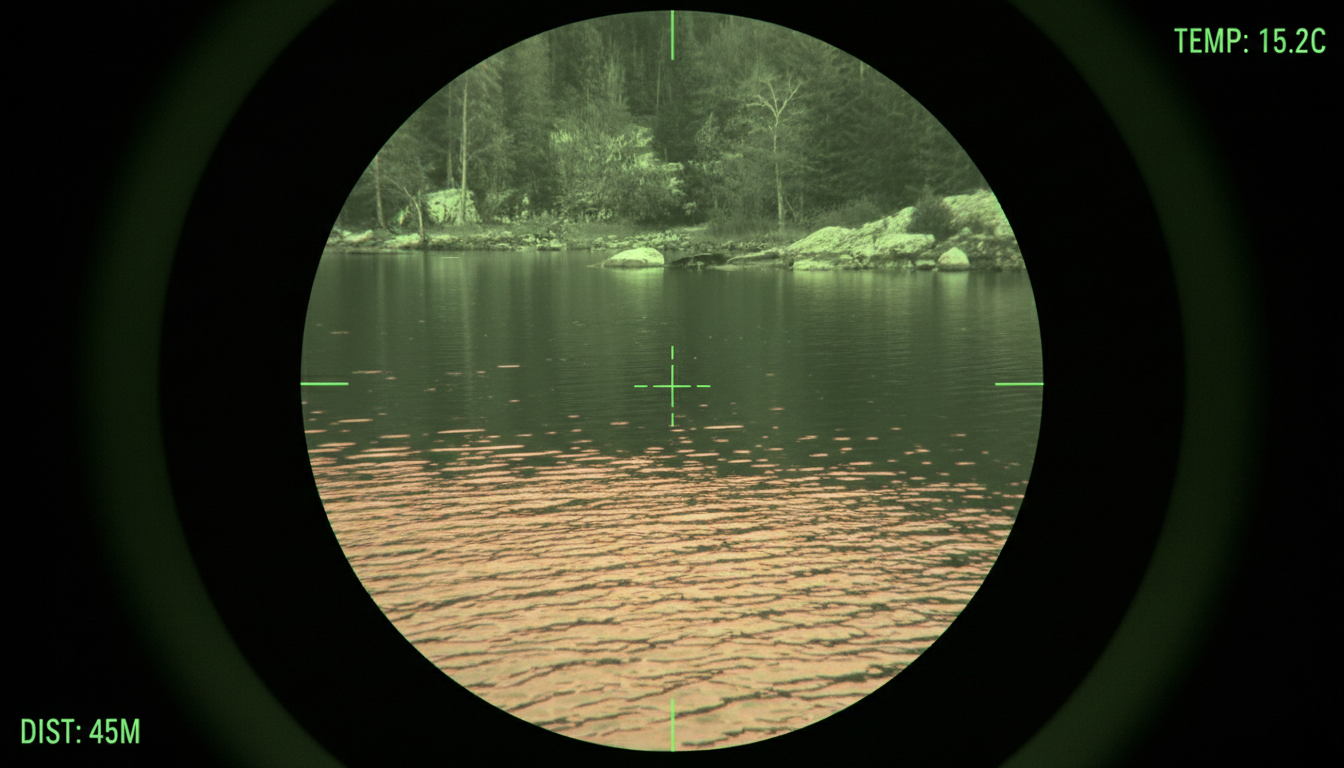
Here’s the deal: water absorbs infrared radiation, which reduces the effectiveness of thermal imaging, and infrared radiation does not penetrate water well. Think of water as a thick blanket that blocks the heat signatures thermal scopes need to create an image.
But there’s another problem. A thermal imaging camera displays a contrasting temperature background of the objects you are observing, and it will not show fish with the same body temperature as the water. Most fish sit at roughly the same temperature as their surroundings, so even if the infrared radiation could get through the water (which it can’t), there’d be almost no temperature difference to detect.
The primary limitation of thermal imaging underwater is the poor penetration of infrared radiation, and thermal cameras are limited to detecting heat on or very near the surface. Sound familiar if you’ve ever tried using one near a lake or river? That’s why.
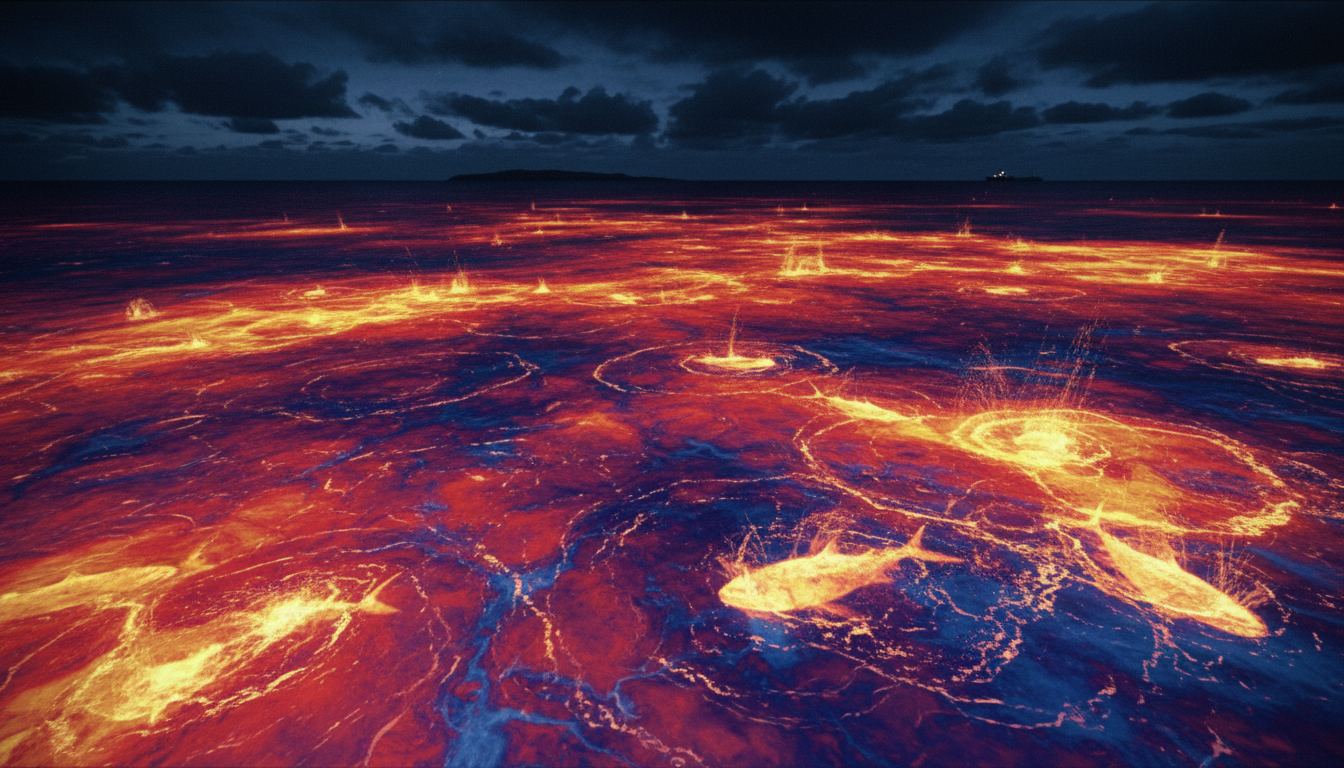
Before you write off thermal imaging for fishing completely, there’s good news. Schools of fish change the characteristics of the water’s surface, and that’s what you can see with thermal imaging. When fish are active near the surface—feeding, breaking, or moving in large schools—they create tiny temperature changes and disturbances that show up on a thermal scope.
Thermal-imaging cameras are sensitive enough to see temperature breaks — areas that tend to attract schools of baitfish and predators, as long as the water temperature changes rapidly within a few meters. This works particularly well in saltwater where you’re looking for temperature gradients offshore, or at night when you’re trying to spot baitfish dimpling the surface.
For those serious about nighttime observation and fishing applications, our Pegasus 2 LRF offers long-range detection capabilities that work well in low-light marine conditions.
Thermal cameras can register a temperature anomaly as small as a tenth of a degree, and that difference becomes more pronounced offshore when the camera’s field of view fills with mostly water and sky. This is where thermal imaging really shines for fishing.
You can spot weed lines, kelp paddies, and floating debris that hold fish—even in complete darkness. These objects absorb heat differently than open water, making them stand out like beacons on your thermal display. Anglers say they’ve hooked tuna after finding breaking fish before daylight by using a thermal-imaging camera, and can spot schools of baitfish dimpling the surface in the dark.
While infrared radiation is absorbed by water, it is possible to detect temperature differences on the water’s surface, and fish swimming close to the surface can create disturbances and thermal anomalies. Look, it’s not x-ray vision, but it beats staring into pitch darkness hoping to stumble onto fish.
Honestly, thermal imaging does way more for fishing safety and navigation than direct fish finding. Thermal cameras cannot see through water, but they’re still the best tool for professional and recreational marine use when you need to see in total darkness.
Infrared thermal imaging cameras can reliably deliver clear thermal images even in extremely low-visibility conditions such as nighttime, heavy fog, rain, or snow, and provide all-weather identification of key targets including other vessels, buoys, shorelines, and floating debris. You’ll avoid hitting debris, spot other boats, and navigate safely—which matters more than finding fish when you’re miles offshore in the dark.
During winter fishing, thermal imaging can identify weak spots in ice, cracks, and thin areas that could be dangerous. It’s a safety tool first, fishing aid second. Our thermal monocular technology article explains more about how these devices work if you’re curious about the technical side.
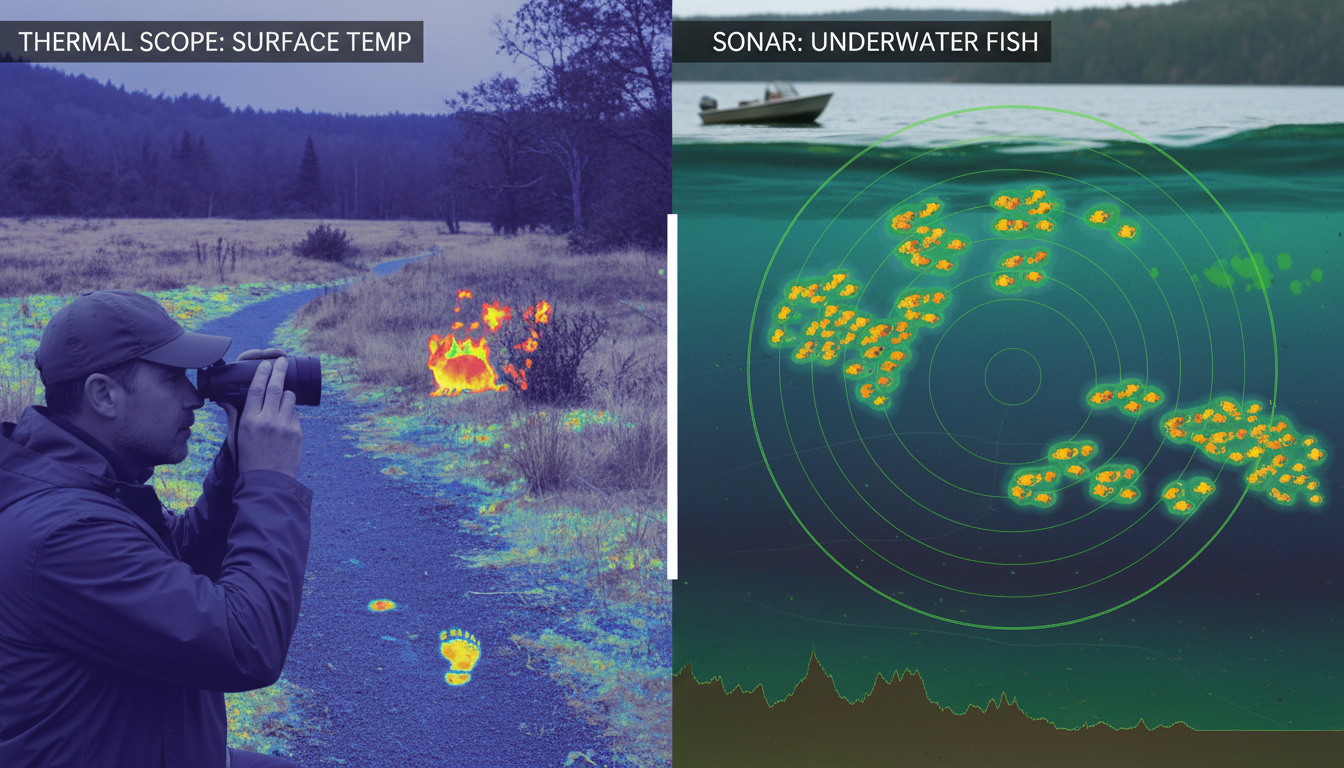
Sonar technology, which uses sound waves to detect objects underwater, is widely used for fish finding and can penetrate water effectively and provide detailed information about the location, size, and movement of fish schools. If you want to see what’s actually below your boat, sonar is your answer—not thermal.
Underwater cameras, often coupled with lighting systems, can capture visual images of fish and other marine life and are commonly used in marine biology, underwater research, and recreational diving. These give you actual video of what’s down there, which is pretty cool if you’re trying to figure out what fish are doing around your bait.
Thermal scopes work great for spotting surface activity and navigating at night, but they’re not replacements for traditional fish finders. Use them together and you’ll have a much better setup than relying on just one technology.
So can you see fish with a thermal scope? Not underwater—physics just doesn’t work that way. Water blocks infrared radiation and fish match the water temperature too closely to show up as heat signatures. But thermal scopes aren’t worthless for fishing. They’ll help you spot surface activity, temperature breaks, floating structure, and navigate safely in conditions where regular vision fails.
The best approach? Use thermal imaging for what it does well—surface observation, safety, and navigation—and stick with sonar for finding fish below the surface. Thermal technology has its place in your fishing toolkit, just not as an underwater fish camera. If you’re ready to explore thermal imaging for your outdoor adventures, visit our main product page to see our full lineup of thermal devices.
Can thermal scopes see through water to detect fish?
No, thermal scopes cannot see through water. Water absorbs infrared radiation that thermal imaging relies on, blocking heat signatures from penetrating more than a few millimeters below the surface. Fish swimming underwater remain invisible to thermal technology.
What can thermal imaging actually help with when fishing?
Thermal imaging excels at detecting surface activity like baitfish schools dimpling the water, temperature breaks that attract fish, weed lines, floating debris, and other surface features. It’s also excellent for safe navigation in darkness, fog, or low-visibility conditions on the water.
Why don’t fish show up on thermal cameras?
Fish are cold-blooded animals that maintain body temperatures nearly identical to the surrounding water. Thermal cameras detect temperature differences, and since fish don’t create enough contrast against the water temperature, they remain undetectable even if water penetration wasn’t an issue.
Is thermal imaging or sonar better for finding fish?
Sonar is better for directly locating fish underwater. It uses sound waves that penetrate water effectively and can show exact fish locations, depths, and school sizes. Thermal imaging works best for surface observation and navigation, while sonar handles underwater detection.
Can you see fish breaking the surface with a thermal scope at night?
Yes, you can detect fish activity at the surface with thermal imaging. When fish break the surface, create disturbances, or move in schools near the top, they change the water surface characteristics enough to show up as thermal patterns—particularly useful for spotting feeding activity before dawn.
















