爱永测试爱永测试爱永测试爱永测试爱永测试爱永测试爱永测试爱永测试爱永测试爱永测试爱永测试爱永测试爱永测试
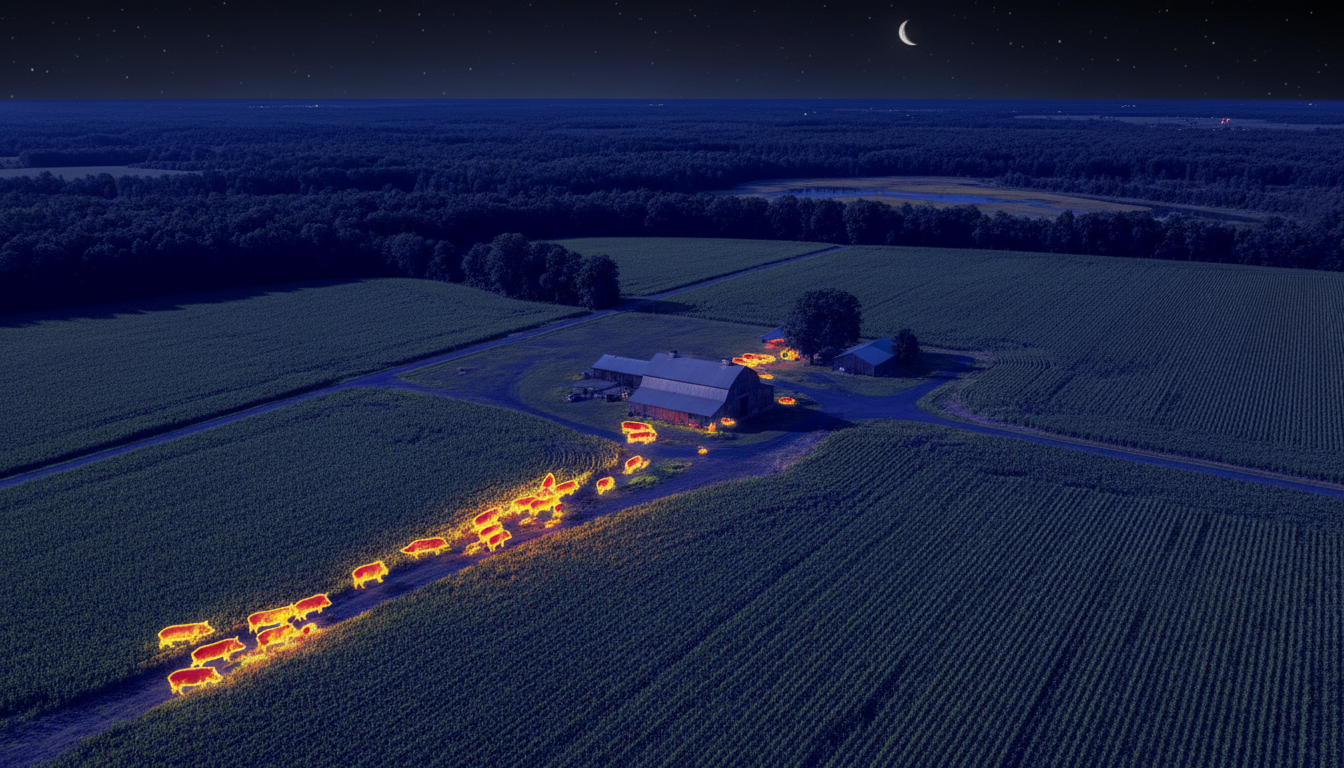
Dzikie świnie powodują co roku w całych Stanach Zjednoczonych szkody w rolnictwie o wartości ponad $2,5 miliarda. Od dziesięcioleci obserwujemy, jak rolnicy zmagają się z tym inwazyjnym gatunkiem, ale tradycyjne metody polowań ledwo wpłynęły na rozwiązanie tego problemu. Sytuacja uległa zmianie, gdy technologia celowników termowizyjnych stała się dostępna dla właścicieli gruntów i osób zarządzających dziką fauną.
Zagłębiamy się w rzeczywiste dane operacyjne dotyczące wykorzystania optyki termowizyjnej do zwalczania dzików. Nie są to dane teoretyczne — to wymierne wyniki uzyskane na ranczach, gospodarstwach rolnych i terenach komercyjnych borykających się z poważnymi problemami związanymi z dzikami. Wyniki te wskazują na wskaźniki skuteczności, których tradycyjne metody po prostu nie są w stanie osiągnąć.
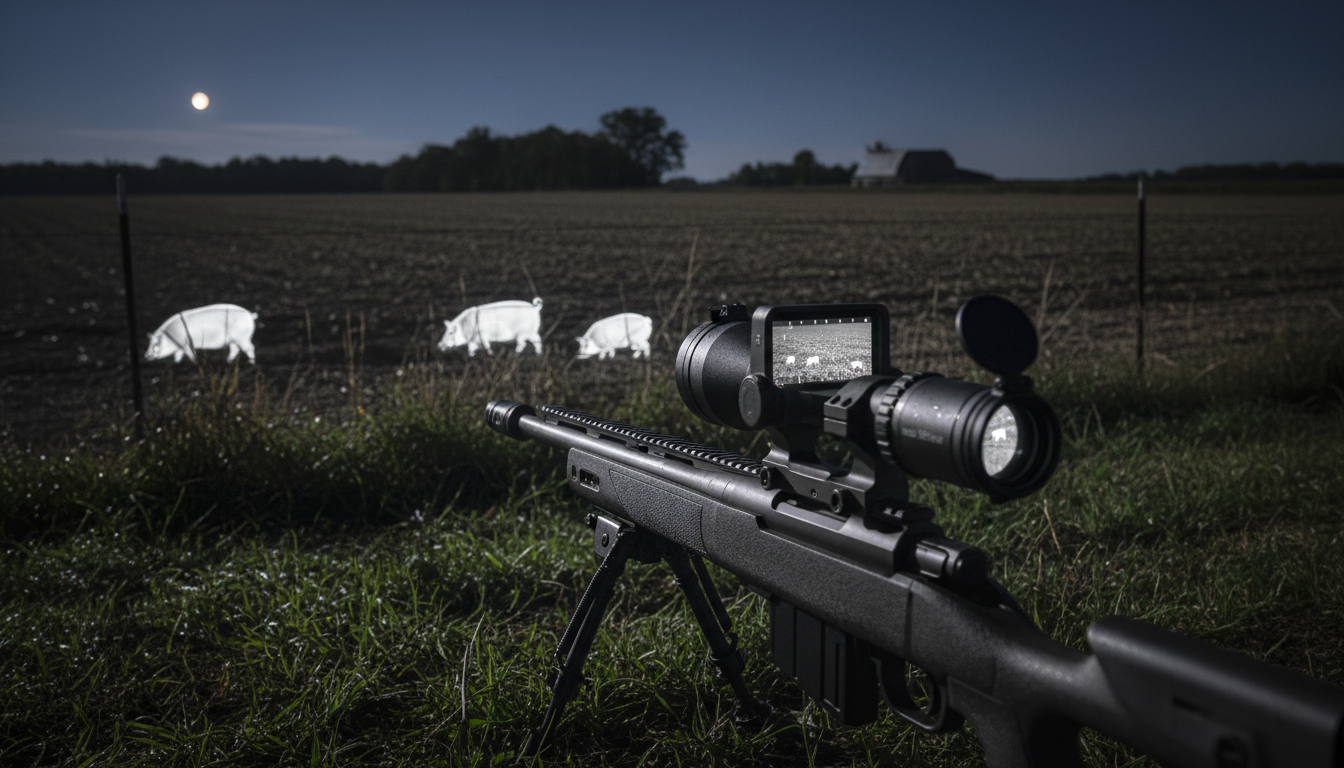
Zanim pojawiła się technologia termowizyjna, właściciele gruntów próbowali wszystkiego. Polowania w ciągu dnia zmniejszały populację o około 5–10% rocznie. Dzikie świnie szybko się uczyły, stając się zwierzętami wyłącznie nocnymi i unikając aktywności ludzi w ciągu dnia. Widzieliśmy gospodarstwa, w których rolnicy przez dekadę strzelali do 50–100 dzikich świń rocznie, nie osiągając przy tym żadnego znaczącego spadku ogólnej liczebności populacji.
Problem polega na tym, że dzikie świnie żerują głównie w nocy, a szczyt ich aktywności przypada na okres między zachodem a wschodem słońca. Ich słaby wzrok nie ma znaczenia w ciemności, ponieważ zmysł węchu pozwala im wcześnie wyczuć zbliżających się ludzi. Tradycyjne nocne polowania z użyciem reflektorów tylko nauczyły ocalałe osobniki ostrożności, nie eliminując jednak całych stad. Zastrzelenie jednego lub dwóch dzików z grupy liczącej 20 osobników sprawiło jedynie, że pozostałe 18 stało się sprytniejsze i bardziej ostrożne.
Obliczenia też się nie zgadzały. Jedna locha rodzi dwa mioty rocznie, po 4–8 prosiąt w każdym. To daje 70% rocznego przyrostu populacji. Aby utrzymać obecną liczebność stada, należałoby usunąć z populacji ponad 70% osobników – co jest celem niemożliwym do osiągnięcia przy użyciu konwencjonalnych metod, których wskaźniki usuwania wynosiły średnio 15–30%.
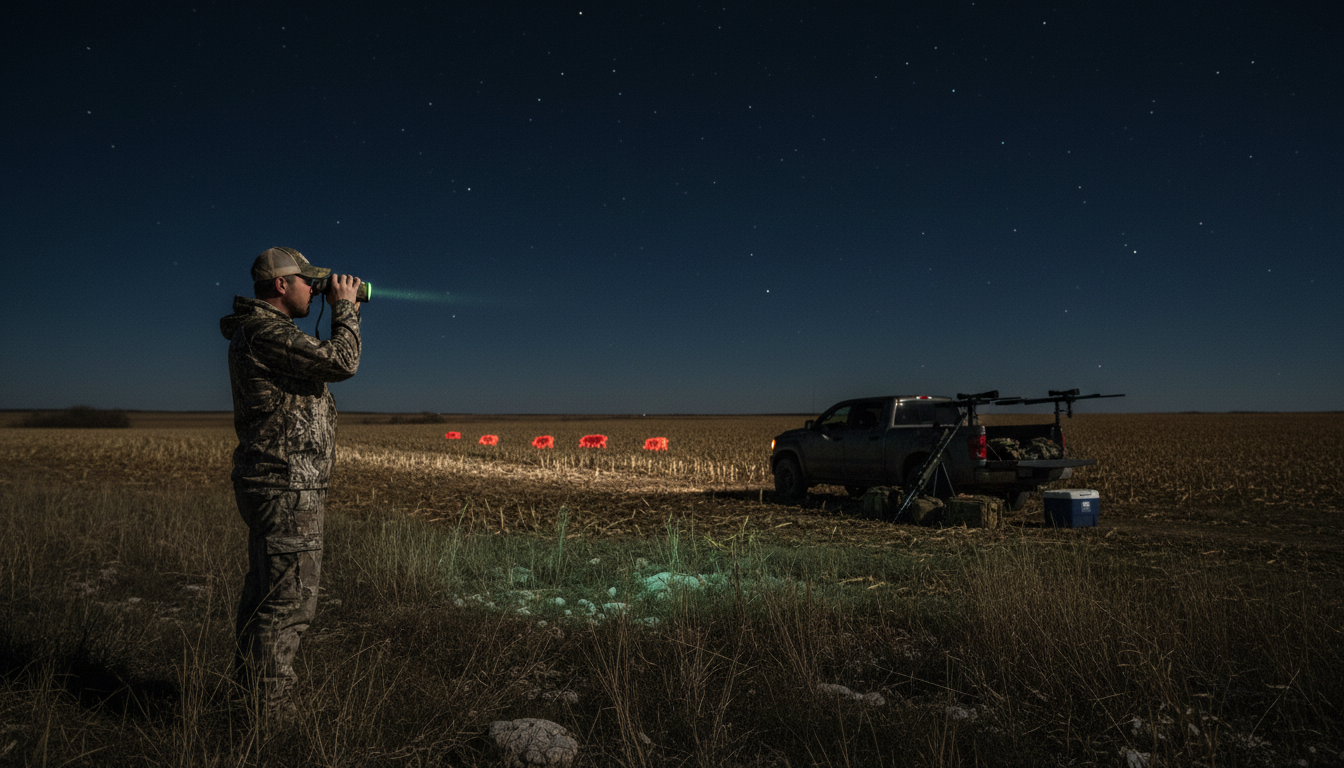
Termowizja wykrywa sygnatury cieplne emitowane przez żywe organizmy. Dzikie świnie utrzymują temperaturę ciała na poziomie około 101–103°F, co tworzy wyraźne sygnatury cieplne na tle chłodniejszych obiektów. Technologia ta działa w całkowitej ciemności, przy lekkiej mgle oraz częściowo przez roślinność — czyli w warunkach, w których tradycyjne urządzenia noktowizyjne całkowicie zawodzą.
Przetestowaliśmy wiele monokular termowizyjny systemy w połączeniu z celownikami termowizyjnymi montowanymi na karabinach. Takie połączenie pozwala operatorom na szybkie skanowanie rozległych obszarów za pomocą urządzeń ręcznych, takich jak Sirius HD, a następnie należy przejść na optykę zamontowaną na broni, aby zapewnić precyzyjne strzelanie. Takie rozwiązanie oparte na dwóch urządzeniach zwiększyło skuteczność wykrywania o około 60% w porównaniu z konfiguracjami opartymi wyłącznie na lunecie.
Zasięg wykrywania ma większe znaczenie, niż większość ludzi zdaje sobie sprawę. Wysokiej jakości celowniki termowizyjne wykrywają dziki z odległości 500–800 jardów, choć zasięg pozwalający na celne oddanie strzału z poszanowaniem zasad etyki łowieckiej wynosi raczej 200–300 jardów. Ten zwiększony zasięg wykrywania daje łowcom czas na ocenę wielkości stada, zaplanowanie podejścia oraz zajęcie pozycji zapewniającej maksymalną skuteczność polowania.
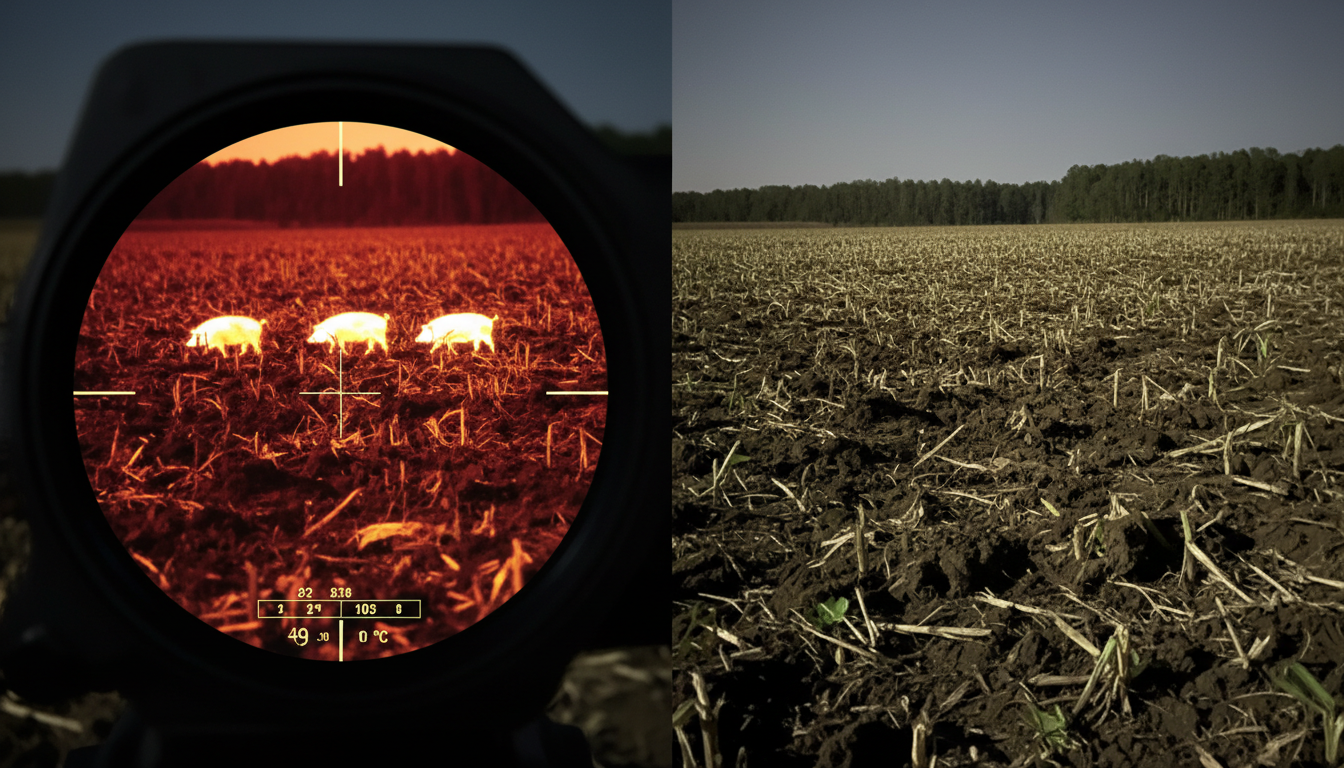
Najbardziej szczegółowym studium przypadku jest gospodarstwo rolne o powierzchni 2 400 akrów w południowym Teksasie. W gospodarstwie tym prowadzi się hodowlę bydła oraz uprawę siana, a udokumentowane szkody w uprawach spowodowane przez dzikie świnie przekraczają rocznie $85 000. Wcześniejsze działania zwalczające, polegające na polowaniach w ciągu dnia i operacjach z wykorzystaniem reflektorów, pozwalały na usunięcie około 60 świń rocznie, nie powodując jednak zmniejszenia ogólnej populacji ani poziomu szkód.
W ramach tej operacji wiosną 2024 roku przeprowadzono systematyczną likwidację celowników termowizyjnych. Dwóch operatorów wyposażono w celowniki termowizyjne montowane na karabinach, o rozdzielczości 640×512 i zintegrowanych dalmierzach laserowych. Sprzęt pomocniczy obejmował ręczne monokularowe urządzenia termowizyjne do skanowania oraz tłumiki, aby uniknąć zwracania uwagi ocalałych odgłosami strzałów.
Wyniki za pierwsze 8 miesięcy:
W ramach operacji śledzono w szczególności eliminację całych stad, ponieważ usuwanie całych grup rodzinnych uniemożliwia zwierzętom naukę nowych zachowań. Gdy operatorzy zabijali jedną lub dwie dziki z grupy, ocalające się osobniki uczyły się zachowań unikowych. Całkowite wyeliminowanie stada całkowicie wyeliminowało ten problem. Spośród 38 spotkań ze stadami w 32 przypadkach doszło do całkowitej eliminacji wszystkich widocznych dzików.
Zebraliśmy dane z 14 gospodarstw w Teksasie, Oklahomie i Arkansas, w których w latach 2023–2025 realizowano programy zwalczania dzików z wykorzystaniem kamer termowizyjnych. Powierzchnia gospodarstw wynosiła od 800 do 5 200 akrów, a charakteryzowały się one zróżnicowanym ukształtowaniem terenu i różną początkową gęstością populacji dzików.
Wszystkie operacje przebiegały według podobnych procedur:
Zbiorcze wyniki dla wszystkich 14 nieruchomości:
Wyniki te świadczą o ogromnej poprawie w porównaniu z tradycyjnymi metodami. Gospodarstwa, które wcześniej usuwały rocznie 40–80 dzików, obecnie usuwały 150–300 dzików w podobnym czasie. Co ważniejsze, odnotowano rzeczywisty spadek liczebności populacji, co znalazło odzwierciedlenie w zmniejszeniu szkód na polach oraz mniejszej liczbie obserwacji dzików podczas rutynowych kontroli terenów.
Nie wszystkie celowniki termowizyjne osiągały takie same wyniki. Sprawdziliśmy, które parametry techniczne miały wpływ na lepsze wyniki w terenie. Największe znaczenie miała rozdzielczość — operatorzy korzystający z czujników o rozdzielczości 640×512 konsekwentnie osiągali lepsze wyniki niż ci, którzy używali urządzeń o rozdzielczości 384×288, zarówno pod względem wskaźników wykrywalności, jak i celności strzałów z większej odległości.
Dane dotyczące zasięgu wykrywania okazały się mniej wiarygodne niż twierdzili producenci. Reklamowany zasięg wykrywania wynoszący 1 800 jardów oznaczał “wykrycie obecności sygnatury cieplnej”, a nie “zidentyfikowanie jej jako dzika nadającego się do strzału”. Praktyczny zasięg identyfikacji umożliwiający oddanie strzału zgodnego z zasadami etyki wynosił maksymalnie około 250–350 jardów, nawet przy użyciu najwyższej klasy optyki.
Funkcje, które w wymierny sposób poprawiły wyniki:
Operatorzy korzystający ze sprzętu takiego jak Pegasus 2 LRF Lunety z wbudowanym dalmierzem wykazały o 25% wyższy wskaźnik skuteczności pierwszego strzału w porównaniu z lunetami wymagającymi użycia oddzielnych urządzeń dalmierzowych. Przełożyło się to bezpośrednio na wyższy odsetek wyeliminowanych celów, ponieważ niecelne pierwsze strzały powodowały rozrzut grup przed kolejnymi strzałami.
W ramach prowadzonych operacji odnotowaliśmy trzy podstawowe taktyki polowań z wykorzystaniem termowizji: strzelanie z pojazdów patrolowych, podejście typu „spot-and-stalk” oraz obserwację ze stałych stanowisk na wzniesieniach. Każda z nich charakteryzowała się innym wskaźnikiem skuteczności i miała inne zastosowania.
Operacje z wykorzystaniem pojazdów przyniosły najwyższe wyniki ogółem. Łowcy poruszali się powoli (5–15 mil na godzinę) wzdłuż skrajów pól i dróg dojazdowych, obserwując teren za pomocą monokularów termowizyjnych lub urządzeń ręcznych. Po wykryciu dzików zbliżali się do nich na odległość 75–150 jardów, korzystając z pojazdów, a następnie strzelali z stabilnych pozycji, wykorzystując podpory pojazdów lub kije strzeleckie. Metoda ta pozwalała na upolowanie średnio 8–12 dzików podczas każdej udanej nocy.
Metody tropienia i podkradania się sprawdziła się lepiej w przypadku ostrożnych stad lub obszarów, na których panowała duża presja. Operatorzy wykrywali dziki z daleka, a następnie zbliżali się do nich pieszo, wykorzystując ukształtowanie terenu i kierunek wiatru, aż do osiągnięcia zasięgu strzału. Metoda ta zajmowała więcej czasu na każdą akcję, ale pozwalała osiągnąć wskaźnik eliminacji stad na poziomie 92%, gdy operatorzy zajmowali pozycje strzeleckie — najwyższy spośród wszystkich podejść taktycznych.
Obserwacja stacjonarna Obserwacja z wież lub podwyższonych stanowisk okazała się najmniej skuteczna. Chociaż była to wygodna metoda, umożliwiająca długotrwałą obserwację, nieprzewidywalne wzorce przemieszczania się dzików sprawiały, że operatorzy spędzali sporo czasu na obserwowaniu pustych pól. W gospodarstwach, w których wypróbowano tę metodę, średnia liczba dzików zaobserwowanych w ciągu nocy wyniosła zaledwie 2–4 sztuki.
Kierunek wiatru miał większe znaczenie, niż się spodziewano. Wyjątkowy węch świń pozwalał im wyczuć zapach człowieka z odległości ponad 200 jardów przy sprzyjających warunkach wiatrowych. Jednostki, które skrupulatnie sprawdzały kierunek wiatru i zbliżały się z pozycji z wiatrem, osiągały średnio o 401 TP3T wyższy wskaźnik eliminacji sygnałów echosondy niż te, które nie uwzględniały czynników związanych z wiatrem.
Lunety termowizyjne wiążą się ze znacznymi nakładami początkowymi — ceny wysokiej jakości urządzeń montowanych na karabinach wahają się od $2 500 do $6 000. Obliczyliśmy rzeczywisty zwrot z inwestycji dla gospodarstw rolnych na podstawie unikniętych szkód w uprawach oraz obniżonych kosztów infrastruktury.
Gospodarstwo o powierzchni 1 200 akrów w stanie Oklahoma, zajmujące się uprawą siana i hodowlą bydła, sporządziło zestawienie swoich kosztów i oszczędności:
Inwestycja początkowa:
Udokumentowane oszczędności:
Dzięki tej operacji cała inwestycja w termowizję zwróciła się w ciągu niecałych 3 miesięcy użytkowania. Prognozowane oszczędności w okresie 5 lat przekroczyłyby $120 000, gdyby wskaźniki ograniczenia szkód utrzymały się na stałym poziomie. Nawet po uwzględnieniu kosztów konserwacji sprzętu i amunicji zwrot z inwestycji znacznie przewyższyłby koszty alternatywnych metod zwalczania, w tym odłowu lub komercyjnych operacji śmigłowcowych.
Komercjalni operatorzy zajmujący się kontrolą populacji dzików, korzystający z celowników termowizyjnych, odnotowali jeszcze lepsze wyniki ekonomiczne. Ich wydajność wzrosła o 300–400%, co pozwoliło pojedynczym operatorom zarządzać terenami, które wcześniej wymagały zaangażowania wielu myśliwych wyposażonych w konwencjonalny sprzęt.
Skuteczność celownika termowizyjnego różniła się w zależności od pory roku, choć nie tak znacząco, jak początkowo się spodziewaliśmy. Podczas operacji letnich pojawiały się trudności, gdy temperatura otoczenia zbliżała się do temperatury ciała dzika, co zmniejszało kontrast termiczny. Operatorzy radzili sobie z tym, polując w chłodniejszych godzinach po północy, kiedy różnice temperatur były większe.
Zima zapewniała optymalne warunki termiczne, charakteryzujące się maksymalnym kontrastem między dzikami a otoczeniem. Jednak krótsze noce i zmniejszona aktywność dzików podczas okresów ekstremalnych mrozów ograniczały możliwości prowadzenia badań. Ośrodki położone w klimacie południowym prowadziły działalność przez cały rok, podczas gdy w lokalizacjach północnych odnotowano 40-50% spadek aktywności w okresie zimowym.
Wiosenny sezon siewów przyniósł gospodarstwom rolnym najwyższe wskaźniki zwrotu. Świnie skupiały się na świeżo obsianych polach, co sprawiało, że były łatwe do przewidzenia i dostępne. Gospodarstwa, które w wiosennym okresie trwającym od 6 do 8 tygodni skoncentrowały działania z wykorzystaniem celowników termowizyjnych, pozyskały w tych intensywnych okresach 60–70% całkowitego rocznego wyniku.
Letnie upały wymagały dostosowania sprzętu. W wysokich temperaturach skracała się żywotność akumulatorów — operatorzy nosili ze sobą 2–3 zestawy zapasowych akumulatorów, podczas gdy przy umiarkowanej pogodzie wystarczał im jeden zestaw. W niektórych celownikach termowizyjnych odnotowano spadek wydajności przy temperaturze otoczenia powyżej 95°F, choć urządzenia z wyższej półki zachowywały sprawność we wszystkich testowanych zakresach temperatur.
Lunety termowizyjne nie są panaceum. Odnotowaliśmy szereg ograniczeń i trudności, które miały wpływ na rzeczywiste wyniki. Identyfikacja celów na dużych odległościach nadal stanowiła problem — sygnatury termiczne pokazują ciepło, a nie szczegóły. Operatorzy musieli zbliżyć się do celów bardziej, niż sugerowały to zasięgi wykrywania, aby potwierdzić, że są to dziki, a nie jelenie, bydło czy inne zwierzęta.
Gęsta roślinność znacznie ograniczyła skuteczność działań. Chociaż kamery termowizyjne lepiej przenikają przez rzadkie zarośla niż urządzenia noktowizyjne, gęsty baldachim leśny lub gęste zarośla całkowicie blokowały sygnatury cieplne. Na terenach pokrytych lasem o współczynniku 40%+ odnotowano o 35–50% niższe wskaźniki odstrzału dzików w porównaniu z terenami otwartymi, przy zastosowaniu identycznego sprzętu i taktyki.
Ograniczenia prawne zawęziły zakres stosowania tej technologii w niektórych stanach. Chociaż większość stanów południowych zezwala na nocne polowania na dziki z wykorzystaniem optyki termowizyjnej na terenach prywatnych, kilka jurysdykcji nakłada ograniczenia dotyczące tej technologii lub wymaga uzyskania specjalnych zezwoleń. Na przykład w stanie Georgia dozwolone są nocne polowania na dziki, ale obowiązują tam konkretne ograniczenia regulacyjne dotyczące rodzajów optyki, zależne od przepisów obowiązujących w poszczególnych hrabstwach.
Warunki pogodowe wpłynęły na działalność bardziej niż przewidywano. Ulewny deszcz, gęsta mgła i wysoka wilgotność powietrza zmniejszyły zasięg wykrywania o 30–40%. Operatorzy w regionach przybrzeżnych lub na obszarach o wysokich opadach deszczu odnotowywali średnio mniej produktywnych nocy w miesiącu w porównaniu z suchszymi lokalizacjami w głębi lądu. Prędkość wiatru powyżej 20 mil na godzinę powodowała ruch roślinności na tyle intensywny, że generował fałszywe sygnały i utrudniał identyfikację celów.
Dane z naszego studium przypadku pokazują, że dzięki zastosowaniu celowników termowizyjnych zwalczanie dzikich świń przekształciło się z frustrującej, przegranej walki w program, który da się skutecznie realizować. Wskaźnik skuteczności przekraczający 85% w przypadku eliminacji stad stanowi ogromną poprawę w porównaniu z tradycyjnymi metodami, które z trudem osiągały poziom 40%.
Liczby mówią same za siebie: gospodarstwa stosujące systematyczne programy kontroli termowizyjnej zmniejszyły populację dzików o 70–90% już w ciągu pierwszych sezonów. Szkody w uprawach zmniejszyły się proporcjonalnie, a udokumentowane oszczędności często przekraczały $20 000–$40 000 rocznie w średniej wielkości gospodarstwach rolnych. Średni zwrot z inwestycji w pierwszym roku wyniósł 300–500%, biorąc pod uwagę wyłącznie szkody, którym udało się zapobiec.
Ale rzecz w tym, że celowniki termowizyjne to nie magia. To narzędzia, które wymagają umiejętności, planowania i konsekwentnego stosowania. Najbardziej udane operacje, które przeanalizowaliśmy, traktowały eliminację dzików jako ciągłe zarządzanie populacją dzikich zwierząt, a nie jako sporadyczne wyprawy myśliwskie. Prowadzono szczegółową dokumentację, śledzono wyniki i nieustannie udoskonalano taktykę w oparciu o to, co się sprawdzało.
Dla właścicieli gruntów borykających się z poważnymi problemami związanymi z dzikami dane te przemawiają za inwestycją w lunetę termowizyjną. Biorąc pod uwagę roczne szkody rzędu $10 000–$50 000, wydanie $4 000–$6 000 na sprzęt, który może ograniczyć te szkody o 70%+, nie jest ryzykownym posunięciem— to mądra decyzja biznesowa. Technologia ta działa. Wyniki to potwierdzają.
Jakiego wskaźnika skuteczności mogę realistycznie oczekiwać, stosując celowniki termowizyjne do zwalczania dzików?
Na podstawie danych z naszego studium przypadku przeszkoleni operatorzy korzystający z wysokiej jakości sprzętu termowizyjnego (o rozdzielczości 640×512 lub wyższej) osiągali średni wskaźnik eliminacji świń wynoszący 85% podczas zwalczania całych stad. Gospodarstwa wdrażające systematyczne programy usuwały 150–300 dzików w pierwszym roku działań, co w większości przypadków oznaczało zmniejszenie populacji o 60–80%. Indywidualne wyniki różnią się w zależności od ukształtowania terenu, gęstości populacji dzików oraz poziomu umiejętności operatorów. Należy liczyć się z okresem nauki podczas pierwszych 3–5 wypraw, w trakcie których opracowuje się skuteczne taktyki dostosowane do konkretnego terenu.
Ile kosztuje kompletny zestaw z celownikiem termowizyjnym przeznaczony do zwalczania dzików?
Wysokiej jakości lunety termowizyjne do karabinów, przeznaczone do zwalczania dzików, kosztują od $2 500 do $6 000. Kompletny zestaw, obejmujący lunetę, odpowiedni system mocowania, ręczny monokular termowizyjny do skanowania, podpórki strzeleckie lub dwójnóg, zapasowe baterie oraz amunicję, kosztuje od $4 000 do $8 000, w zależności od wyboru wyposażenia. Zestawy ze średniej półki cenowej, w przedziale około $4 500–$5 500, zapewniają doskonałe wyniki w przypadku większości gospodarstw rolnych. Biorąc pod uwagę zapobieganie szkodom w uprawach, typowy zwrot z inwestycji następuje w ciągu 3–6 miesięcy na terenach, gdzie występują aktywne problemy z dzikami.
Czy lunety termowizyjne pozwalają dostrzec dziki w gęstym lesie i gęstym zaroślach?
Termowizja lepiej przenika przez rzadkie zarośla i roślinność niż noktowizja, jednak gęsty baldachim leśny i bujne zarośla znacznie ograniczają jej skuteczność. Nasze analizy przypadków wykazały, że na terenach o pokryciu leśnym wynoszącym 40% lub więcej odnotowano o 35–50% niższe wskaźniki odstrzału dzików w porównaniu z terenami otwartymi. Termowizja sprawdza się najlepiej na polach uprawnych, pastwiskach, terenach wykarczowanych oraz w miejscach o rzadkim pokryciu roślinnym. Gęste lasy wymagają innych taktyk, w tym obserwacji śladów w strefach przejściowych między gęstym pokryciem roślinnym a otwartymi obszarami żerowania.
Jaka jest różnica między celownikami termowizyjnymi o rozdzielczości 384×288 a 640×512?
Rozdzielczość ma bezpośredni wpływ na zdolność identyfikacji celów z dużej odległości oraz wykonywania strzałów zgodnych z zasadami etyki łowieckiej. W naszych testach terenowych operatorzy korzystający z rozdzielczości 640×512 osiągnęli średnio o 30% wyższy wskaźnik odłowu niż ci, którzy korzystali z urządzeń o rozdzielczości 384×288. Wyższa rozdzielczość zapewnia wyraźniejszą identyfikację celów z odległości 200–300 jardów, zmniejszając ryzyko błędnej identyfikacji i poprawiając skuteczność pierwszego strzału. W przypadku poważnych programów zwalczania dzików rozdzielczość 640×512 stanowi minimalną zalecaną wartość. Modele z niższej półki o rozdzielczości 384×288 sprawdzają się, ale ograniczają zasięg skuteczny oraz możliwości identyfikacji celów.
Czy w moim stanie dozwolone jest używanie celowników termowizyjnych podczas nocnych polowań na dziki?
Większość południowych stanów, w tym Teksas, Oklahoma, Arkansas, Luizjana, Missisipi, Alabama i Floryda, zezwala na stosowanie celowników termowizyjnych podczas nocnych polowań na dziki na terenach prywatnych bez żadnych ograniczeń, ponieważ dziki dzikie są klasyfikowane jako szkodniki inwazyjne. W stanie Georgia dozwolone są nocne polowania na dziki, ale obowiązują pewne ograniczenia na poziomie hrabstw. Kilka stanów północnych ogranicza polowania nocne niezależnie od rodzaju sprzętu. Przed zakupem sprzętu lub przeprowadzeniem nocnych polowań należy zawsze zweryfikować aktualne przepisy w stanowej agencji ds. dzikiej przyrody. Przepisy ulegają częstym zmianom w miarę upowszechniania się technologii termowizyjnej.
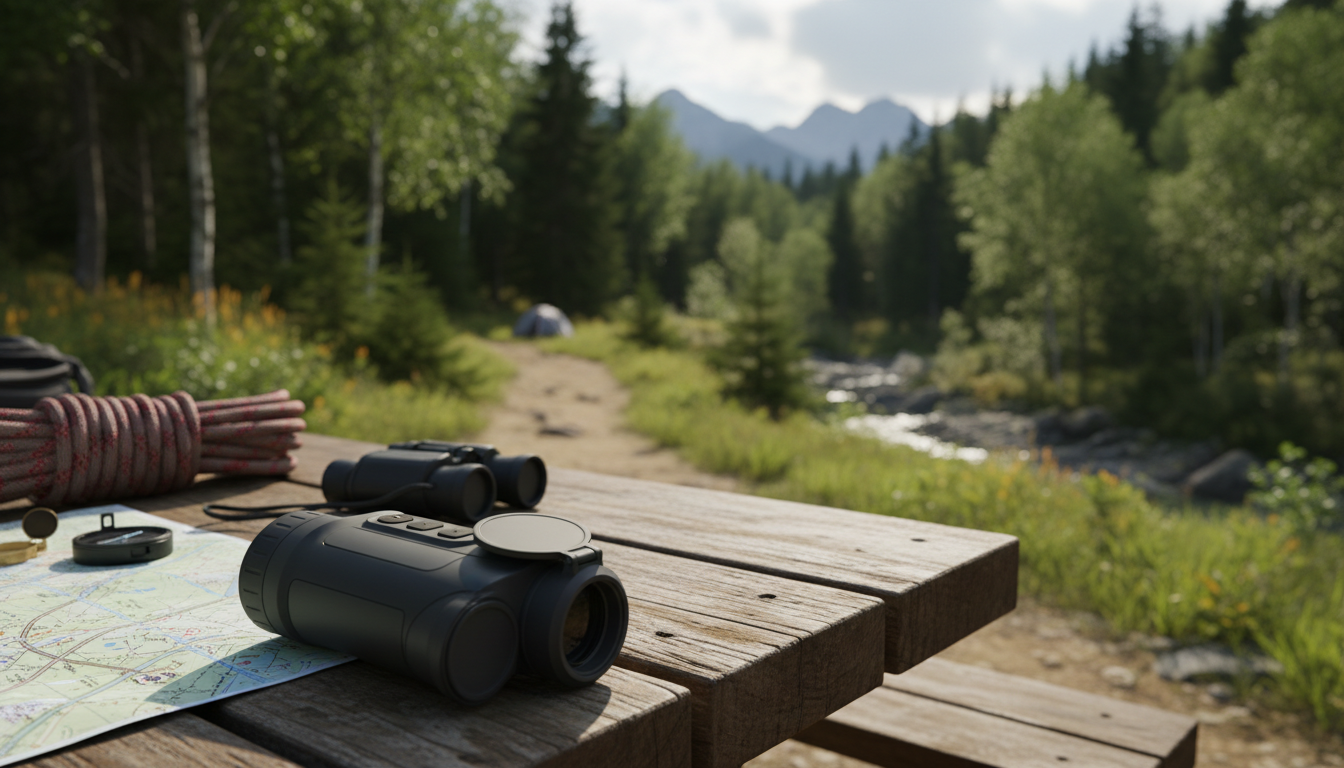
Most people think thermal monoculars are just for hunters tracking game in the dark. But here’s the thing—these devices have dozens of practical applications that can make your life easier, safer, and more cost-effective. Whether you’re spotting water leaks in your home or checking on livestock at night, thermal imaging opens up possibilities that go way beyond the woods.
We’ll walk you through seven practical uses that show just how versatile these handheld devices really are. And if you’re curious about how thermal imaging actually works, thermal monoculars detect infrared radiation—basically heat—and convert it into visible images that your eyes can see.
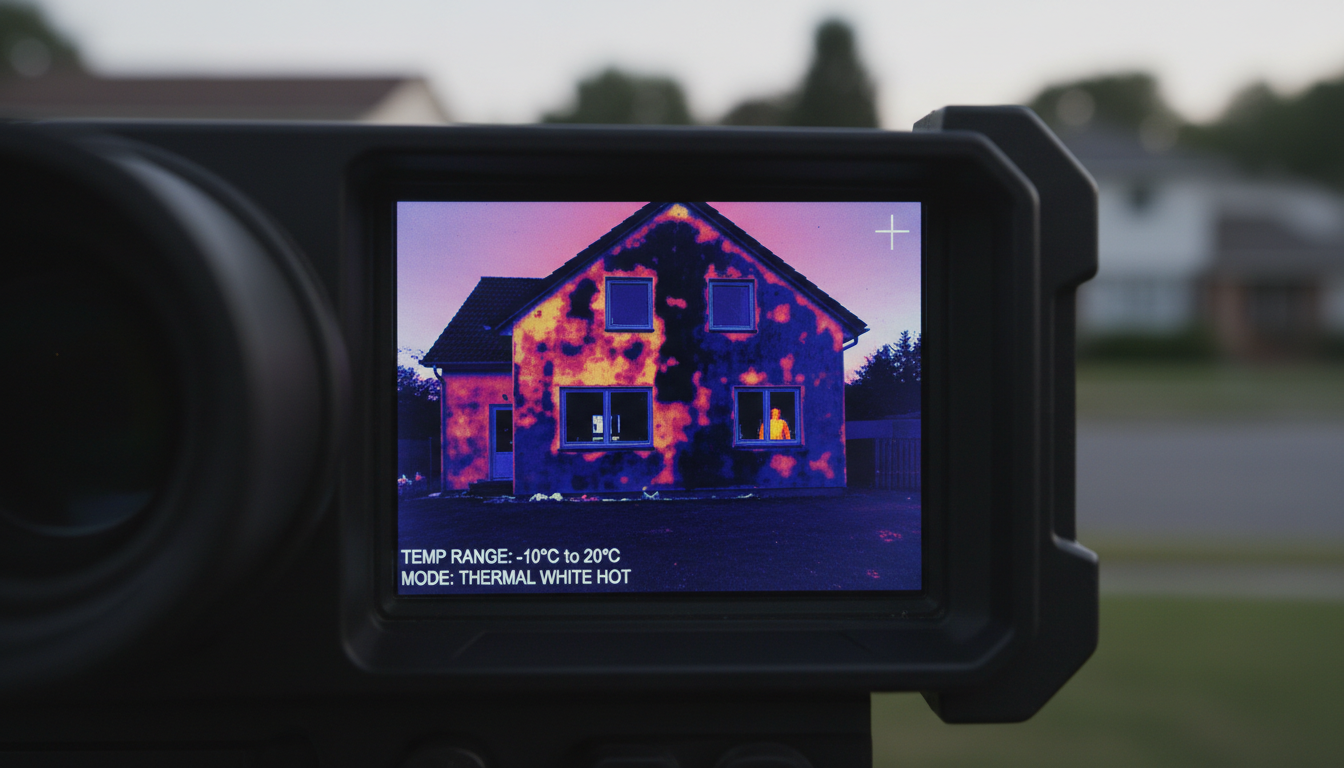
Your heating bill’s high, but you don’t know where the warmth’s escaping. A thermal monocular solves that problem in minutes.
Walk around your house with a thermal device and you’ll instantly see cold spots where insulation’s missing or deteriorating. Windows and doors that aren’t properly sealed show up as temperature differences on the display. You can check wall cavities for gaps without tearing anything apart.
This works year-round, too. In summer, you’ll spot where cool air’s leaking out and hot air’s getting in. One homeowner saved over $400 annually after finding and fixing insulation gaps they discovered with thermal imaging. The device pays for itself after just a few years of reduced energy costs.
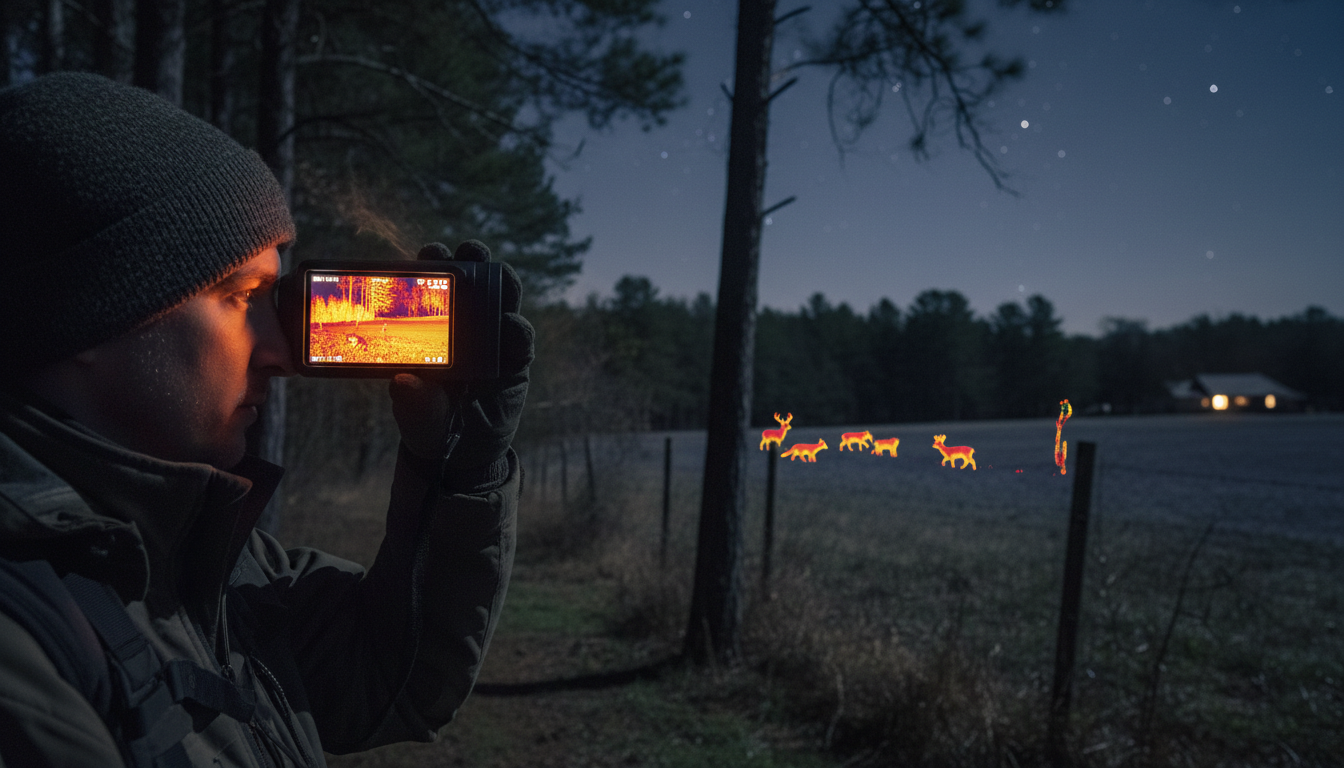
Nothing beats thermal imaging for keeping an eye on your property after dark. Traditional security cameras struggle in low light, but thermal monoculars work perfectly in total darkness.
You can scan your land without alerting anyone with visible lights. Heat signatures from people or animals stand out clearly against cooler backgrounds, so you’ll spot trespassers, wildlife near your home, or anything unusual happening on your property. We’ve found that models like the Pixfra Sirius HD lub Pegasus 2 LRF offer excellent detection ranges for property monitoring.
Many property owners use thermal monoculars to check fence lines, outbuildings, and perimeters without walking the entire area. You can cover large spaces quickly from a single vantage point, making rounds faster and safer.
Whether you’re buying a house or renovating your current one, thermal monoculars reveal hidden problems before they become expensive disasters.
Water leaks behind walls show up as temperature anomalies. Electrical circuits that are overheating—a fire hazard—appear as hot spots. Moisture trapped in walls, which leads to mold, creates distinct thermal patterns. Professional home inspectors use thermal imaging regularly, but you don’t need to hire one for every check-up.
Thermal devices also help locate studs in walls without drilling test holes. They can identify poorly sealed ducts, roof leaks, and foundation issues. One contractor we know uses thermal imaging on every job site to verify insulation installation before closing up walls. It’s caught mistakes that would’ve cost thousands to fix later.
You can watch nocturnal animals without disturbing their natural behavior. Thermal monoculars let you observe wildlife that’s active when you’d normally be asleep—or just too dark to see anything.
Bats, foxes, raccoons, and other nocturnal creatures show up clearly on thermal displays. Researchers use this technology to study animal behavior, population counts, and movement patterns without interfering with the animals or their habitat. It’s also great for birdwatchers tracking owls or other night-active species.
If you’re into wildlife photography or nature documentation, thermal monoculars help you find subjects first, then switch to your camera once you’ve located them. The Pixfra Arc LRF offers excellent range for wildlife observation while remaining lightweight enough for extended field use.
When someone’s lost or injured, every minute counts. Thermal imaging dramatically improves search and rescue success rates by detecting body heat from distances that would be impossible with flashlights or night vision.
Search teams can scan large areas quickly, even through light brush or in complete darkness. A person’s heat signature stands out clearly against cooler surroundings, making them visible when they’d be invisible to the naked eye. This works in forests, mountains, urban areas—anywhere someone might need help.
Emergency responders use thermal monoculars to locate people trapped in collapsed buildings, lost hikers in wilderness areas, or individuals in smoke-filled environments. The technology’s saved countless lives by reducing search times from hours to minutes in many cases.
Farmers and ranchers have dozens of uses for thermal monoculars that save time and prevent losses.
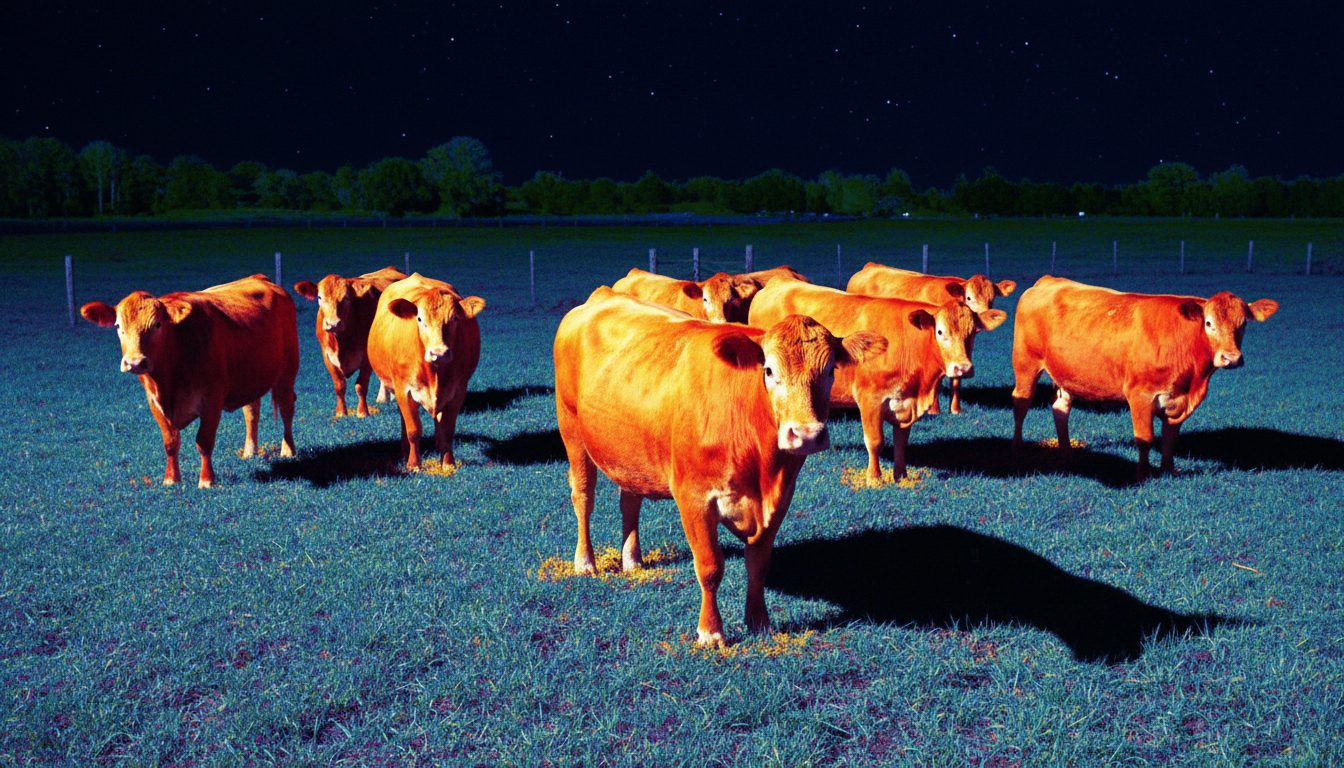
Check on animals at night without disturbing the herd. Spot a cow that’s separated from the group or lying down when she shouldn’t be. Identify sick animals by detecting fever—elevated body temperature shows up instantly on thermal displays. You can cover large pastures quickly without driving out to every corner of your property.
Thermal imaging also helps with predator control. Coyotes, feral hogs, or other animals threatening livestock show up clearly, even from long distances. Some ranchers use thermal monoculars during calving season to check pregnant cows overnight without spooking them with lights or vehicle noise. The Pixfra Draco provides solid performance for farm applications at a reasonable price point.
Firefighters rely on thermal imaging to save lives and make safer decisions in dangerous situations. But the technology’s also useful for fire prevention and early detection.
Forest management personnel use thermal monoculars to spot fires early—sometimes detecting them before smoke’s even visible. Hot spots that might reignite after a fire’s been controlled show up clearly. You can scan large areas quickly to confirm a fire’s completely out.
In active firefighting situations, thermal devices help locate people trapped in smoke-filled buildings without entering dangerous areas. They identify the hottest parts of a structure, helping crews target their efforts more effectively. The technology works through smoke and darkness, two conditions that would blind regular vision completely.
Some rural property owners keep thermal monoculars specifically for wildfire awareness during dry seasons. Being able to spot a fire from a distance gives you critical extra minutes to evacuate or call emergency services.
Thermal monoculars offer way more value than just spotting game in the woods. From saving money on energy bills to potentially saving lives in emergency situations, these devices prove their worth across dozens of applications. Whether you’re a homeowner looking to cut heating costs, a farmer checking livestock, or someone who values property security, thermal imaging technology delivers practical benefits you’ll use regularly.
The versatility’s what really stands out. One device handles home inspections, wildlife observation, security monitoring, and more. As thermal technology becomes more affordable and accessible, we’re seeing more people discover just how useful these tools are in everyday life. If you’ve been thinking thermal monoculars are only for hunters, we hope these seven uses have shown you otherwise.
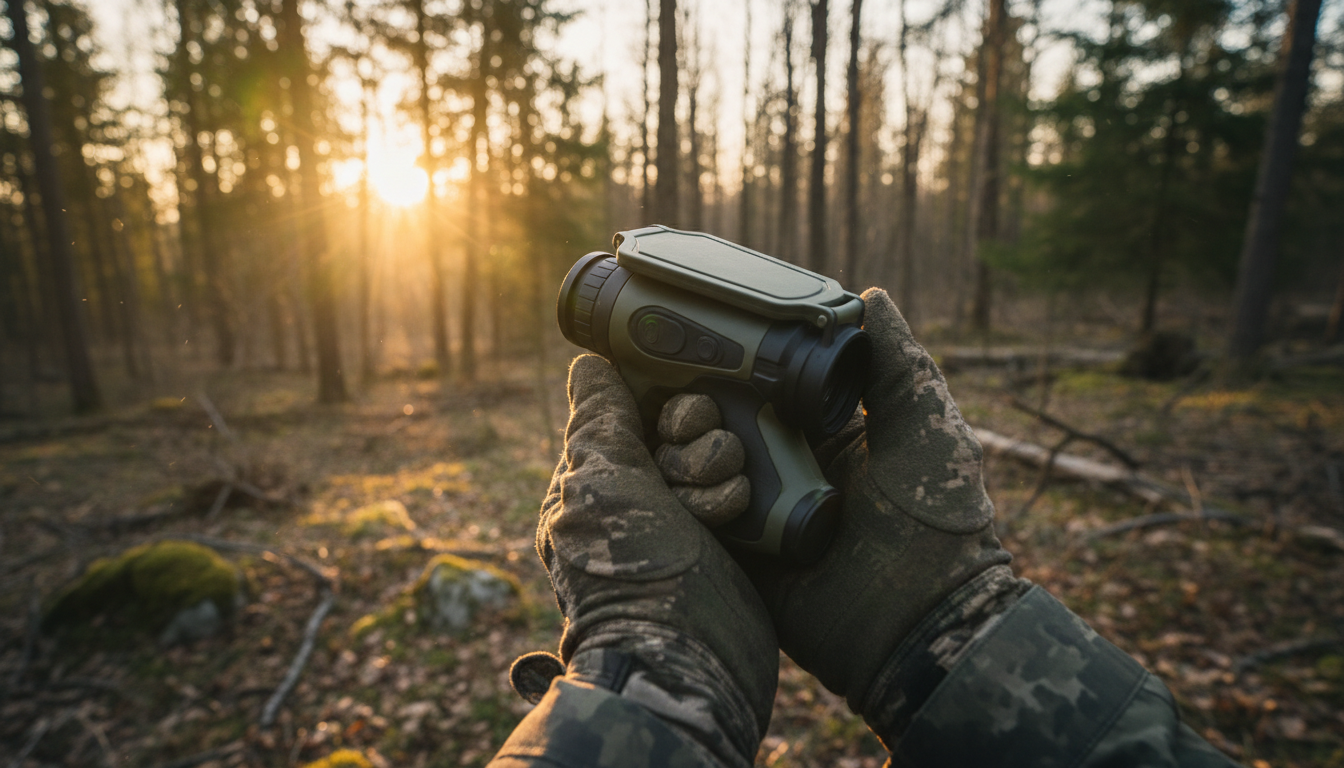
Your thermal monocular is more than just a piece of gear—it’s a serious investment in your outdoor adventures. Whether you’re scanning for game before dawn, tracking heat signatures through fog, or keeping watch in complete darkness, you need that device working flawlessly when it counts. But here’s the thing: thermal imaging tech isn’t indestructible. Dust, moisture, temperature swings, and rough handling can quietly degrade performance until you’re left squinting at blurry images right when you need clarity most.
We’ve put together this guide to help you protect your investment and maximize your monokularów termowizyjnych lifespan. From lens cleaning techniques that won’t scratch coatings to battery habits that prevent field failures, we’ll walk you through the maintenance routines that actually make a difference. Most of these practices take just minutes but can add years to your device’s service life. Let’s get into it.
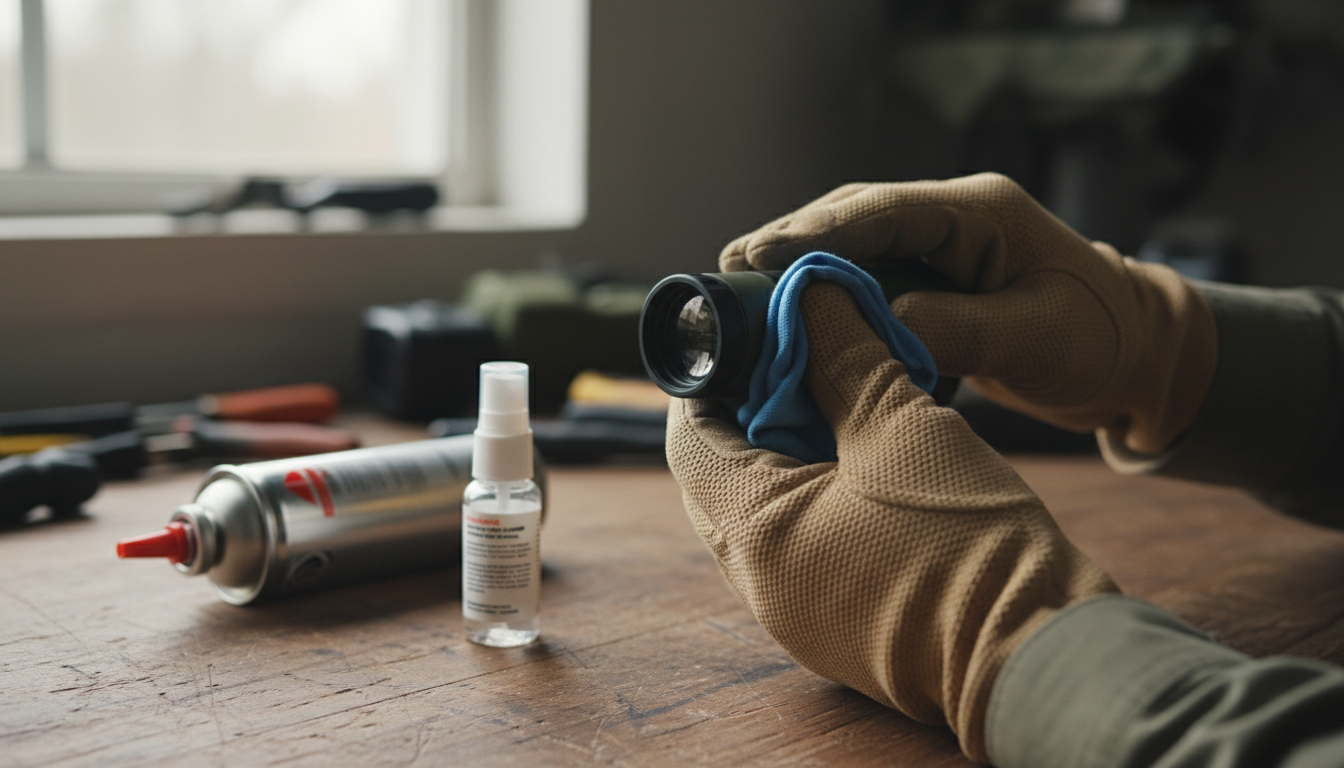
Your lens is the gateway to clear thermal images, and it’s also the most vulnerable part of your monocular. One wrong move with the wrong cloth and you’ve got permanent scratches on expensive optics.
Start by removing loose dust before you touch the lens surface. Use a soft air brush or compressed air to blow away particles—this prevents you from dragging grit across the glass when you wipe. Never use your shirt, paper towels, or anything rough. Those materials act like sandpaper on specialized coatings.
For actual cleaning, reach for a microfiber cloth designed for optics. If you’ve got stubborn smudges or fingerprints, add a small amount of lens cleaning solution specifically made for optical surfaces. Skip household glass cleaners—they contain chemicals that damage the anti-reflective coatings on thermal lenses. Apply the cleaner to your cloth, not directly to the lens, then wipe gently from the center outward using a rolling motion.
If you’re dealing with mud or heavy debris, rinse the lens with water first before wiping. This simple step prevents scratching when you clean. And always keep your lens caps on when the monocular isn’t actively in use. It sounds basic, but lens caps are your first line of defense against scratches, dust, and accidental impacts. Check out our Sirius HD oraz Pegasus 2 LRF models—both feature durable lens protection systems designed for field use.
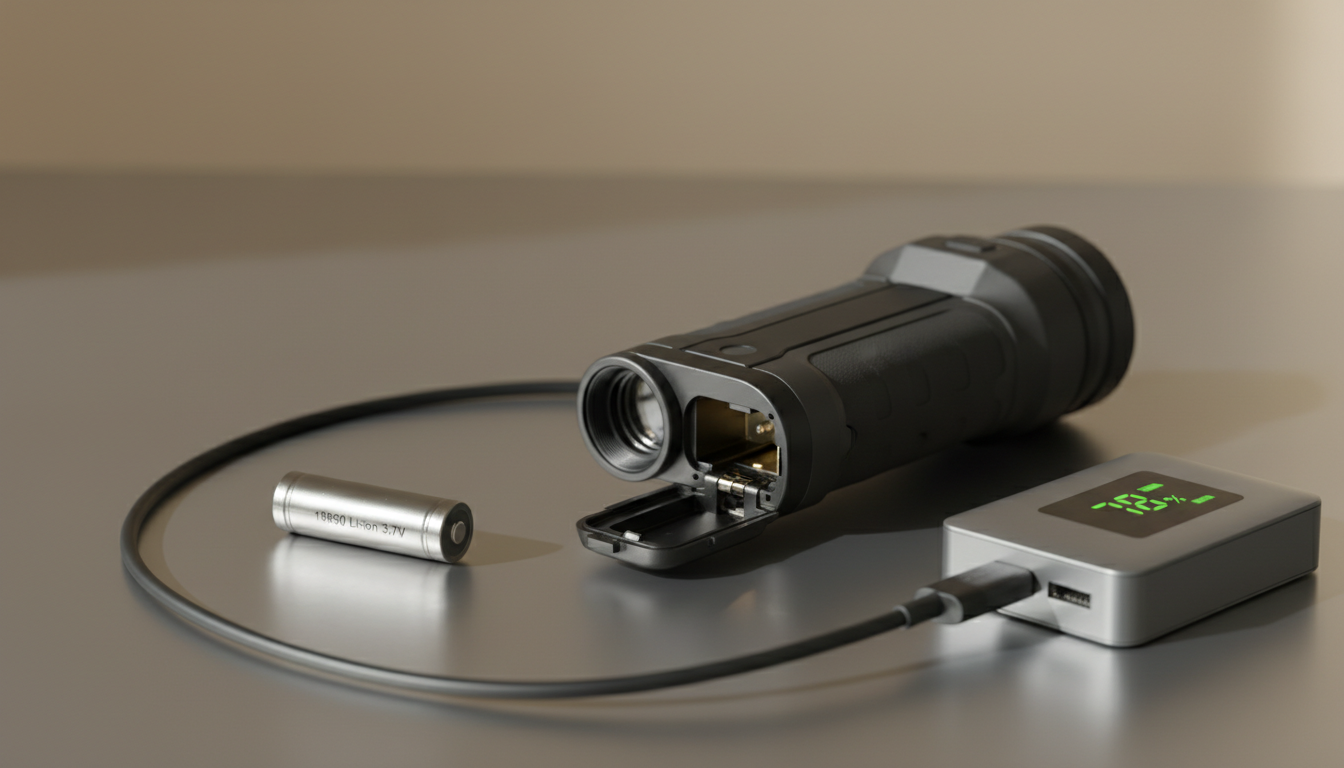
Battery issues will end your hunt faster than anything else. Dead power means dead device, no matter how good your thermal sensor is.
Most thermal monoculars run on rechargeable lithium-ion batteries. These batteries perform best when you follow a few simple habits. First, use only the charger that came with your device or one specified by the manufacturer. Generic chargers might work, but they can degrade battery health over time or even create safety risks.
Don’t let your battery drain completely if you can avoid it. Deep discharges shorten lifespan. Instead, try to keep your charge between 50-80% for everyday storage. If you’re storing your monocular for months during off-season, charge the battery to about 50% before putting it away. This preserves battery chemistry better than storing it fully charged or fully drained.
Temperature matters more than you might think. Never charge your battery when it’s freezing cold—below 32°F can damage cells permanently. Similarly, avoid leaving your monocular in hot vehicles or direct sunlight for extended periods. Heat accelerates battery degradation and can affect calibration of the thermal sensor itself.
Remove batteries if you’re storing the device for several months. This prevents potential leakage that could corrode internal electronics. Store those batteries separately in a cool, dry place, and check them periodically to make sure they’re holding their charge.
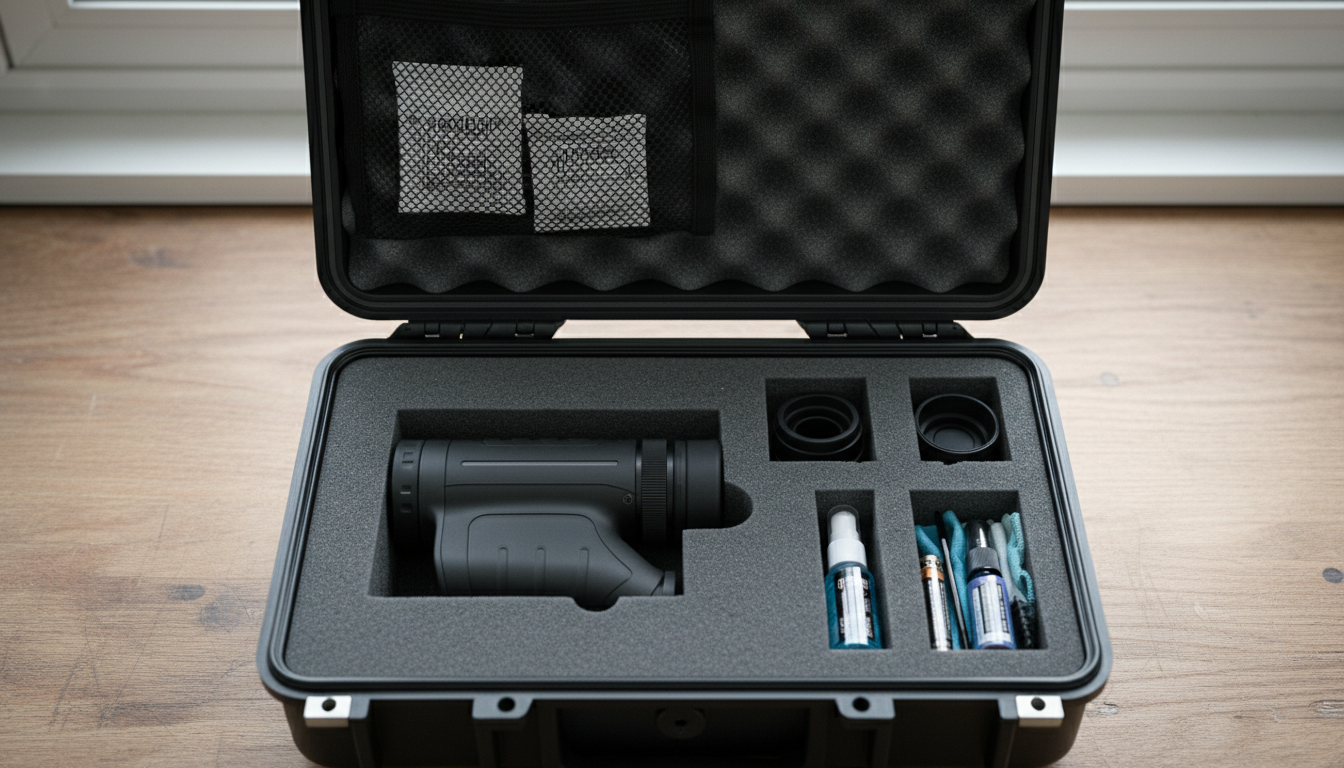
How you store your thermal monocular between uses directly impacts its longevity. Temperature and humidity are your biggest concerns here.
Find a cool, dry location away from direct sunlight. Extreme temperatures—whether hot or cold—can mess with sensitive electronics and throw off sensor calibration. High humidity creates condensation inside the device, which can short circuits or promote corrosion and mold growth on internal components.
Consider adding silica gel packets to your storage case to absorb excess moisture. These inexpensive desiccant packs can prevent a lot of humidity-related problems. If you live in a particularly humid climate, you might even want to use a dehumidifier in your storage area.
Always use a protective case—preferably the original case with foam inserts, or a hard case with padding. This protects against accidental drops and impacts that could damage the lens or internal components. Your case should have separate compartments for accessories like cables, spare batteries, and cleaning tools. Keeping these items separate prevents scratches and pressure damage to the monocular body.
After using your device in wet conditions, dry it completely before storage. Inspect all seals and ports to make sure water hasn’t penetrated. Even if your monocular is rated for water resistance, it’s smart to keep it as dry as possible during storage to maintain those seals over time.
Software updates aren’t just about new features—they often include bug fixes, performance improvements, and better image processing algorithms. Manufacturers release firmware updates based on real-world testing and user feedback, and these updates can genuinely improve your device’s performance.
Check your manufacturer’s website every few months for firmware updates. The process usually involves connecting your monocular to a computer via USB and running the update software. Follow the instructions carefully and don’t disconnect during an update.
Calibration is equally important. Your thermal sensor needs periodic calibration to maintain image accuracy. Many modern thermal monoculars have automatic calibration features that run when needed, but some situations call for manual calibration. If you notice image quality degrading, temperature readings seeming off, or strange artifacts in your thermal view, run a calibration cycle.
Most devices include a calibration function in their menu system—it typically takes just seconds. The monocular will briefly shutter the sensor or perform an internal reference check to recalibrate the detector. This quick process can dramatically improve image clarity.
Before hunting season starts, perform a complete check at least a month ahead. Test battery health, update firmware, and run calibration to avoid surprises on opening morning. You don’t want to discover problems when you’re already in the field.
Thermal monoculars are built tough, but they’re still precision instruments. A few smart handling practices go a long way toward preventing damage.
Avoid sudden temperature changes when possible. If you’re moving from a warm vehicle into freezing outdoor temperatures, give your device a few minutes to acclimate gradually. Rapid temperature swings can affect sensor accuracy and create condensation inside the unit.
Keep your monocular away from magnetic interference and don’t subject it to physical shocks. Even though most models can handle typical field conditions, hard drops onto rocks or concrete can damage internal electronics or misalign optical components. Use the wrist strap that came with your device—it’s there for a reason.
If you get mud or debris on the exterior body, wipe it gently with a soft, slightly damp cloth. For stubborn dirt on the housing, you can use a bit of synthetic detergent, but keep moisture away from ports and seals. Never immerse your monocular in water unless it’s specifically rated for full submersion.
Transport your device in its protective case whenever you’re moving between locations. Whether you’re driving to your hunting spot or hiking through rough terrain, that padded case absorbs impacts that would otherwise reach your monocular.
Even with perfect maintenance, you might encounter occasional problems. Knowing how to troubleshoot can save you time and frustration.
Blurry or unclear images: First, clean the lens—fingerprints and dust are the usual culprits. If that doesn’t help, check your focus adjustment to make sure it’s set correctly for your viewing distance. Still blurry? The issue might be internal, requiring manufacturer service or recalibration.
Battery drains too fast: Replace old batteries with fresh ones. Lithium-ion batteries typically need replacement after 2-3 years of heavy use. Also check your settings—high brightness, maximum refresh rates, and features like Wi-Fi or video recording drain power quickly. Adjust these settings to balance performance with battery life.
Device won’t power on: Make sure the battery is charged and properly installed. Try a different battery if you have one. Check that battery contacts are clean and free of corrosion. If the device still won’t turn on, you’ll likely need professional service.
Image quality degraded over time: Run a calibration cycle. Thermal sensors can drift slightly over time, and recalibration often restores optimal performance. If calibration doesn’t help, consult your user manual or contact the manufacturer.
Quality thermal monoculars typically last 5-10 years with proper care. The microbolometer sensors are rated for thousands of operating hours. Your biggest longevity factors are protecting against hard impacts, keeping moisture out, and storing properly during off-season.
Think of maintenance as preventive medicine. A few minutes after each outing to clean your lens, check seals, and properly store your device will prevent problems that could cost hundreds to repair. Regular inspection catches wear early, before small issues become major failures.
Buy quality accessories that protect your gear. Invest in a good case, quality batteries, and proper cleaning supplies. These relatively small expenses protect a much larger investment. And when it comes time to upgrade, well-maintained gear holds its resale value significantly better than neglected equipment.
At Pixfra, we design our thermal imaging products—like the Draco oraz Arc LRF models—with durability in mind. But even the toughest gear benefits from smart maintenance practices. Treat your equipment right, and it’ll deliver reliable performance season after season.
Maintaining your thermal monocular isn’t complicated—it just takes consistency. Clean your lenses carefully with the right materials, manage your batteries properly, store in controlled conditions, keep firmware updated, and handle with reasonable care. These habits take minimal time but can literally add years to your device’s lifespan while maintaining peak performance.
Your thermal monocular gives you capabilities in the field that were military-only technology just a few years ago. Return the favor by giving it the basic care it needs. A few minutes of maintenance after each outing beats days without your gear while it’s off getting repaired—or worse, shopping for an expensive replacement.
Start building these habits now. Your future self, glassing heat signatures through pre-dawn darkness with crystal-clear optics, will thank you.
How often should I clean my thermal monocular lens? Clean your lens after each use, especially if you’ve been in dusty or dirty conditions. For light use in clean environments, a quick inspection and cleaning every few outings is fine. Always remove visible dust or fingerprints before your next outing to maintain optimal image quality. Use proper lens cleaning materials—never rough fabrics or household cleaners.
Can I use regular glass cleaner on my thermal monocular? No. Household glass cleaners contain chemicals that can damage the specialized anti-reflective coatings on thermal lenses. These coatings are what make your thermal imaging work properly, and damaging them can cause permanent image degradation. Always use lens cleaning solutions specifically designed for optical instruments, or plain isopropyl alcohol at 90%+ concentration applied to a microfiber cloth.
What’s the best temperature for storing my thermal monocular? Store your device in a cool, dry environment with stable temperatures between 50-70°F if possible. Avoid locations with extreme heat or cold, direct sunlight, or high humidity. If you’re storing for several months, keep the battery at around 50% charge and remove it from the device to prevent potential leakage. Temperature stability matters more than hitting an exact number.
Why does my thermal monocular battery seem to drain faster than it used to? Lithium-ion batteries naturally degrade over time, typically needing replacement after 2-3 years of regular use. Battery drain can also increase if you’re using high brightness settings, maximum refresh rates, or power-hungry features like Wi-Fi and video recording. Try lowering brightness, adjusting settings, and replacing the battery if it’s more than two years old.
How long should a quality thermal monocular last? With proper maintenance, quality thermal monoculars typically last 5-10 years or longer. The microbolometer sensors are rated for thousands of operating hours. The biggest factors affecting longevity are protection from physical impacts, keeping the device dry, proper storage during off-season, and basic maintenance like lens cleaning and battery care. Well-maintained devices often outlast their owners’ need for upgrades.
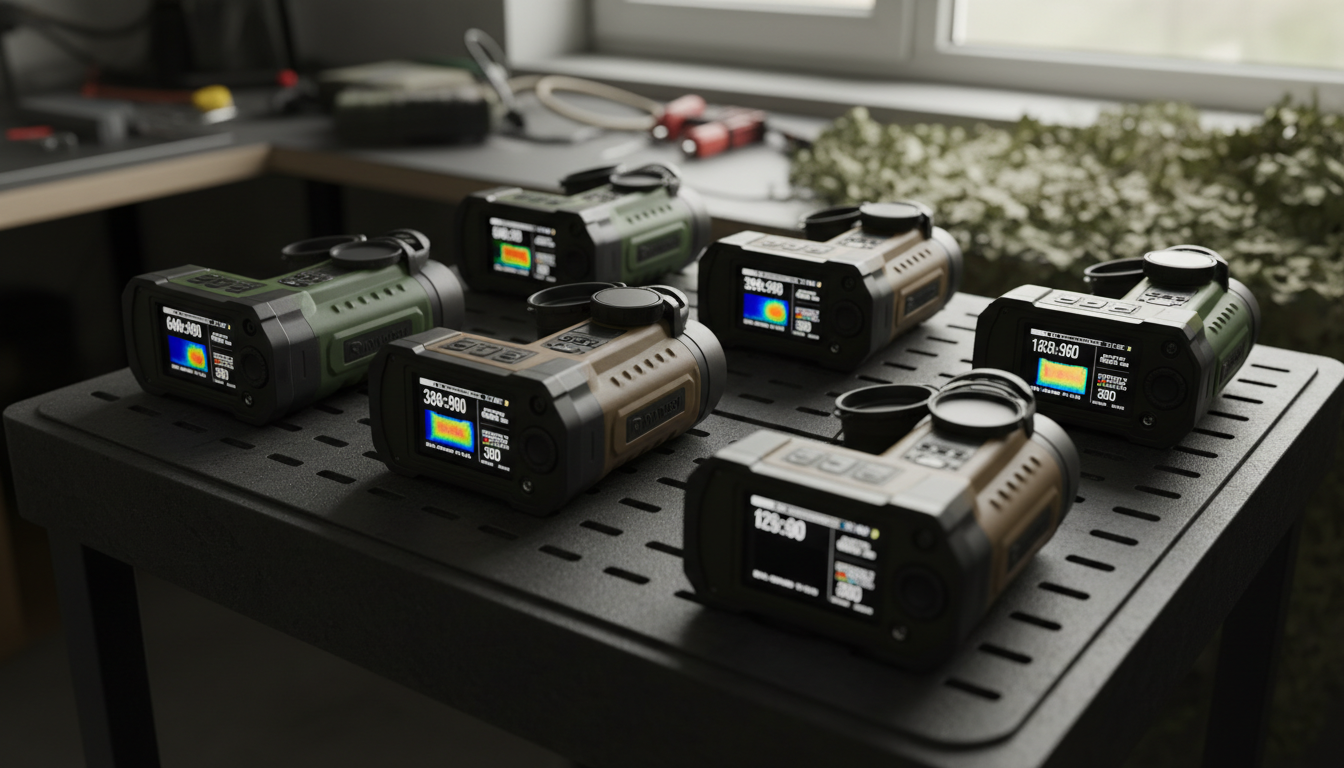
When you’re shopping for a thermal monocular, you’ll see specs like “640×480 resolution” and “50Hz refresh rate” plastered everywhere. But what do these numbers actually mean for your hunting trips or property scanning? And more importantly, which ones should you care about?
We’ve tested thermal devices in field conditions and talked to users who’ve spent thousands on gear. Here’s what you need to know about resolution and Hertz before making that investment.
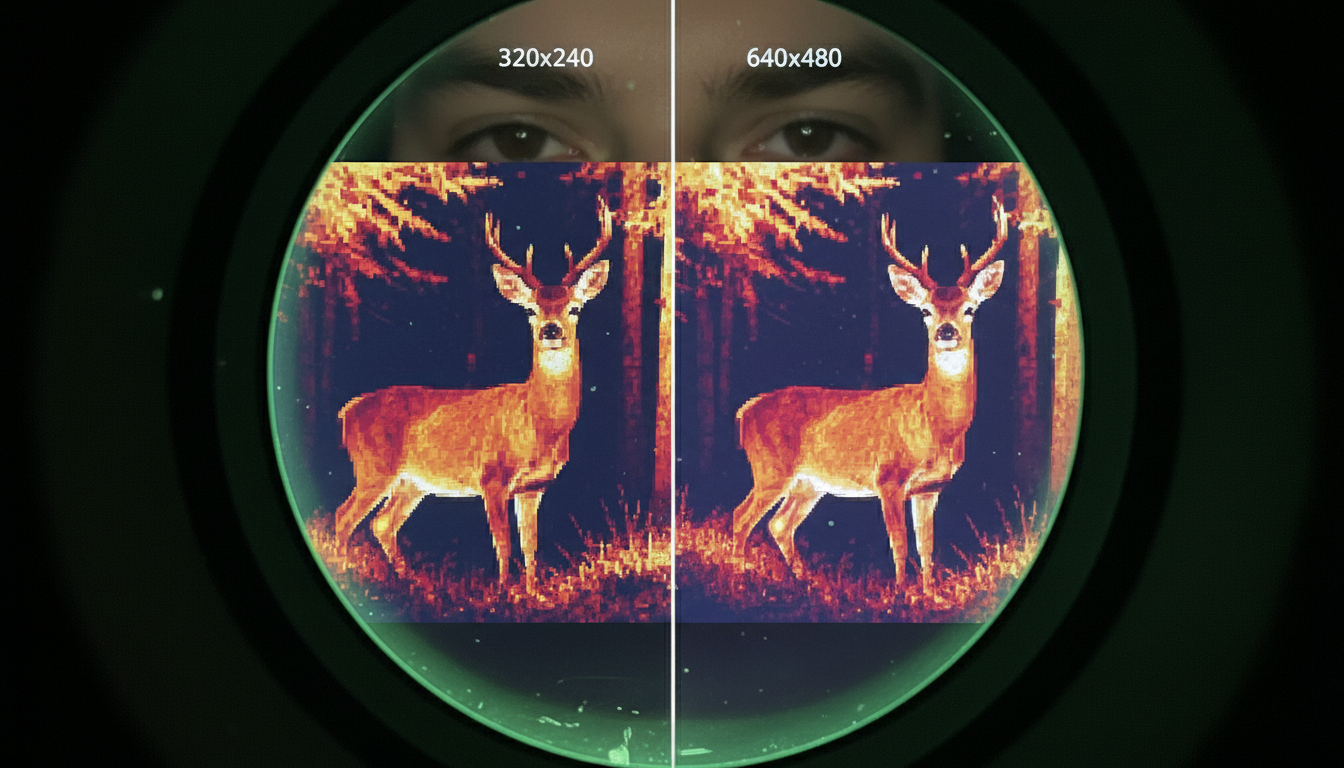
Here’s where it gets tricky. Your thermal monocular actually has two different resolutions, and manufacturers sometimes blur the line between them.
Ten sensor resolution is what captures heat information. Think of it as the camera itself—common sizes are 256×192, 384×288, or 640×480 pixels. A 384×288 sensor has 110,592 individual pixels detecting temperature differences in front of you.
Ten display resolution is the screen you look through. This number is often higher than the sensor resolution. You might see a monocular with a 384×288 sensor but a 1280×960 display. That doesn’t mean you’re getting more thermal information—it just means the display is upscaling what the sensor captures.
Your image quality is limited by the sensor, not the display. A high-resolution screen won’t fix a low-resolution sensor, but it can make the thermal image sharper and easier on your eyes during long scanning sessions.
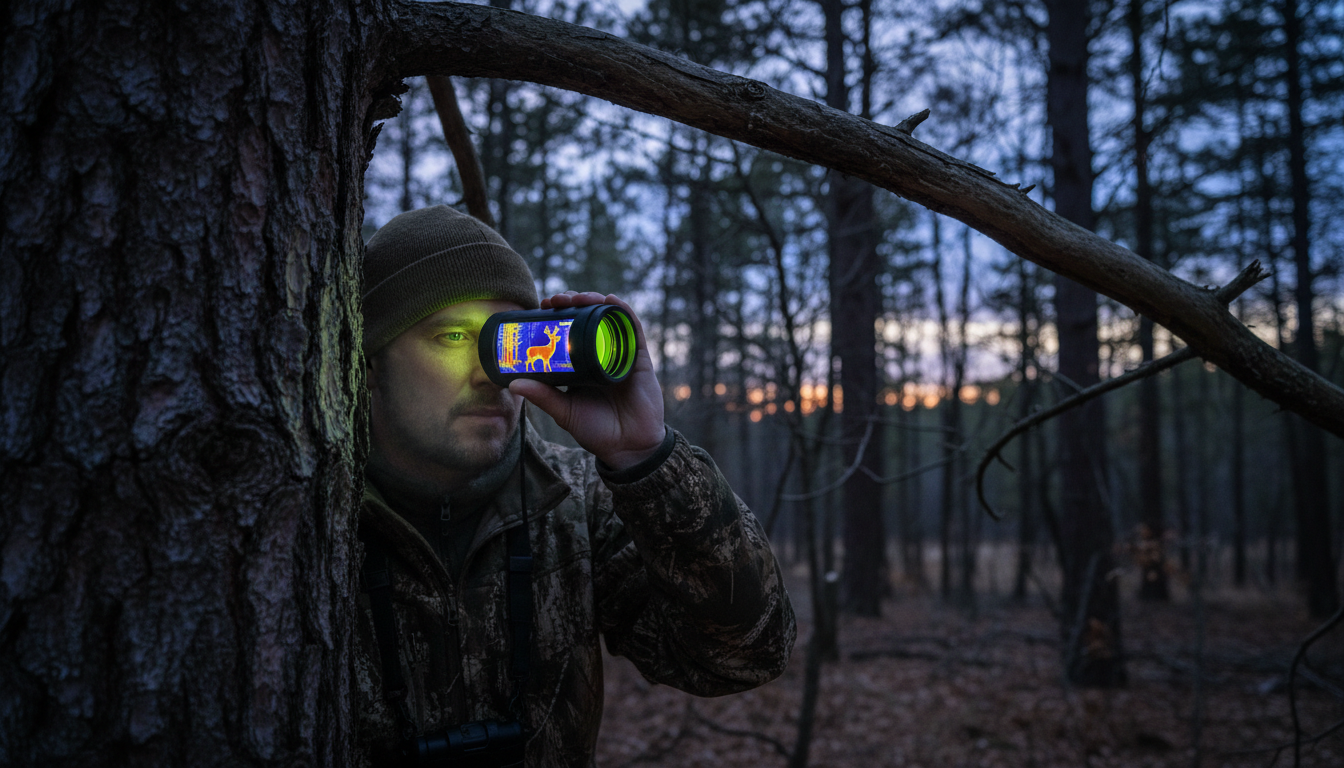
Budget devices with 256×192 sensors work fine for close-range scanning under 300 yards. We’ve used them on smaller properties where most activity happens within that range.
For properties over 100 acres, we recommend at least 384×288 resolution. This gives you clear recognition to 400-500 yards and handles most hunting scenarios. You’ll see enough detail to identify species and count animals.
If you’re scanning open terrain beyond 500 yards regularly, 640×480 resolution delivers better identification capability. Models like the Draco and Arc LRF from Pixfra offer reliable scanning at this level without jumping to premium pricing.
High-end 1280×1024 sensors provide exceptional detail even at full zoom, but they come with premium price tags. Unless you’re working at extreme distances or need professional-grade performance, you’ll get solid results from the mid-range options.
Hertz (Hz) tells you how many times per second your thermal monocular updates the image. A 30Hz device refreshes 30 times per second, while a 60Hz model does it twice as fast.
Standard thermal monoculars run at 30Hz or 50Hz. For most scanning work, 30Hz feels smooth enough. You can track moving deer, scan for hogs, and navigate terrain without noticeable lag.
Higher refresh rates like 50Hz or 60Hz provide smoother images when you’re moving fast or tracking quick targets. The difference becomes obvious when you’re panning across open fields or following running animals. Your eye picks up less blur and you can make faster identification decisions.
Low-end devices sometimes use 9Hz refresh rates to meet export regulations or cut costs. These create choppy images that make scanning frustrating. Movement appears stuttered, and you’ll struggle to track anything that’s not standing still.
Resolution and refresh rate affect different aspects of your thermal image. Resolution determines detail and clarity—how well you can identify what you’re seeing. Refresh rate affects smoothness and motion tracking—how well you follow moving targets.
A 384×288 sensor at 50Hz gives you decent detail with smooth motion tracking. That combination handles most hunting and property management tasks. You get clear thermal signatures without the choppy feel of low refresh rates.
A 640×480 sensor at 30Hz flips the priority. You see more detail in each frame but might notice slight motion blur when panning quickly. For stationary observation or methodical scanning, this works well.
The sweet spot for active scanning? Combine at least 384×288 resolution with 50Hz refresh. Products like the Sirius HD offer this balance, letting you cover ground quickly while maintaining image quality.
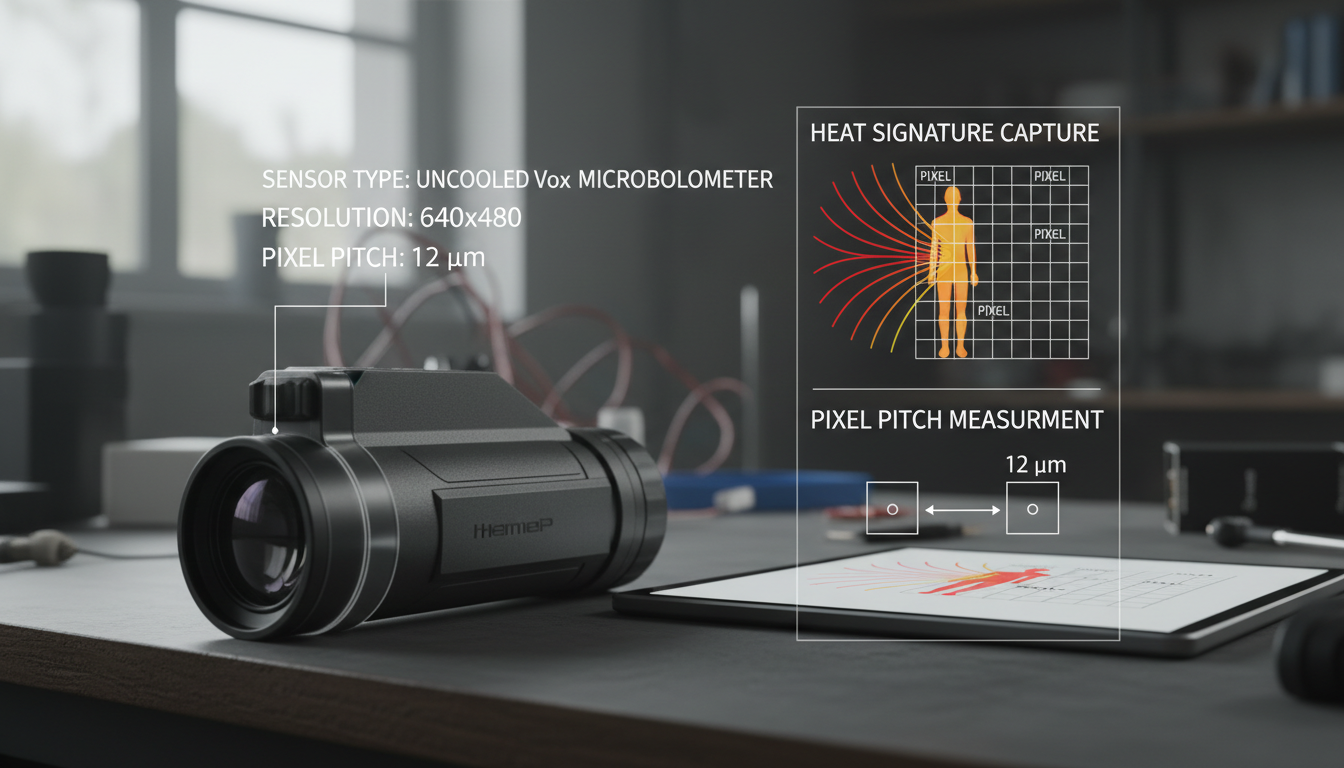
Pixel pitch measures the distance between sensor pixels, listed in micrometers (µm). You’ll typically see 12µm or 17µm ratings.
Smaller pixel pitch (12µm) packs pixels tighter together, creating sharper images at longer distances. This helps when you need to spot small targets far away. But here’s the catch—tighter spacing means each pixel collects less heat information per measurement.
Larger pixel pitch (17µm) captures more thermal data per pixel, which improves performance in challenging weather conditions like fog or rain. You’ll see better contrast when everything’s close to the same temperature.
If you hunt in varied conditions and different distances, 17µm with good thermal sensitivity often outperforms 12µm sensors. The extra thermal information helps more than the slight resolution advantage in real-world use.
256×192 (49,152 pixels): Entry-level units good for 200-300 yards. Works for small properties, close-range wildlife observation, and getting familiar with thermal technology. Budget-friendly but limited zoom capability.
384×288 (110,592 pixels): The middle ground that balances performance and cost. Handles medium-range scanning to 500 yards, provides useful digital zoom, and covers most hunting scenarios. Our Pegasus 2 LRF operates in this range.
640×480 (307,200 pixels): Professional-grade imaging with extended range beyond 800 yards. Three times the pixels of 256×192 means significantly better detail and comfortable digital zooming. Good for large properties and long-range identification.
1280×1024 (1,310,720 pixels): Premium territory with maximum detail even at full zoom. These sensors excel at extreme distances and challenging conditions, but cost reflects their capabilities.
The display type affects your viewing experience as much as pixel count. AMOLED displays provide brighter contrast, more vivid thermal color palettes, and faster response times than standard LCD screens.
Display resolution should match or exceed sensor resolution. A 640×480 sensor paired with a 1920×1080 display gives you sharp, easy-to-read thermal images. The extra display pixels help render overlay graphics like reticles, rangefinder readings, and menu systems clearly.
Higher display resolution also reduces eye strain during extended observation sessions. When you’re scanning for hours, a crisp display makes a real difference in comfort and effectiveness.
We’ve seen people spend thousands on 640×480 sensors with 60Hz refresh rates, then use them for tasks where a 384×288 at 30Hz would work fine. And we’ve seen hunters with budget units struggle because they genuinely needed more capability.
For property scanning under 300 yards, perimeter security, or learning whether thermal works for you, 256×192 at 30Hz handles the job. You’re not missing much by starting here.
Wildlife observation and hunting on properties up to 200 acres benefits from 384×288 resolution at 50Hz. This combination gives you enough detail to identify species and smooth enough motion to track movement patterns. Our IR Torch pairs well with devices in this range for situations requiring illumination alongside thermal detection.
Search and rescue, large property management, or serious hunting applications justify stepping up to 640×480 at 50Hz or higher. You’re covering more ground, working at greater distances, and need reliable performance in challenging conditions.
NETD (Noise Equivalent Temperature Difference) measures how small a temperature difference your sensor can detect. It’s expressed in millikelvins (mK). Lower numbers mean better performance.
A sensor with <25mK NETD sees smaller temperature variations than one rated at 40mK. This matters most in fog, humidity, or when everything’s close to the same temperature—like summer mornings when the ground and animals haven’t separated thermally yet.
NETD affects image quality differently than resolution. High resolution with poor NETD gives you detailed but low-contrast images where everything looks similar. Good NETD with moderate resolution provides clear thermal contrast, making targets pop against backgrounds.
Look for devices that balance both. A 384×288 sensor with <25mK NETD often outperforms a 640×480 sensor with 40mK NETD in real hunting conditions.
You’ll notice some thermal devices are limited to 9Hz refresh rates despite having high-resolution sensors. This relates to export regulations that restrict thermal technology.
Devices with 640×480 or higher resolution combined with refresh rates above 9Hz often face export restrictions. Manufacturers create 9Hz versions to comply with international regulations, making those models available in more markets.
For domestic use in hunting and property management, you want at least 30Hz if possible. The choppy 9Hz image makes tracking difficult and reduces your overall effectiveness. Spend your money on a 30Hz or higher device unless regulations in your area require otherwise.
Entry-level thermal monoculars ($800-$1,500) typically offer 256×192 resolution with 30Hz refresh rates. They work for close-range needs and help you figure out if thermal technology fits your activities.
Mid-range devices ($1,500-$3,500) step up to 384×288 or 640×480 resolution with 50Hz refresh rates. This tier delivers the best value for serious use. You get professional-grade performance without extreme pricing.
Premium monoculars ($3,500+) feature 640×480 or higher resolution, 50-60Hz refresh, integrated laser rangefinders, and advanced image processing. These make sense when your activities depend on equipment performance or you’re covering extreme distances.
Don’t chase maximum detection range numbers that exceed your realistic needs. Focus on recognition range that matches your property size, refresh rate that supports your scanning style, and resolution that provides enough detail for confident identification.
We’ve run thermal monoculars in rain, fog, freezing temperatures, and summer heat. Here’s what actually matters in the field:
Resolution helps most when you need to identify targets at your maximum working distance. If you rarely scan beyond 400 yards, paying premium prices for 1280×1024 sensors doesn’t improve your results.
Refresh rate becomes obvious when you’re actively moving. Stationary observation works fine at 30Hz. Active scanning, vehicle-mounted use, or tracking fast animals benefits noticeably from 50Hz or higher.
Thermal sensitivity (NETD) affects every scan you make. Good NETD performs in varied weather and lighting conditions. Poor NETD only works well in ideal thermal contrast situations.
Resolution and Hertz work together to define your thermal monocular’s performance. Resolution determines how much detail you see, while Hertz controls how smoothly you see it.
For most hunters and property managers, 384×288 resolution at 50Hz provides the sweet spot between performance and cost. This combination delivers clear identification to 500 yards with smooth motion tracking.
Budget-conscious users can start with 256×192 at 30Hz for close-range work. Those needing extreme performance should look at 640×480 at 50Hz or higher, but expect to pay significantly more.
Match your specs to your actual use case, not marketing hype. The right thermal monocular enhances how you work in the field—it’s about practical performance, not impressive spec sheets.
What’s more important in a thermal monocular: resolution or refresh rate?
Both matter, but for different reasons. Resolution affects detail and identification range—how clearly you see targets. Refresh rate affects motion smoothness and tracking capability. For stationary observation, prioritize resolution. For active scanning or moving platforms, refresh rate becomes equally important. Most users benefit from balancing both with at least 384×288 resolution at 50Hz.
Can a high display resolution make up for a low sensor resolution?
No. The display only shows what the sensor captures. A 256×192 sensor displayed on a 1920×1080 screen still provides 256×192 worth of thermal information. The high-res display makes the image sharper and easier to view, but it can’t create thermal detail that the sensor didn’t capture. Always check sensor resolution first.
Why do some thermal monoculars have 9Hz refresh rates?
Export regulations restrict high-performance thermal technology. Devices with 640×480 or higher resolution combined with refresh rates above 9Hz face export limitations. Manufacturers create 9Hz versions to comply with international regulations. For domestic hunting and scanning, avoid 9Hz if possible—the choppy image makes tracking difficult.
How much resolution do I need for hunting at 300-500 yards?
For consistent identification at 300-500 yards, we recommend at least 384×288 resolution. This provides enough pixels to distinguish species, count animals, and judge size. Budget 256×192 sensors struggle beyond 300 yards. If you regularly work at the 500-yard end, consider stepping up to 640×480 for better detail and comfortable digital zooming.
Does higher resolution always mean better thermal images?
Not necessarily. Resolution combines with other factors like thermal sensitivity (NETD), pixel pitch, and lens quality to create your final image. A 384×288 sensor with excellent NETD and good optics can outperform a 640×480 sensor with poor thermal sensitivity in challenging conditions like fog or low-contrast environments. Look at the complete package, not just resolution numbers.
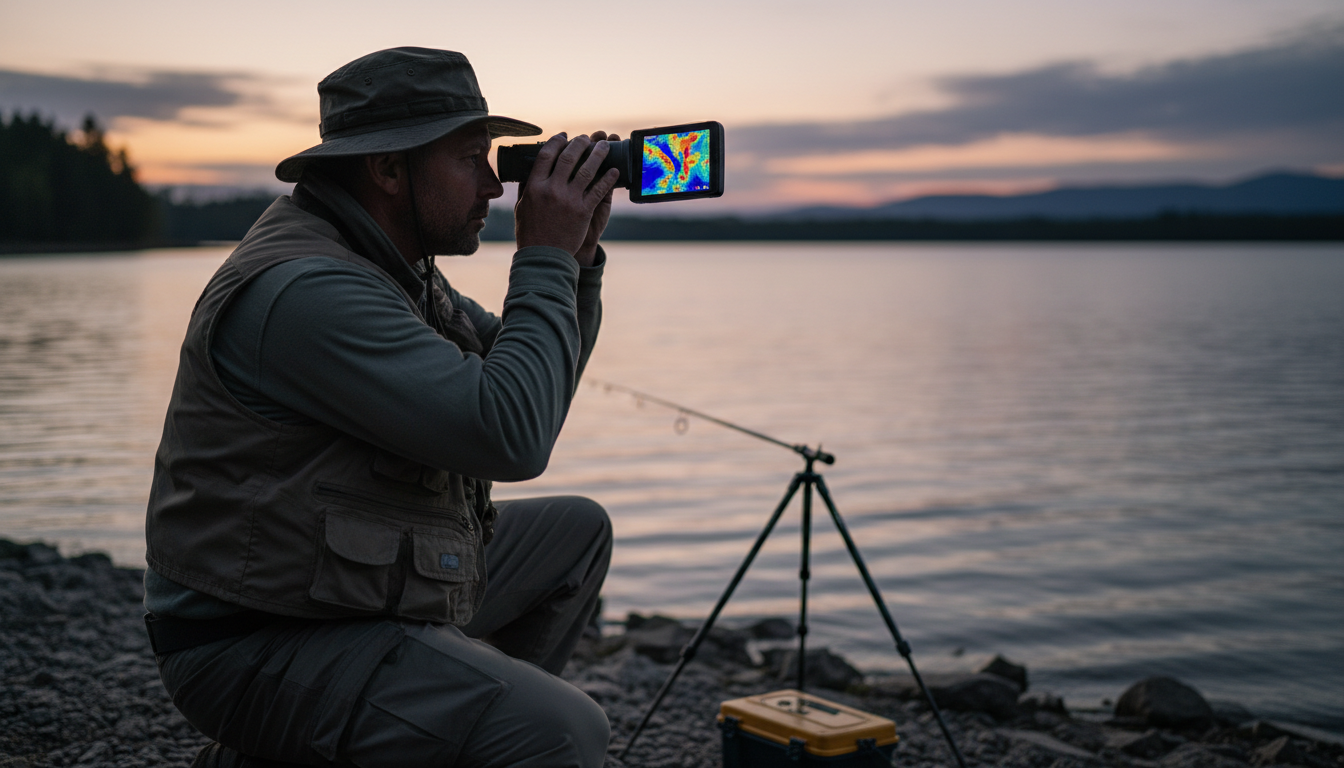
You’ve probably heard anglers talking about thermal scopes and wondered if they’re the secret weapon for finding fish. The short answer? Not quite the way you’d think. Fish are cold-blooded creatures whose temperature is not constant and depends on the water temperature, which makes them really hard to spot with thermal technology. But that doesn’t mean thermal scopes are useless for fishing—you just need to know what they can and can’t do.
We’re going to walk you through how thermal imaging actually works around water, why you won’t see fish swimming below the surface, and the surprising ways thermal scopes can still help you catch more fish. If you’re interested in exploring different thermal imaging options, check out our range of outdoor thermal devices designed for various applications.
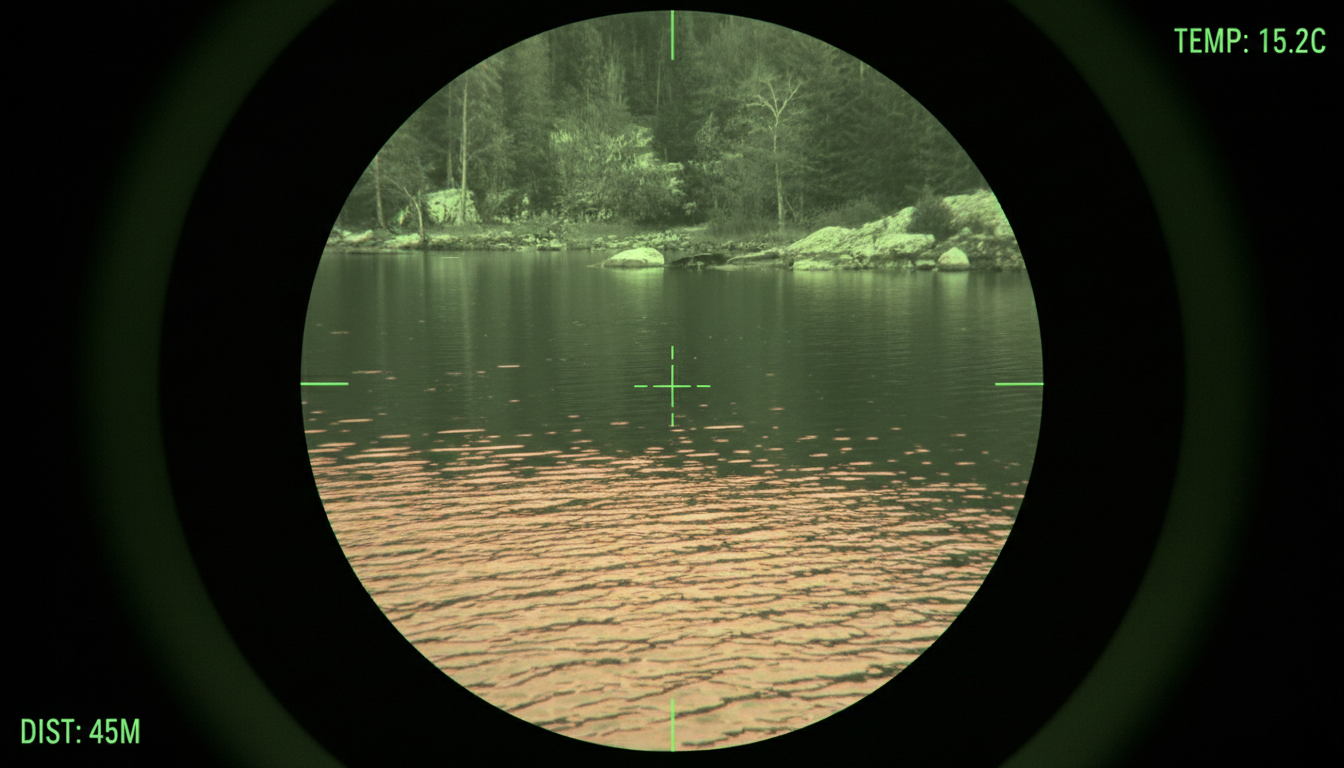
Here’s the deal: water absorbs infrared radiation, which reduces the effectiveness of thermal imaging, and infrared radiation does not penetrate water well. Think of water as a thick blanket that blocks the heat signatures thermal scopes need to create an image.
But there’s another problem. A thermal imaging camera displays a contrasting temperature background of the objects you are observing, and it will not show fish with the same body temperature as the water. Most fish sit at roughly the same temperature as their surroundings, so even if the infrared radiation could get through the water (which it can’t), there’d be almost no temperature difference to detect.
The primary limitation of thermal imaging underwater is the poor penetration of infrared radiation, and thermal cameras are limited to detecting heat on or very near the surface. Sound familiar if you’ve ever tried using one near a lake or river? That’s why.
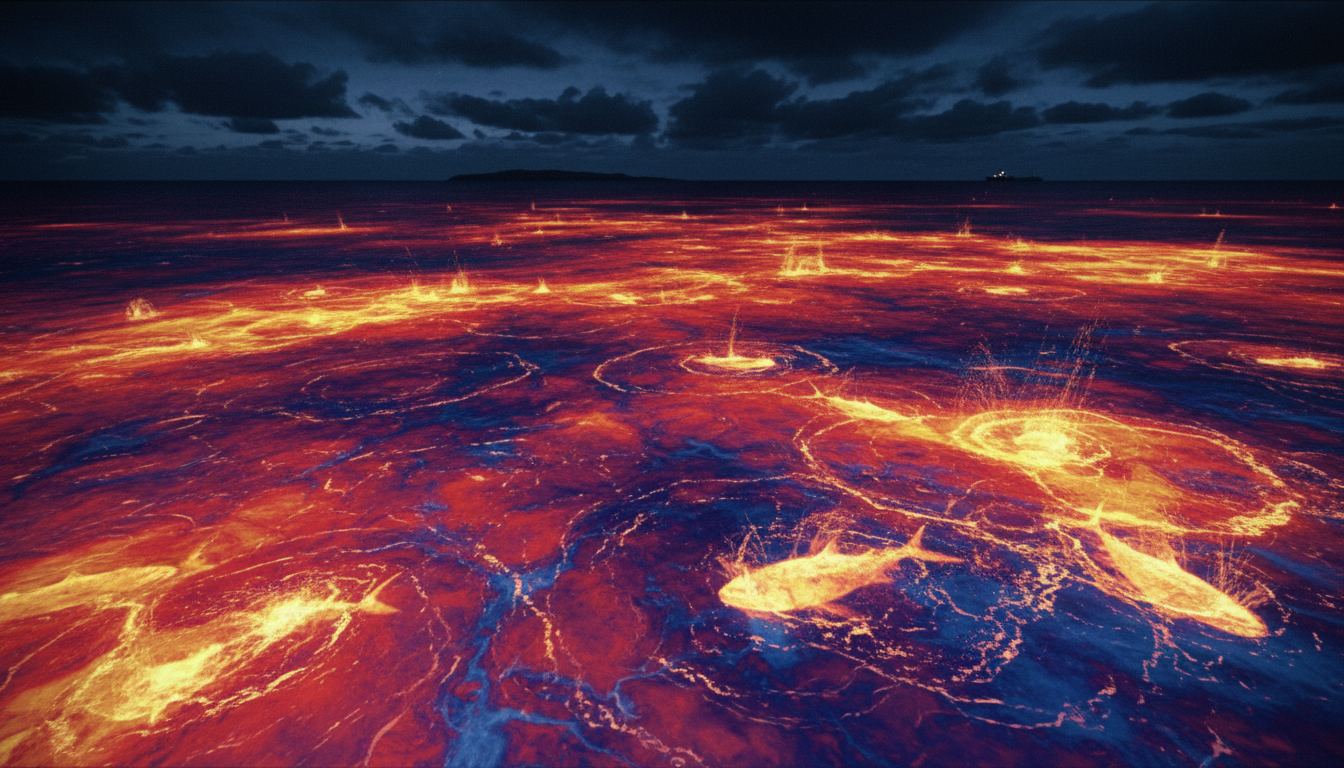
Before you write off thermal imaging for fishing completely, there’s good news. Schools of fish change the characteristics of the water’s surface, and that’s what you can see with thermal imaging. When fish are active near the surface—feeding, breaking, or moving in large schools—they create tiny temperature changes and disturbances that show up on a thermal scope.
Thermal-imaging cameras are sensitive enough to see temperature breaks — areas that tend to attract schools of baitfish and predators, as long as the water temperature changes rapidly within a few meters. This works particularly well in saltwater where you’re looking for temperature gradients offshore, or at night when you’re trying to spot baitfish dimpling the surface.
For those serious about nighttime observation and fishing applications, our Pegasus 2 LRF offers long-range detection capabilities that work well in low-light marine conditions.
Thermal cameras can register a temperature anomaly as small as a tenth of a degree, and that difference becomes more pronounced offshore when the camera’s field of view fills with mostly water and sky. This is where thermal imaging really shines for fishing.
You can spot weed lines, kelp paddies, and floating debris that hold fish—even in complete darkness. These objects absorb heat differently than open water, making them stand out like beacons on your thermal display. Anglers say they’ve hooked tuna after finding breaking fish before daylight by using a thermal-imaging camera, and can spot schools of baitfish dimpling the surface in the dark.
While infrared radiation is absorbed by water, it is possible to detect temperature differences on the water’s surface, and fish swimming close to the surface can create disturbances and thermal anomalies. Look, it’s not x-ray vision, but it beats staring into pitch darkness hoping to stumble onto fish.
Honestly, thermal imaging does way more for fishing safety and navigation than direct fish finding. Thermal cameras cannot see through water, but they’re still the best tool for professional and recreational marine use when you need to see in total darkness.
Infrared thermal imaging cameras can reliably deliver clear thermal images even in extremely low-visibility conditions such as nighttime, heavy fog, rain, or snow, and provide all-weather identification of key targets including other vessels, buoys, shorelines, and floating debris. You’ll avoid hitting debris, spot other boats, and navigate safely—which matters more than finding fish when you’re miles offshore in the dark.
During winter fishing, thermal imaging can identify weak spots in ice, cracks, and thin areas that could be dangerous. It’s a safety tool first, fishing aid second. Our thermal monocular technology article explains more about how these devices work if you’re curious about the technical side.
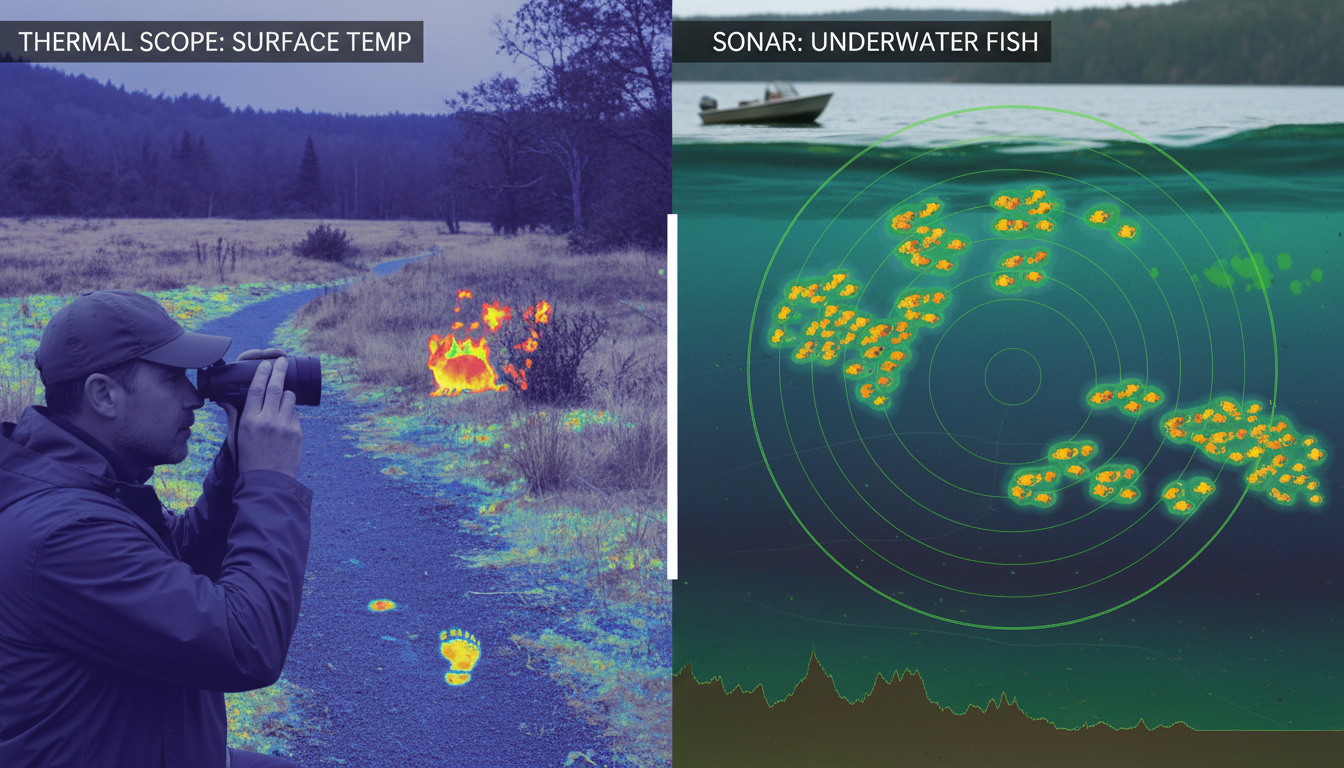
Sonar technology, which uses sound waves to detect objects underwater, is widely used for fish finding and can penetrate water effectively and provide detailed information about the location, size, and movement of fish schools. If you want to see what’s actually below your boat, sonar is your answer—not thermal.
Underwater cameras, often coupled with lighting systems, can capture visual images of fish and other marine life and are commonly used in marine biology, underwater research, and recreational diving. These give you actual video of what’s down there, which is pretty cool if you’re trying to figure out what fish are doing around your bait.
Thermal scopes work great for spotting surface activity and navigating at night, but they’re not replacements for traditional fish finders. Use them together and you’ll have a much better setup than relying on just one technology.
So can you see fish with a thermal scope? Not underwater—physics just doesn’t work that way. Water blocks infrared radiation and fish match the water temperature too closely to show up as heat signatures. But thermal scopes aren’t worthless for fishing. They’ll help you spot surface activity, temperature breaks, floating structure, and navigate safely in conditions where regular vision fails.
The best approach? Use thermal imaging for what it does well—surface observation, safety, and navigation—and stick with sonar for finding fish below the surface. Thermal technology has its place in your fishing toolkit, just not as an underwater fish camera. If you’re ready to explore thermal imaging for your outdoor adventures, visit our main product page to see our full lineup of thermal devices.
Can thermal scopes see through water to detect fish?
No, thermal scopes cannot see through water. Water absorbs infrared radiation that thermal imaging relies on, blocking heat signatures from penetrating more than a few millimeters below the surface. Fish swimming underwater remain invisible to thermal technology.
What can thermal imaging actually help with when fishing?
Thermal imaging excels at detecting surface activity like baitfish schools dimpling the water, temperature breaks that attract fish, weed lines, floating debris, and other surface features. It’s also excellent for safe navigation in darkness, fog, or low-visibility conditions on the water.
Why don’t fish show up on thermal cameras?
Fish are cold-blooded animals that maintain body temperatures nearly identical to the surrounding water. Thermal cameras detect temperature differences, and since fish don’t create enough contrast against the water temperature, they remain undetectable even if water penetration wasn’t an issue.
Is thermal imaging or sonar better for finding fish?
Sonar is better for directly locating fish underwater. It uses sound waves that penetrate water effectively and can show exact fish locations, depths, and school sizes. Thermal imaging works best for surface observation and navigation, while sonar handles underwater detection.
Can you see fish breaking the surface with a thermal scope at night?
Yes, you can detect fish activity at the surface with thermal imaging. When fish break the surface, create disturbances, or move in schools near the top, they change the water surface characteristics enough to show up as thermal patterns—particularly useful for spotting feeding activity before dawn.
















