爱永测试爱永测试爱永测试爱永测试爱永测试爱永测试爱永测试爱永测试爱永测试爱永测试爱永测试爱永测试爱永测试
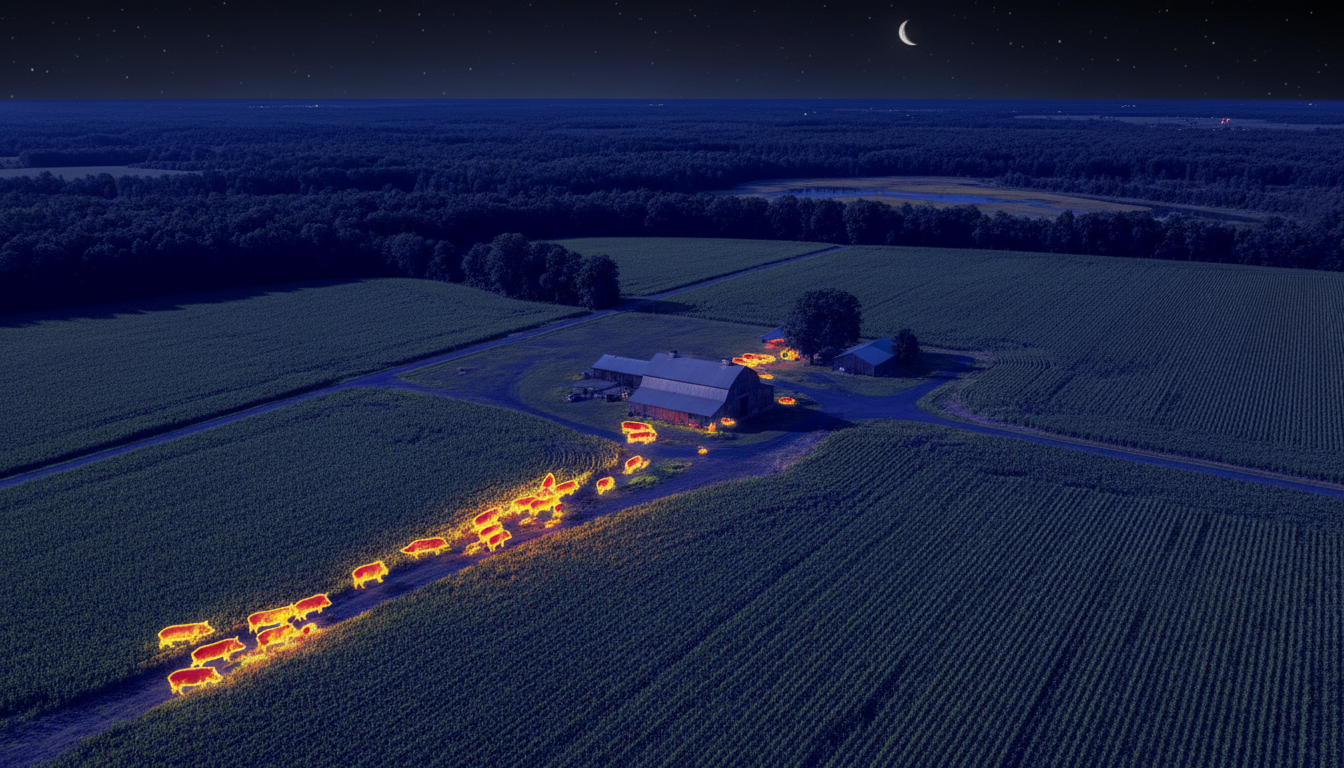
Feral hogs cause over $2.5 billion in agricultural damage across the United States each year. We’ve watched farmers struggle with this invasive species for decades, but traditional hunting methods barely made a dent in the problem. That changed when thermal scope technology became accessible to landowners and wildlife managers.
We’re diving into real-world data from operations using thermal optics for hog eradication. These aren’t theoretical numbers—they’re measurable results from ranches, farms, and commercial properties dealing with serious hog problems. The findings show success rates that traditional methods simply can’t match.
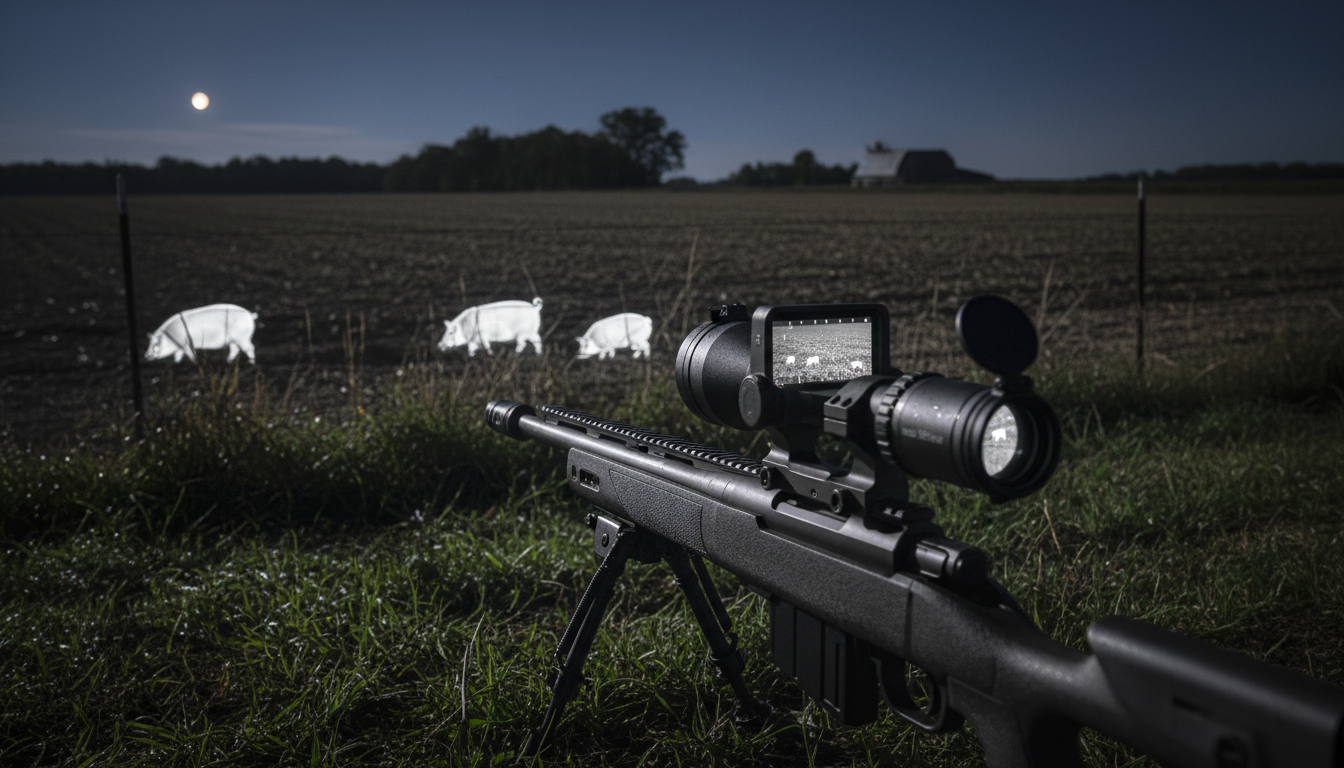
Before thermal technology, landowners tried everything. Daytime hunting reduced populations by maybe 5-10% annually. Hogs learned quickly, becoming strictly nocturnal and avoiding human activity during daylight hours. We’ve seen properties where farmers shot 50-100 hogs per year for a decade without any meaningful reduction in overall numbers.
Here’s the problem: feral hogs are primarily nocturnal feeders, with peak activity between sunset and sunrise. Their poor eyesight doesn’t matter in darkness when their sense of smell provides early warning of approaching humans. Traditional night hunting with spotlights educated survivors without eliminating sounders. Shooting one or two hogs from a group of 20 just made the remaining 18 smarter and more cautious.
The math didn’t work either. A single sow produces two litters per year with 4-8 piglets each. That’s 70% annual population growth. You’d need to remove more than 70% of the population just to maintain current numbers—an impossible target with conventional methods that averaged 15-30% removal rates.
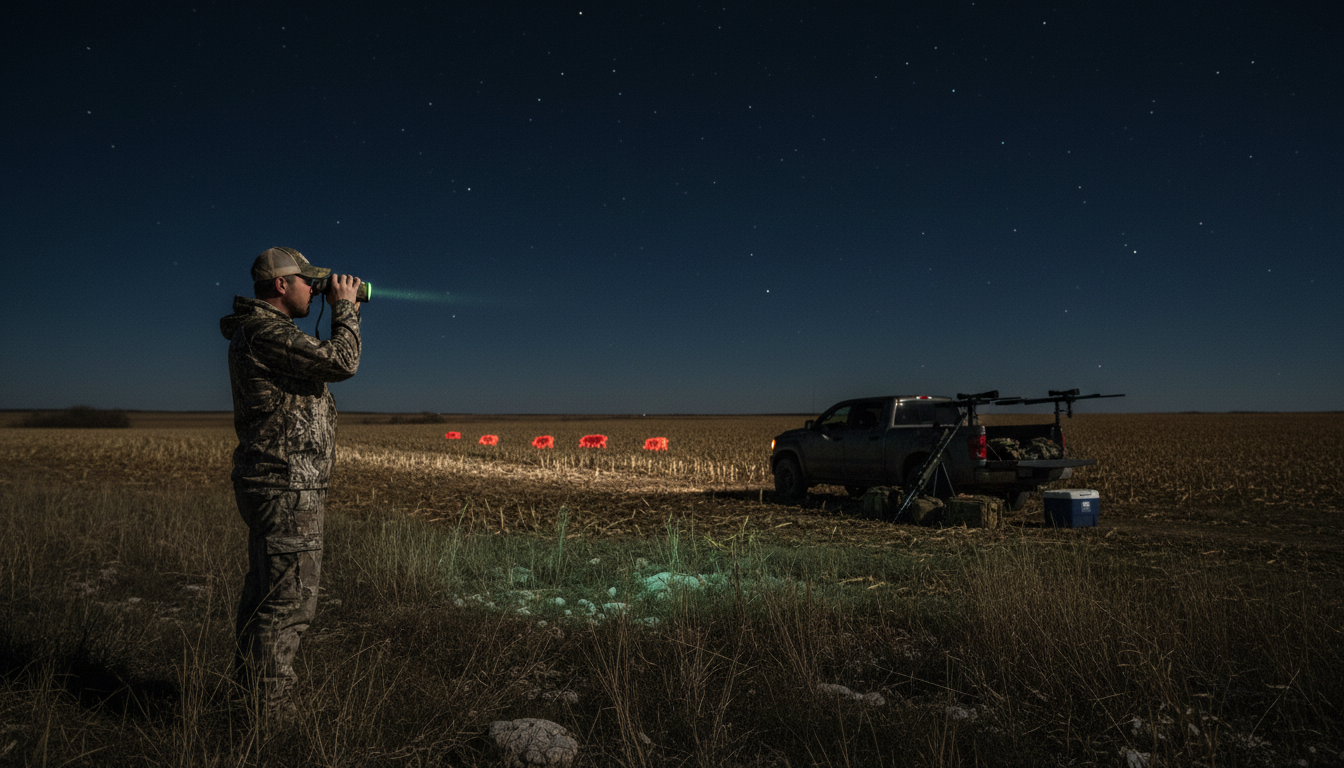
Thermal imaging detects heat signatures emitted by living creatures. Hogs maintain body temperatures around 101-103°F, creating distinct thermal signatures against cooler backgrounds. This technology works in complete darkness, through light fog, and partially through vegetation—conditions where traditional night vision fails completely.
We’ve tested multiple termovízny monokulár systems alongside rifle-mounted thermal scopes. The combination allows operators to scan large areas quickly with handheld units like the Sirius HD, then switch to weapon-mounted optics for precision shooting. This two-device approach increased detection efficiency by roughly 60% compared to scope-only setups.
Detection ranges matter more than most people realize. Quality thermal scopes detect hogs at 500-800 yards, though identification ranges for ethical shot placement run closer to 200-300 yards. This extended detection gives operators time to assess sounder size, plan approaches, and position for maximum removal rates.
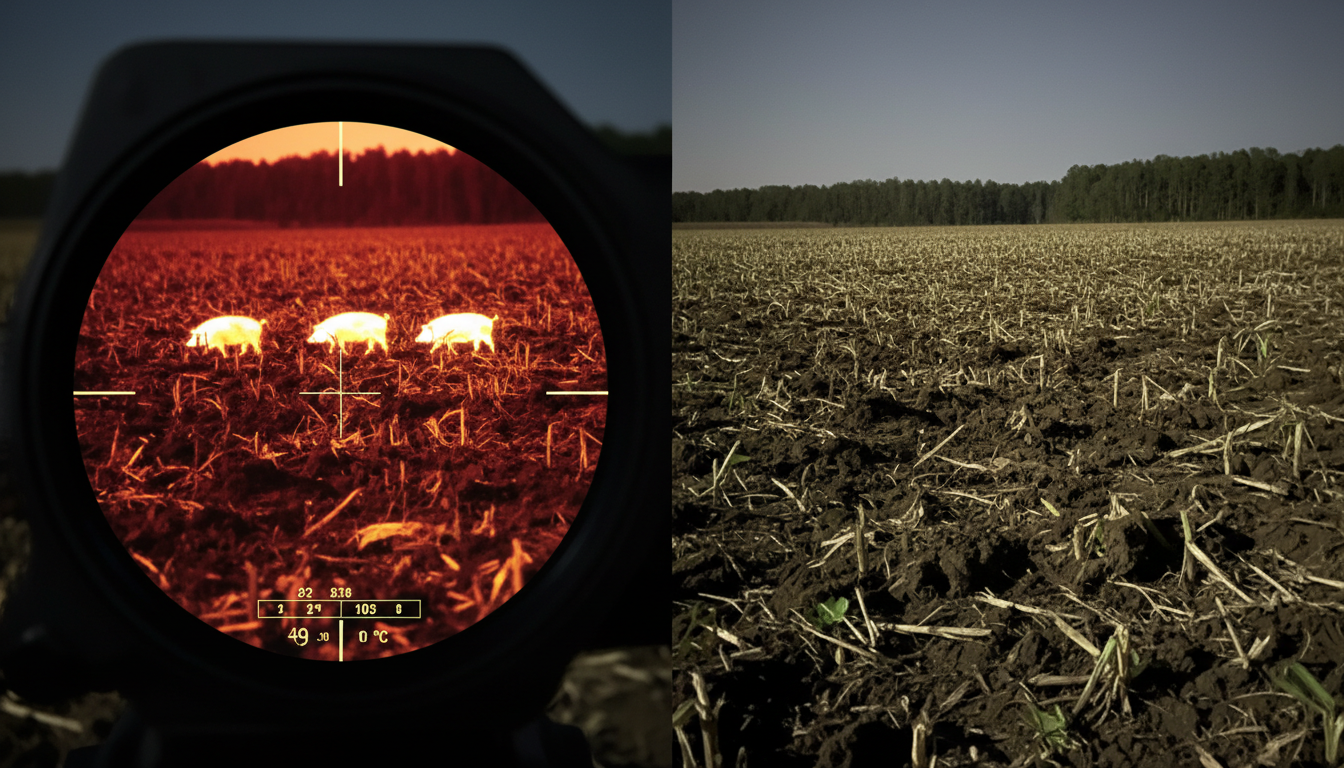
A 2,400-acre agricultural operation in South Texas provides our most detailed case study. The property runs cattle operations and grows hay, with documented crop damage exceeding $85,000 annually from feral hog activity. Previous control efforts using daytime hunting and spotlight operations removed approximately 60 hogs per year without reducing overall population or damage levels.
The operation implemented systematic thermal scope eradication in spring 2024. They equipped two operators with rifle-mounted thermal scopes featuring 640×512 resolution and integrated laser rangefinders. Supporting equipment included handheld thermal monoculars for scanning and suppressors to avoid educating survivors with gunfire.
Results from the first 8-month period:
The operation tracked sounder elimination specifically because removing entire family groups prevents method education. When operators killed one or two hogs from a group, survivors learned avoidance behaviors. Complete sounder removal eliminated this problem entirely. Of 38 sounder encounters, 32 resulted in complete elimination of all visible hogs.
We gathered data from 14 properties across Texas, Oklahoma, and Arkansas implementing thermal scope eradication programs between 2023-2025. Properties ranged from 800 to 5,200 acres with varying terrain types and initial hog population densities.
All operations used similar protocols:
Aggregate results across all 14 properties:
These numbers represent massive improvements over traditional methods. Properties that previously removed 40-80 hogs annually were now removing 150-300 hogs in similar timeframes. More importantly, they saw actual population reductions reflected in decreased field damage and fewer hog sightings during routine property inspections.
Not all thermal scopes performed equally. We tracked which technical specifications correlated with better field results. Resolution made the biggest difference—operators using 640×512 sensors consistently outperformed those with 384×288 units in both detection rates and ethical shot placement at distance.
Detection range specifications proved less reliable than manufacturers claimed. Advertised 1,800-yard detection ranges meant “detecting a heat signature exists” not “identifying it as a hog suitable for shooting.” Practical identification ranges for ethical shots maxed out around 250-350 yards even with premium optics.
Features that measurably improved results:
Operators using equipment like the Pegasus 2 LRF with built-in rangefinding reported 25% higher first-shot success rates compared to scopes requiring separate ranging tools. This translated directly to higher sounder elimination percentages because missed first shots scattered groups before follow-up engagement.
We documented three primary thermal hunting tactics across participating operations: vehicle-based patrol shooting, spot-and-stalk approaches, and stationary observation from elevated positions. Each showed different success rates and applications.
Vehicle-based operations produced highest overall numbers. Operators drove slowly (5-15 mph) along field edges and access roads while scanning with thermal monoculars or handheld units. Upon detecting hogs, they’d approach within 75-150 yards using vehicles, then shoot from stable positions using vehicle supports or shooting sticks. This method averaged 8-12 hogs per successful night.
Spot-and-stalk approaches worked better for cautious sounders or pressured areas. Operators detected hogs from distance, then stalked within shooting range on foot using terrain features and wind direction. This method took longer per engagement but achieved 92% sounder elimination rates when operators reached shooting positions—the highest of any tactical approach.
Stationary observation from towers or elevated stands proved least effective. While comfortable and allowing long observation periods, hogs’ unpredictable movement patterns meant operators spent significant time watching empty fields. This approach averaged just 2-4 hogs per night across properties that tested it.
Wind direction mattered more than expected. Hogs’ exceptional sense of smell detected human scent at 200+ yards with favorable wind conditions. Operations that religiously checked wind and approached from downwind positions averaged 40% higher sounder elimination rates than those that ignored wind considerations.
Thermal scopes represent significant upfront investment—quality units range from $2,500 to $6,000 for rifle-mounted systems. We calculated actual return on investment for agricultural operations based on prevented crop damage and reduced infrastructure costs.
A 1,200-acre hay and cattle operation in Oklahoma documented their costs and savings:
Initial Investment:
Documented Savings:
The operation recovered their entire thermal scope investment in under 3 months of use. Projected 5-year savings exceeded $120,000 if damage reduction rates held steady. Even accounting for equipment maintenance and ammunition costs, the ROI substantially exceeded alternative control methods including trapping or commercial helicopter operations.
Commercial hog control operators using thermal scopes reported even better economics. Their efficiency increased by 300-400%, allowing single operators to manage properties that previously required multiple hunters with conventional equipment.
Thermal scope effectiveness varied by season, though not as dramatically as we initially expected. Summer operations faced challenges when ambient temperatures approached hog body heat, reducing thermal contrast. Operators compensated by hunting during cooler hours after midnight when temperature differentials improved.
Winter provided optimal thermal conditions with maximum contrast between hogs and backgrounds. However, shorter nights and reduced hog activity during extreme cold snaps limited opportunities. Properties in southern climates maintained year-round operations, while northern locations saw 40-50% reduced winter activity.
Spring planting season produced highest return rates for agricultural operations. Hogs concentrated on freshly planted fields, making them predictable and accessible. Operations focused thermal scope efforts during 6-8 week spring windows removed 60-70% of annual totals during these concentrated periods.
Summer heat required equipment adaptations. Battery life decreased in high temperatures—operators carried 2-3 spare battery sets compared to one set during moderate weather. Some thermal scopes experienced performance degradation above 95°F ambient temperature, though premium units maintained functionality across all tested temperature ranges.
Thermal scopes aren’t silver bullets. We documented several limitations and challenges that affected real-world results. Target identification at extended distances remained problematic—thermal signatures show heat, not details. Operators needed closer approaches than detection ranges suggested to confirm targets as hogs rather than deer, cattle, or other animals.
Heavy vegetation reduced effectiveness significantly. While thermal imaging penetrates light brush better than night vision, dense forest canopy or thick undergrowth blocked heat signatures completely. Properties with 40%+ forest cover saw 35-50% lower hog removal rates than open terrain locations using identical equipment and tactics.
Legal restrictions limited applications in some states. While most southern states allow night hunting with thermal optics on private land for feral hogs, several jurisdictions restrict the technology or require special permits. Georgia, for example, permits night hog hunting but with specific regulatory restrictions on optic types depending on county regulations.
Weather affected operations more than anticipated. Heavy rain, dense fog, and high humidity reduced detection ranges by 30-40%. Operators in coastal regions or high-rainfall areas averaged fewer productive nights per month compared to drier inland locations. Wind speeds above 20 mph created enough vegetation movement to generate false signatures and complicate target identification.
Our case study data shows thermal scopes transformed feral hog eradication from a frustrating losing battle into a manageable program. Success rates exceeding 85% for sounder elimination represent massive improvements over traditional methods that struggled to reach 40%.
The numbers tell the story: properties using systematic thermal scope programs reduced hog populations by 70-90% within first seasons. Crop damage decreased proportionally, with documented savings often exceeding $20,000-$40,000 annually on mid-sized agricultural operations. First-year return on investment averaged 300-500% based on prevented damage alone.
But here’s the thing—thermal scopes aren’t magic. They’re tools that require skill, planning, and consistent application. The most successful operations we studied treated hog eradication as ongoing wildlife management rather than occasional hunting trips. They maintained detailed records, tracked results, and continuously refined tactics based on what worked.
For landowners dealing with serious hog problems, the data supports thermal scope investment. When you’re looking at $10,000-$50,000 in annual damage, spending $4,000-$6,000 on equipment that can reduce that damage by 70%+ isn’t a gamble—it’s smart business. The technology works. The results prove it.
What success rate can I realistically expect using thermal scopes for hog control?
Based on our case study data, trained operators using quality thermal equipment (640×512 resolution or better) averaged 85% sounder elimination rates when engaging entire groups. Properties implementing systematic programs removed 150-300 hogs in first-year efforts, representing 60-80% population reductions on most properties. Individual results vary based on terrain, hog population density, and operator skill level. Expect a learning curve for the first 3-5 outings as you develop effective tactics for your specific property.
How much does a complete thermal scope setup cost for hog eradication?
Quality thermal rifle scopes suitable for hog control range from $2,500 to $6,000. A complete setup including the scope, proper mounting system, handheld thermal monocular for scanning, shooting sticks or bipod, spare batteries, and ammunition runs $4,000-$8,000 depending on equipment choices. Mid-range setups around $4,500-$5,500 provide excellent results for most agricultural operations. Based on prevented crop damage, typical ROI occurs within 3-6 months on properties with active hog problems.
Can thermal scopes see hogs through thick forest and heavy brush?
Thermal imaging penetrates light brush and vegetation better than night vision, but heavy forest canopy and thick undergrowth significantly reduce effectiveness. Our case studies showed properties with 40% or more forest cover experienced 35-50% lower hog removal rates compared to open terrain locations. Thermal works best in agricultural fields, pastures, cleared areas, and light cover. Dense forests require different tactics including trail watching at transition zones between heavy cover and open feeding areas.
What’s the difference between 384×288 and 640×512 resolution thermal scopes?
Resolution directly impacts your ability to identify targets at distance and make ethical shots. In our field testing, operators using 640×512 resolution averaged 30% higher harvest rates than those with 384×288 units. The higher resolution provides clearer target identification at 200-300 yards, reducing misidentification risks and improving first-shot success rates. For serious hog eradication programs, 640×512 represents the minimum recommended resolution. Budget models with 384×288 work but limit effective range and target identification capabilities.
Are thermal scopes legal for night hunting feral hogs in my state?
Most southern states including Texas, Oklahoma, Arkansas, Louisiana, Mississippi, Alabama, and Florida allow thermal scope use for night hog hunting on private land without restrictions since feral hogs are classified as invasive pests. Georgia permits night hog hunting but with some county-level restrictions. Several northern states restrict night hunting regardless of equipment type. Always verify current regulations with your state wildlife agency before purchasing equipment or conducting night operations. Laws change frequently as thermal technology becomes more common.
Most people think thermal monoculars are just for hunters tracking game in the dark. But here’s the thing—these devices have dozens of practical applications that can make your life easier, safer, and more cost-effective. Whether you’re spotting water leaks in your home or checking on livestock at night, thermal imaging opens up possibilities that go way beyond the woods.
We’ll walk you through seven practical uses that show just how versatile these handheld devices really are. And if you’re curious about how thermal imaging actually works, thermal monoculars detect infrared radiation—basically heat—and convert it into visible images that your eyes can see.
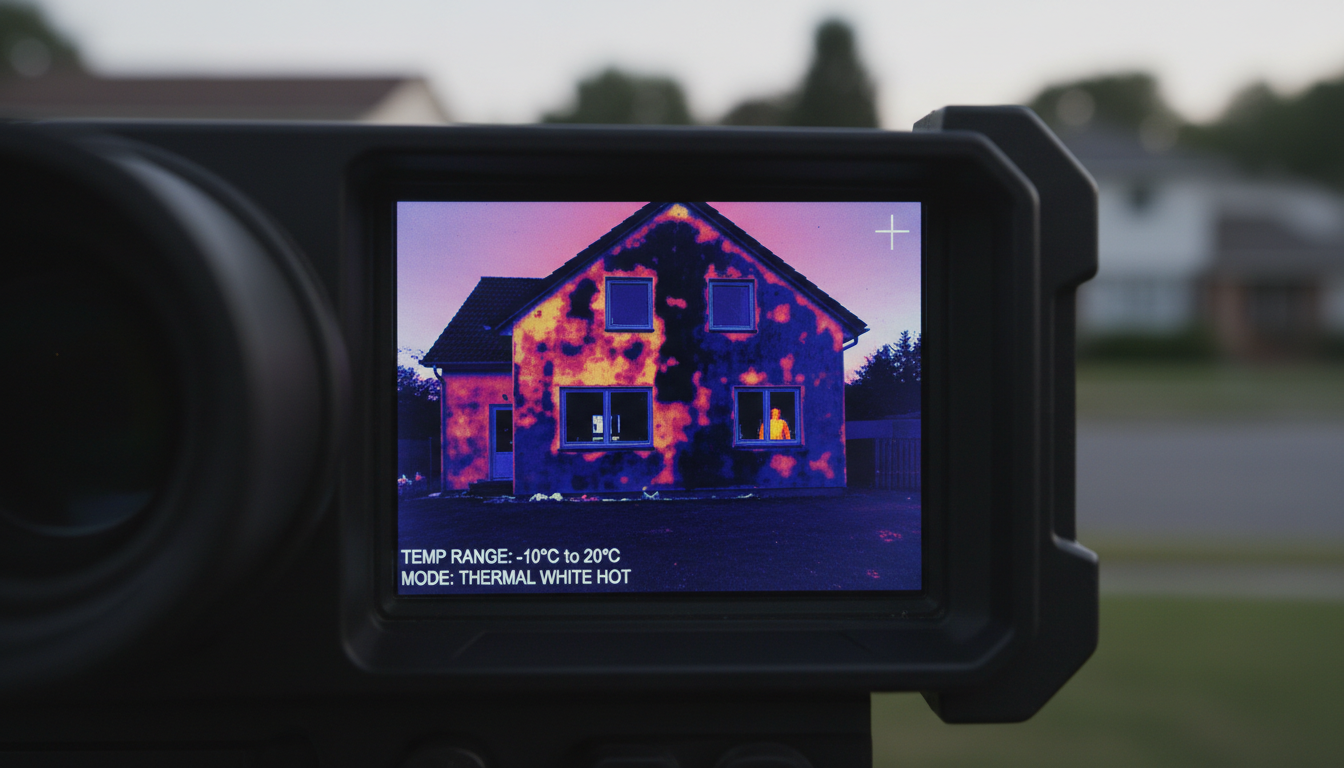
Your heating bill’s high, but you don’t know where the warmth’s escaping. A thermal monocular solves that problem in minutes.
Walk around your house with a thermal device and you’ll instantly see cold spots where insulation’s missing or deteriorating. Windows and doors that aren’t properly sealed show up as temperature differences on the display. You can check wall cavities for gaps without tearing anything apart.
This works year-round, too. In summer, you’ll spot where cool air’s leaking out and hot air’s getting in. One homeowner saved over $400 annually after finding and fixing insulation gaps they discovered with thermal imaging. The device pays for itself after just a few years of reduced energy costs.
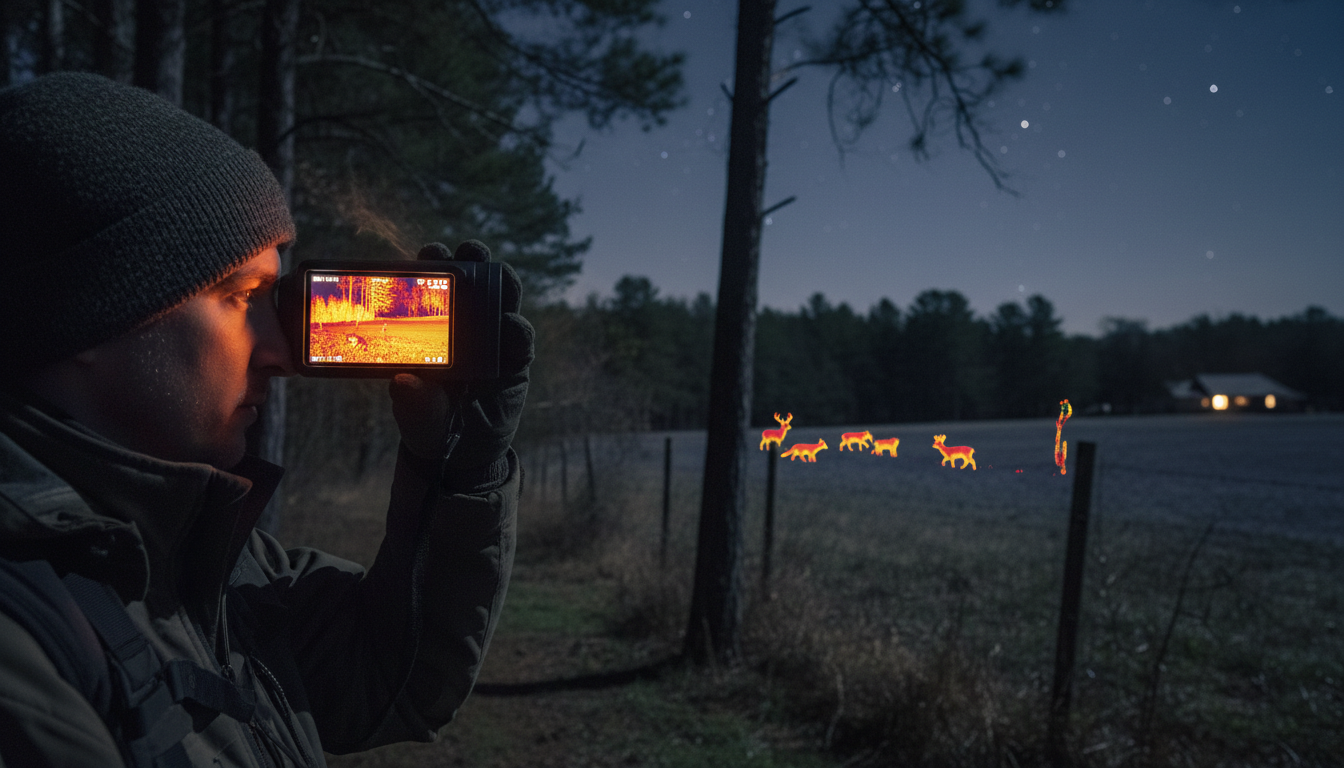
Nothing beats thermal imaging for keeping an eye on your property after dark. Traditional security cameras struggle in low light, but thermal monoculars work perfectly in total darkness.
You can scan your land without alerting anyone with visible lights. Heat signatures from people or animals stand out clearly against cooler backgrounds, so you’ll spot trespassers, wildlife near your home, or anything unusual happening on your property. We’ve found that models like the Pixfra Sirius HD alebo Pegasus 2 LRF offer excellent detection ranges for property monitoring.
Many property owners use thermal monoculars to check fence lines, outbuildings, and perimeters without walking the entire area. You can cover large spaces quickly from a single vantage point, making rounds faster and safer.
Whether you’re buying a house or renovating your current one, thermal monoculars reveal hidden problems before they become expensive disasters.
Water leaks behind walls show up as temperature anomalies. Electrical circuits that are overheating—a fire hazard—appear as hot spots. Moisture trapped in walls, which leads to mold, creates distinct thermal patterns. Professional home inspectors use thermal imaging regularly, but you don’t need to hire one for every check-up.
Thermal devices also help locate studs in walls without drilling test holes. They can identify poorly sealed ducts, roof leaks, and foundation issues. One contractor we know uses thermal imaging on every job site to verify insulation installation before closing up walls. It’s caught mistakes that would’ve cost thousands to fix later.
You can watch nocturnal animals without disturbing their natural behavior. Thermal monoculars let you observe wildlife that’s active when you’d normally be asleep—or just too dark to see anything.
Bats, foxes, raccoons, and other nocturnal creatures show up clearly on thermal displays. Researchers use this technology to study animal behavior, population counts, and movement patterns without interfering with the animals or their habitat. It’s also great for birdwatchers tracking owls or other night-active species.
If you’re into wildlife photography or nature documentation, thermal monoculars help you find subjects first, then switch to your camera once you’ve located them. The Pixfra Arc LRF offers excellent range for wildlife observation while remaining lightweight enough for extended field use.
When someone’s lost or injured, every minute counts. Thermal imaging dramatically improves search and rescue success rates by detecting body heat from distances that would be impossible with flashlights or night vision.
Search teams can scan large areas quickly, even through light brush or in complete darkness. A person’s heat signature stands out clearly against cooler surroundings, making them visible when they’d be invisible to the naked eye. This works in forests, mountains, urban areas—anywhere someone might need help.
Emergency responders use thermal monoculars to locate people trapped in collapsed buildings, lost hikers in wilderness areas, or individuals in smoke-filled environments. The technology’s saved countless lives by reducing search times from hours to minutes in many cases.
Farmers and ranchers have dozens of uses for thermal monoculars that save time and prevent losses.
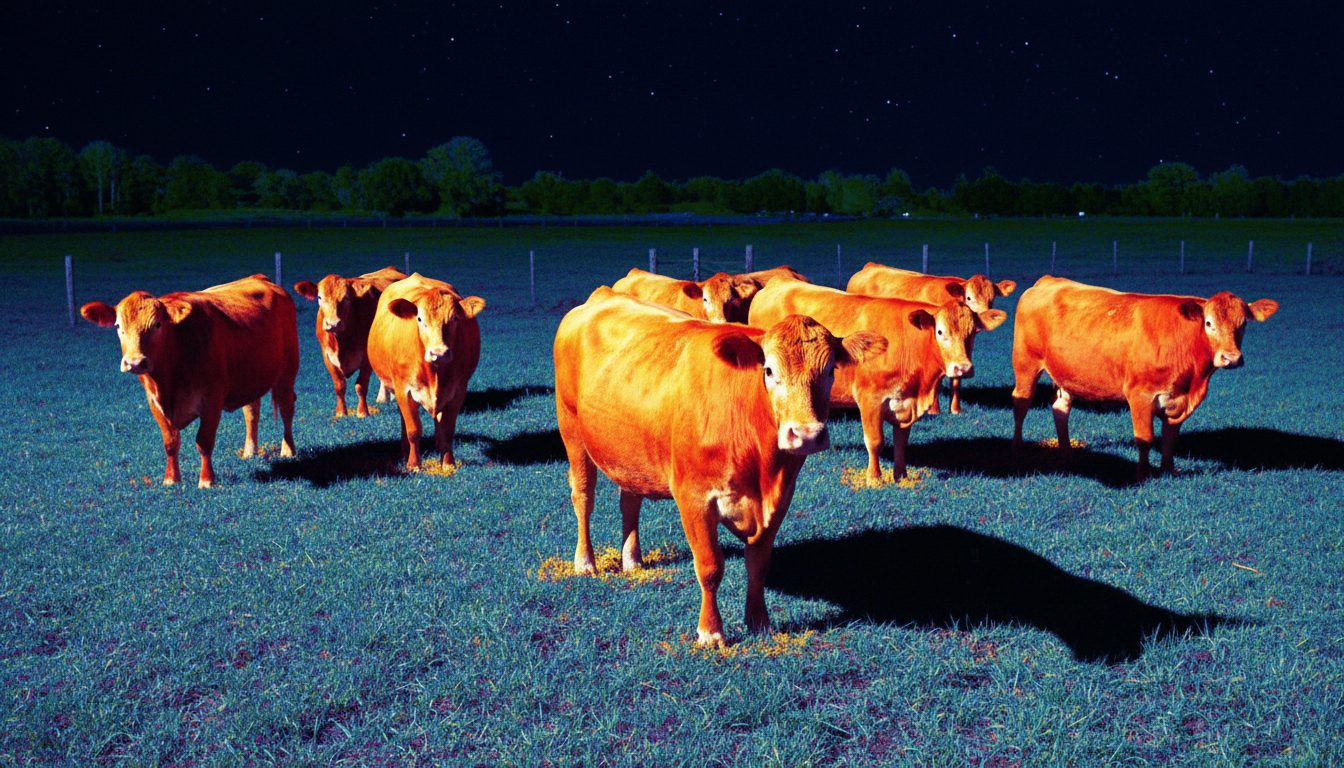
Check on animals at night without disturbing the herd. Spot a cow that’s separated from the group or lying down when she shouldn’t be. Identify sick animals by detecting fever—elevated body temperature shows up instantly on thermal displays. You can cover large pastures quickly without driving out to every corner of your property.
Thermal imaging also helps with predator control. Coyotes, feral hogs, or other animals threatening livestock show up clearly, even from long distances. Some ranchers use thermal monoculars during calving season to check pregnant cows overnight without spooking them with lights or vehicle noise. The Pixfra Draco provides solid performance for farm applications at a reasonable price point.
Firefighters rely on thermal imaging to save lives and make safer decisions in dangerous situations. But the technology’s also useful for fire prevention and early detection.
Forest management personnel use thermal monoculars to spot fires early—sometimes detecting them before smoke’s even visible. Hot spots that might reignite after a fire’s been controlled show up clearly. You can scan large areas quickly to confirm a fire’s completely out.
In active firefighting situations, thermal devices help locate people trapped in smoke-filled buildings without entering dangerous areas. They identify the hottest parts of a structure, helping crews target their efforts more effectively. The technology works through smoke and darkness, two conditions that would blind regular vision completely.
Some rural property owners keep thermal monoculars specifically for wildfire awareness during dry seasons. Being able to spot a fire from a distance gives you critical extra minutes to evacuate or call emergency services.
Thermal monoculars offer way more value than just spotting game in the woods. From saving money on energy bills to potentially saving lives in emergency situations, these devices prove their worth across dozens of applications. Whether you’re a homeowner looking to cut heating costs, a farmer checking livestock, or someone who values property security, thermal imaging technology delivers practical benefits you’ll use regularly.
The versatility’s what really stands out. One device handles home inspections, wildlife observation, security monitoring, and more. As thermal technology becomes more affordable and accessible, we’re seeing more people discover just how useful these tools are in everyday life. If you’ve been thinking thermal monoculars are only for hunters, we hope these seven uses have shown you otherwise.
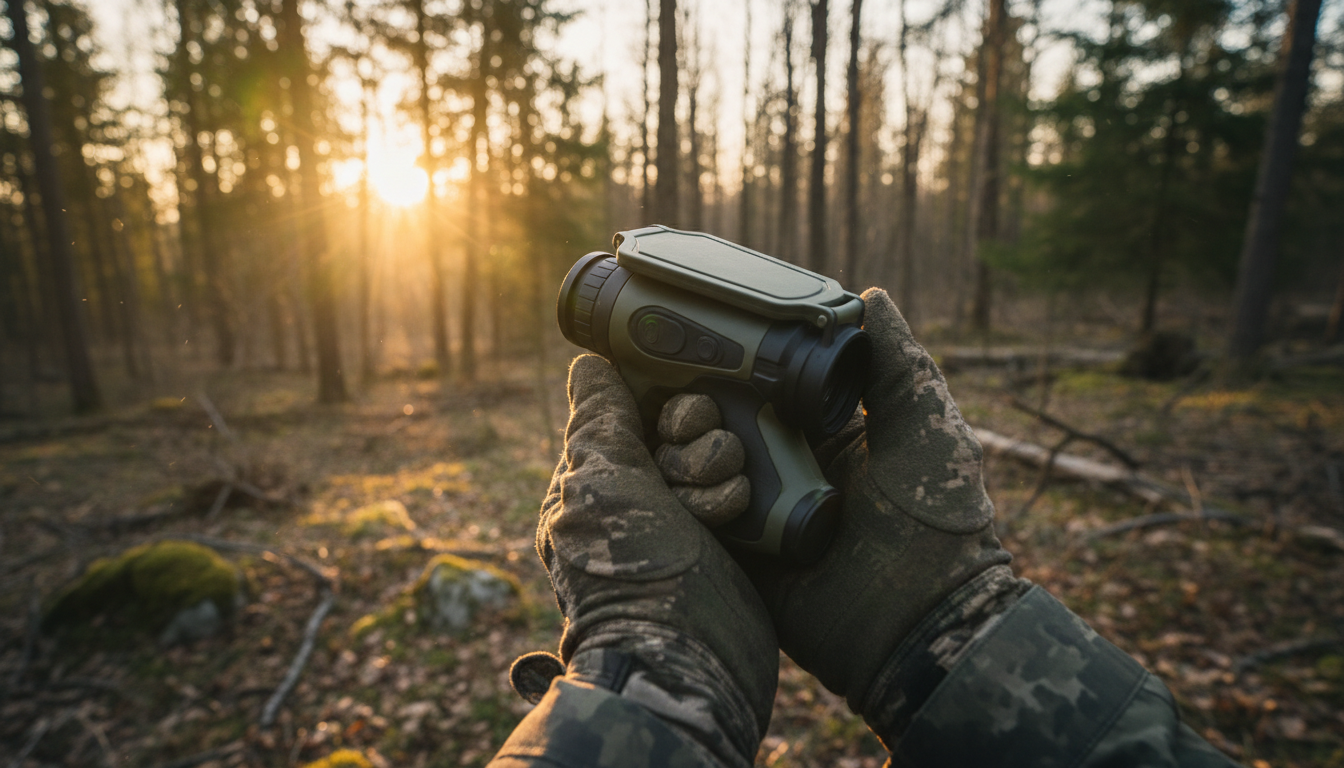
Váš termovízny monokulár je viac než len kus výstroja – je to významná investícia do vašich dobrodružstiev v prírode. Či už pred úsvitom hľadáte zver, sledujete tepelné stopy v hmle alebo strážite v úplnej tme, potrebujete, aby toto zariadenie fungovalo bezchybne práve vtedy, keď na tom najviac záleží. Problém je však v tom, že termovízna technológia nie je nezničiteľná. Prach, vlhkosť, teplotné výkyvy a nešetrné zaobchádzanie môžu nenápadne znižovať výkon, až kým nebudete mžúrať do rozmazaných obrazov práve vtedy, keď najviac potrebujete jasný obraz.
Tento sprievodca sme pripravili, aby sme vám pomohli chrániť vašu investíciu a maximalizovať vaše termovízne monokuláre životnosť. Od techník čistenia objektívov, ktoré nepoškriabu povrchovú úpravu, až po správne zaobchádzanie s batériou, ktoré zabráni poruchám v teréne – prevedieme vás rutinnými údržbovými postupmi, ktoré skutočne prinášajú výsledky. Väčšina z týchto postupov trvá len pár minút, ale môže predĺžiť životnosť vášho zariadenia o celé roky. Poďme na to.
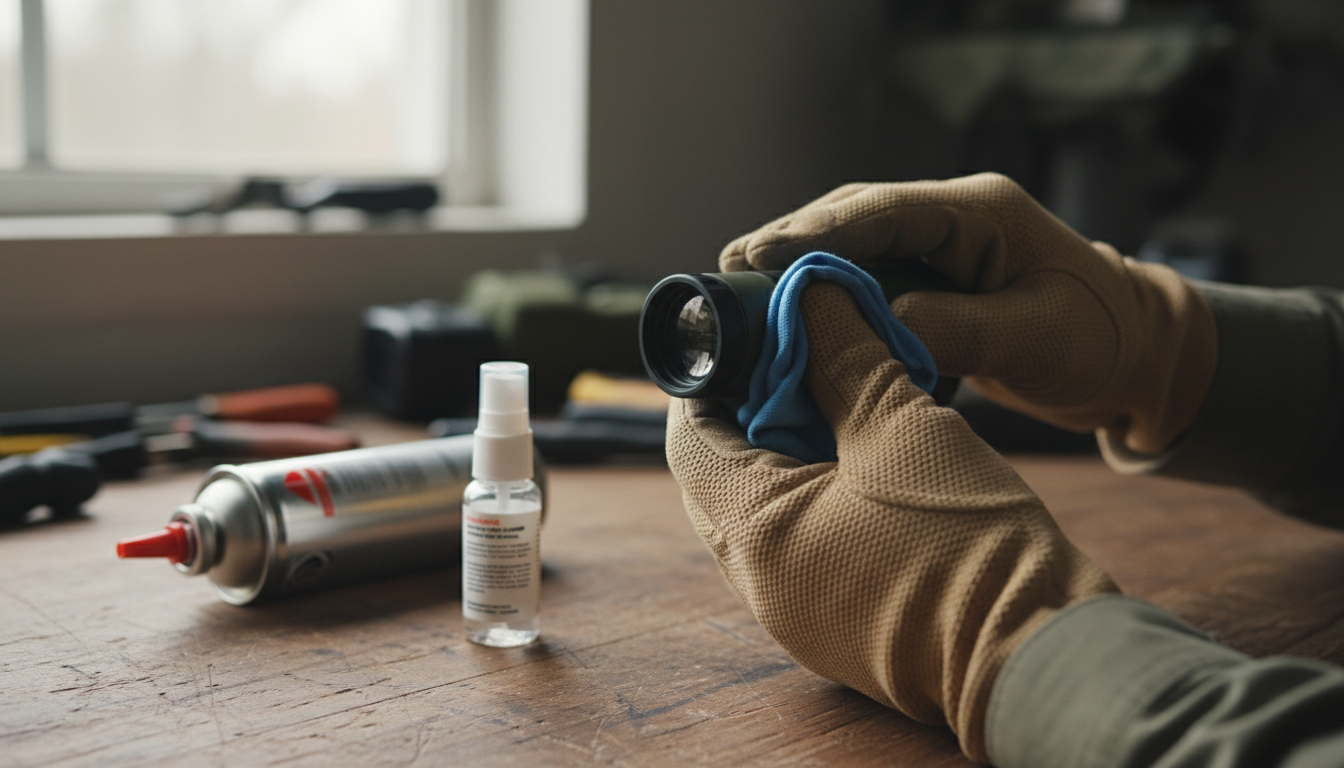
Objektív je kľúčom k získaniu ostrých termovíznych snímok a zároveň je to najcitlivejšia časť vášho monokuláru. Stačí jeden nesprávny pohyb s nevhodnou handričkou a na drahej optike zostanú trvalé škrabance.
Najskôr odstráňte voľný prach, než sa dotknete povrchu šošovky. Na odstránenie častíc použite mäkkú vzduchovú kefu alebo stlačený vzduch – tým zabránite tomu, aby ste pri utieraní po skle rozotierali nečistoty. Nikdy nepoužívajte tričko, papierové utierky ani žiadny drsný materiál. Tieto materiály pôsobia na špeciálne povlaky ako brúsny papier.
Na samotné čistenie použite utierku z mikrovlákna určenú na optiku. Ak máte na šošovkách odolné škvrny alebo odtlačky prstov, pridajte malé množstvo čistiaceho roztoku na šošovky, ktorý je špeciálne určený na optické povrchy. Nepoužívajte bežné čistiace prostriedky na sklo – obsahujú chemikálie, ktoré poškodzujú antireflexné vrstvy na termálnych šošovkách. Čistiaci prostriedok naneste na utierku, nie priamo na šošovku, a potom jemne utierajte od stredu smerom von valivými pohybmi.
Ak máte na objektíve blato alebo hrubé nečistoty, pred utieraním ho najprv opláchnite vodou. Tento jednoduchý krok zabráni poškriabaniu pri čistení. A vždy nechajte nasadené krytky objektívu, keď monokulár práve nepoužívate. Znie to ako samozrejmosť, ale krytky objektívu sú vašou prvou obranou proti poškriabaniu, prachu a náhodným nárazom. Pozrite si naše Sirius HD a Pegasus 2 LRF Oba modely sú vybavené odolnými systémami ochrany objektívu určenými na použitie v teréne.
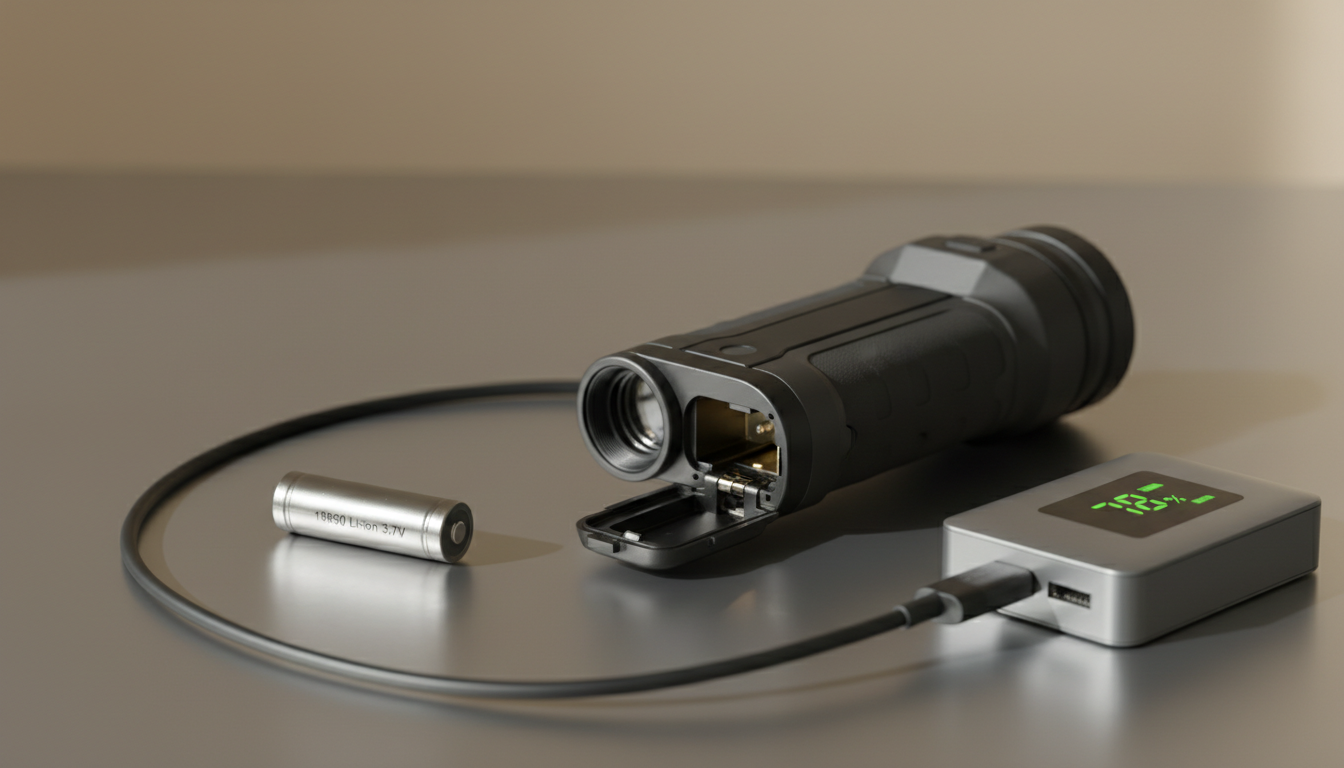
Problémy s batériou ukončia vaše lovecké dobrodružstvo rýchlejšie než čokoľvek iné. Vybitá batéria znamená nefunkčné zariadenie, bez ohľadu na to, aký kvalitný je váš termálny senzor.
Väčšina termovíznych monokulárov je napájaná dobíjateľnými lítium-iónovými batériami. Tieto batérie dosahujú najlepší výkon, ak dodržiavate niekoľko jednoduchých pravidiel. Po prvé, používajte výhradne nabíjačku dodanú spolu so zariadením alebo nabíjačku odporúčanú výrobcom. Neoriginálne nabíjačky síce môžu fungovať, avšak časom môžu zhoršiť stav batérie alebo dokonca predstavovať bezpečnostné riziko.
Ak je to možné, nedovoľte, aby sa batéria úplne vybil. Hlboké vybitie skracuje životnosť. Namiesto toho sa snažte udržiavať úroveň nabitia v rozmedzí 50–80% pri bežnom skladovaní. Ak monokulár skladujete na niekoľko mesiacov mimo sezóny, pred odložením batériu nabite na približne 50%. Tým sa zachová chemické zloženie batérie lepšie, ako keby ste ju skladovali úplne nabitú alebo úplne vybitú.
Teplota má väčší vplyv, než by ste si mohli myslieť. Nikdy nenabíjajte batériu, keď je mrazivo – teplota pod 32°F môže trvalo poškodiť články. Rovnako sa vyhnite tomu, aby ste monokulár nechávali na dlhší čas v rozpálených vozidlách alebo na priamom slnku. Teplo urýchľuje opotrebovanie batérie a môže ovplyvniť kalibráciu samotného tepelného senzora.
Ak zariadenie odkladáte na niekoľko mesiacov, vyberte z neho batérie. Tým zabránite prípadnému vytečeniu, ktoré by mohlo spôsobiť koróziu vnútornej elektroniky. Batérie skladujte oddelene na chladnom a suchom mieste a pravidelne ich kontrolujte, aby ste sa uistili, že si udržujú svoj náboj.
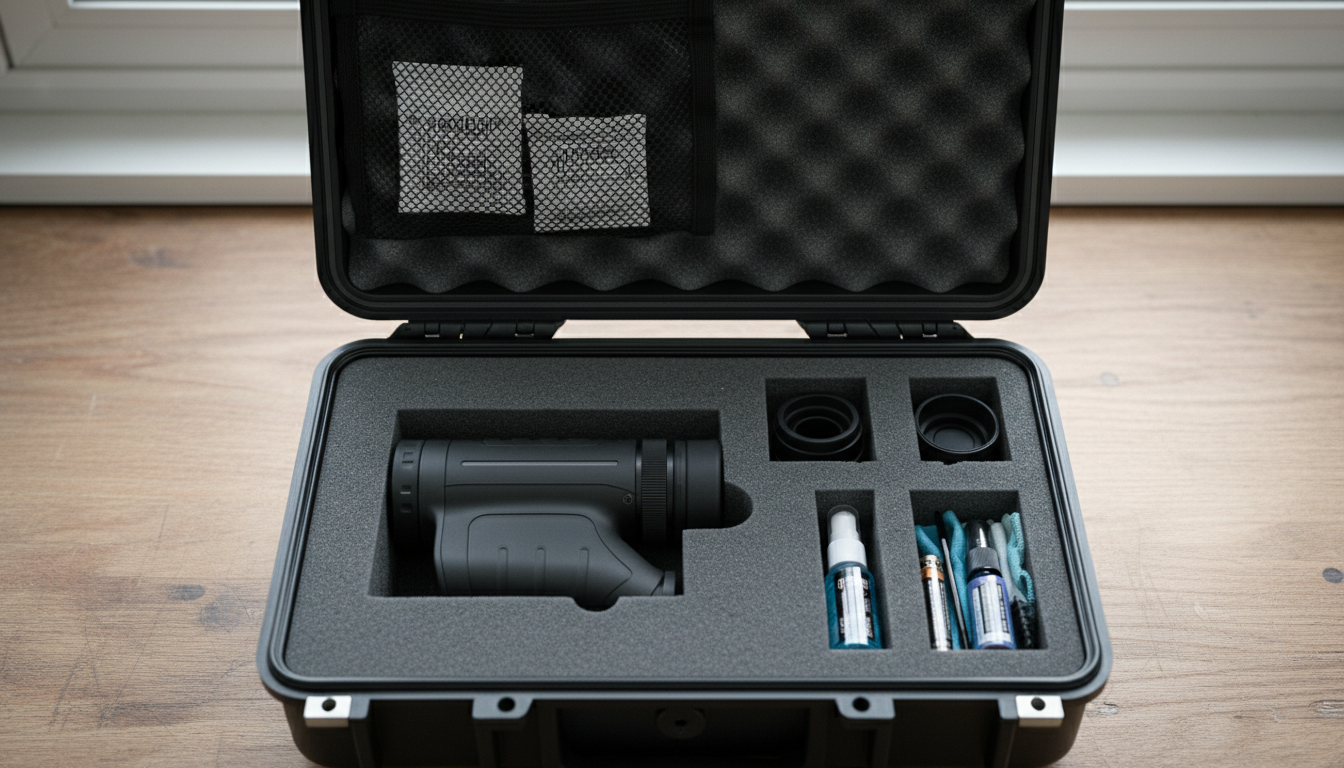
Spôsob, akým termovízny monokulár medzi jednotlivými použitím skladujete, má priamy vplyv na jeho životnosť. Najväčšími problémami sú v tomto prípade teplota a vlhkosť.
Vyberte si chladné a suché miesto mimo dosahu priameho slnečného žiarenia. Extrémne teploty – či už vysoké, alebo nízke – môžu poškodiť citlivú elektroniku a narušiť kalibráciu senzorov. Vysoká vlhkosť spôsobuje kondenzáciu vo vnútri zariadenia, čo môže viesť ku skratom alebo podporovať koróziu a rast plesní na vnútorných súčiastkach.
Zvážte, či do úložného priestoru nevložíte vrecúška so silikagélom, ktoré pohlcujú prebytočnú vlhkosť. Tieto lacné vysúšacie vrecúška môžu predísť mnohým problémom súvisiacim s vlhkosťou. Ak žijete v mimoriadne vlhkom podnebí, možno by ste v úložnom priestore mohli použiť aj odvlhčovač.
Vždy používajte ochranné puzdro – najlepšie originálne puzdro s penovými vložkami alebo tvrdé puzdro s polstrovaním. To chráni pred náhodným pádom a nárazmi, ktoré by mohli poškodiť objektív alebo vnútorné súčasti. Puzdro by malo mať samostatné priehradky na príslušenstvo, ako sú káble, náhradné batérie a čistiace pomôcky. Oddelené uloženie týchto predmetov zabraňuje poškriabaniu a poškodeniu tela monokuláru v dôsledku tlaku.
Po použití zariadenia vo vlhkom prostredí ho pred uskladnením dôkladne vysušte. Skontrolujte všetky tesnenia a otvory, aby ste sa uistili, že dovnútra neprenikla voda. Aj keď je váš monokulár označený ako vodovzdorný, je rozumné ho počas uskladnenia udržiavať čo najsuchší, aby sa tesnenia zachovali v dobrom stave aj v priebehu času.
Aktualizácie softvéru neprinášajú len nové funkcie – často obsahujú aj opravy chýb, vylepšenia výkonu a lepšie algoritmy spracovania obrazu. Výrobcovia vydávajú aktualizácie firmvéru na základe testovania v reálnych podmienkach a spätnej väzby od používateľov, a tieto aktualizácie môžu skutočne zlepšiť výkon vášho zariadenia.
Každých pár mesiacov skontrolujte webovú stránku výrobcu, či nie sú k dispozícii aktualizácie firmvéru. Tento proces zvyčajne spočíva v pripojení monokuláru k počítaču cez USB a spustení aktualizačného softvéru. Postupujte podľa pokynov a počas aktualizácie zariadenie neodpájajte.
Rovnako dôležitá je aj kalibrácia. Váš termálny senzor vyžaduje pravidelnú kalibráciu, aby sa zachovala presnosť obrazu. Mnohé moderné termovízne monokuláre disponujú funkciami automatickej kalibrácie, ktoré sa spúšťajú podľa potreby, avšak v niektorých situáciách je potrebná ručná kalibrácia. Ak si všimnete zhoršenie kvality obrazu, nesprávne namerané hodnoty teploty alebo podivné artefakty v termovíznom obraze, spustite kalibračný cyklus.
Väčšina zariadení má v ponuke funkciu kalibrácie – zvyčajne to trvá len niekoľko sekúnd. Monokulár na krátko zakryje senzor alebo vykoná internú kontrolu referenčných hodnôt, aby detektor prekalibroval. Tento rýchly proces môže výrazne zlepšiť ostrosť obrazu.
Ešte pred začiatkom poľovníckej sezóny vykonajte aspoň mesiac vopred dôkladnú kontrolu. Skontrolujte stav batérie, aktualizujte firmvér a vykonajte kalibráciu, aby ste sa vyhli nepríjemným prekvapeniam v prvý poľovnícky deň. Určite nechcete zistiť problémy až v teréne.
Termovízne monokuláre sú síce odolné, ale stále ide o presné prístroje. Dodržiavanie niekoľkých osvedčených postupov pri manipulácii výrazne prispieva k prevencii poškodenia.
Ak je to možné, vyhnite sa náhlym zmenám teploty. Ak vystupujete z vyhriateho vozidla do mrazivého vonkajšieho prostredia, nechajte zariadenie niekoľko minút, aby sa postupne prispôsobilo teplote. Rýchle výkyvy teploty môžu ovplyvniť presnosť senzorov a spôsobiť kondenzáciu vo vnútri zariadenia.
Chráňte monokulár pred magnetickým rušením a nevystavujte ho fyzickým nárazom. Hoci väčšina modelov zvládne bežné terénne podmienky, silné pády na skaly alebo betón môžu poškodiť vnútornú elektroniku alebo spôsobiť posunutie optických komponentov. Používajte remienok na zápästie, ktorý bol súčasťou balenia – je tam z dobrého dôvodu.
Ak sa na vonkajšom plášti monokuláru usadí blato alebo nečistoty, jemne ich utrite mäkkou, mierne navlhčenou handričkou. Na odstránenie odolných nečistôt z plášťa môžete použiť malé množstvo syntetického čistiaceho prostriedku, avšak dajte pozor, aby sa vlhkosť nedostala do otvorov a tesnení. Monokulár nikdy neponárajte do vody, pokiaľ nie je výslovne určený na úplné ponorenie.
Pri presúvaní sa z jedného miesta na druhé vždy prenášajte zariadenie v ochrannom puzdre. Či už idete autom na lovisko alebo sa vydávate na túru v náročnom teréne, toto polstrované puzdro tlmí nárazy, ktoré by inak zasiahli váš monokulár.
Aj pri dokonalom údržbe sa môžete občas stretnúť s problémami. Ak viete, ako riešiť problémy, ušetríte si čas a vyhnete sa frustrácii.
Rozmazané alebo nejasné obrázky: Najskôr vyčistite šošovku – zvyčajne za to môžu odtlačky prstov a prach. Ak to nepomôže, skontrolujte nastavenie zaostrenia a uistite sa, že je správne nastavené pre vašu pozorovaciu vzdialenosť. Stále je obraz rozmazaný? Problém môže byť vnútorný a môže si vyžadovať servis u výrobcu alebo rekalibráciu.
Batéria sa vybíja príliš rýchlo: Vymeňte staré batérie za nové. Lítium-iónové batérie zvyčajne treba vymeniť po 2–3 rokoch intenzívneho používania. Skontrolujte tiež nastavenia – vysoký jas, maximálna obnovovacia frekvencia a funkcie ako Wi-Fi alebo nahrávanie videa rýchlo vyčerpávajú energiu. Upravte tieto nastavenia tak, aby ste dosiahli rovnováhu medzi výkonom a výdržou batérie.
Zariadenie sa nezapne: Uistite sa, že je batéria nabitá a správne vložená. Ak máte k dispozícii inú batériu, vyskúšajte ju. Skontrolujte, či sú kontakty batérie čisté a bez korózie. Ak sa zariadenie stále nezapne, pravdepodobne budete potrebovať odborný servis.
Kvalita obrazu sa časom zhoršila: Spustite kalibračný cyklus. Teplotné senzory sa môžu v priebehu času mierne odchýliť a opätovná kalibrácia často obnoví optimálny výkon. Ak kalibrácia nepomôže, pozrite sa do používateľskej príručky alebo kontaktujte výrobcu.
Kvalitné termovízne monokuláre pri správnej starostlivosti zvyčajne vydržia 5 až 10 rokov. Mikrobolometrické senzory sú dimenzované na tisíce prevádzkových hodín. Najdôležitejšími faktormi ovplyvňujúcimi životnosť sú ochrana pred silnými nárazmi, zabránenie vniknutiu vlhkosti a správne skladovanie mimo sezóny.
Považujte údržbu za preventívnu starostlivosť. Stačí, ak si po každom výlete venčíte objektív, skontrolujete tesnenia a zariadenie správne uložíte – tým predídete problémom, ktorých oprava by vás mohla stáť stovky. Pravidelná kontrola odhalí opotrebenie včas, skôr než sa z malých problémov stanú závažné poruchy.
Kúpte si kvalitné príslušenstvo, ktoré ochráni vašu výbavu. Investujte do dobrého puzdra, kvalitných batérií a vhodných čistiacich prostriedkov. Tieto relatívne malé výdavky ochránia oveľa väčšiu investíciu. A keď príde čas na modernizáciu, dobre udržiavaná výbava si zachová svoju predajnú hodnotu podstatne lepšie ako zanedbaná výbava.
V spoločnosti Pixfra navrhujeme naše produkty pre termovíziu – ako napríklad Draco a Arc LRF modely – navrhnuté s ohľadom na odolnosť. Avšak aj tá najodolnejšia výbava ťaží z správnej údržby. Starajte sa o svoju výbavu správne a bude vám spoľahlivo slúžiť sezónu za sezónou.
Údržba vášho termovízneho monokuláru nie je zložitá – stačí len dôslednosť. Šošovky starostlivo čistite pomocou vhodných prostriedkov, správne sa starajte o batérie, zariadenie skladujte v kontrolovaných podmienkach, aktualizujte firmvér a zaobchádzajte s ním s primeranou opatrnosťou. Tieto návyky vám zaberú len minimálny čas, ale môžu doslova predĺžiť životnosť vášho zariadenia o celé roky a zároveň zachovať jeho maximálny výkon.
Váš termovízny monokulár vám v teréne poskytuje možnosti, ktoré ešte pred pár rokmi patrili výlučne do vojenskej sféry. Oplatite mu to tým, že mu poskytnete základnú starostlivosť, ktorú potrebuje. Pár minút údržby po každom výlete je lepšie ako dni bez vášho vybavenia, keď je v oprave – alebo ešte horšie, ako hľadanie drahej náhrady.
Začnite si tieto návyky budovať už teraz. Vaše budúce ja, ktoré bude v predsvitaní pozorovať tepelné stopy cez krištáľovo čistú optiku, vám za to poďakuje.
Ako často by som mal čistiť šošovku svojho termovízneho monokuláru? Objektív si vyčistite po každom použití, najmä ak ste sa pohybovali v prašnom alebo znečistenom prostredí. Pri bežnom používaní v čistom prostredí stačí rýchla kontrola a čistenie raz za niekoľko výletov. Pred ďalším výletom vždy odstráňte viditeľný prach alebo odtlačky prstov, aby ste zachovali optimálnu kvalitu obrazu. Používajte vhodné čistiace prostriedky na objektívy – nikdy nepoužívajte hrubé tkaniny ani domáce čistiace prostriedky.
Môžem na svoj termovízny monokulár použiť bežný prostriedok na čistenie skla? Nie. Bežné čistiace prostriedky na sklo obsahujú chemikálie, ktoré môžu poškodiť špeciálne antireflexné vrstvy na termovíznych šošovkách. Práve tieto vrstvy zabezpečujú správnu funkciu vášho termovízneho zariadenia a ich poškodenie môže spôsobiť trvalé zhoršenie kvality obrazu. Vždy používajte čistiace roztoky na šošovky určené špeciálne pre optické prístroje alebo čistý izopropylalkohol s koncentráciou 90%+ nanesený na utierku z mikrovlákna.
Aká je najvhodnejšia teplota na skladovanie môjho termovízneho monokuláru? Zariadenie skladujte v chladnom a suchom prostredí s čo najstabilnejšou teplotou v rozmedzí 50–70 °F, ak je to možné. Vyhnite sa miestam s extrémnym teplom alebo chladom, priamemu slnečnému žiareniu alebo vysokej vlhkosti. Ak zariadenie skladujete niekoľko mesiacov, udržujte batériu nabitú na približne 50% a vyberte ju zo zariadenia, aby ste predišli možnému úniku. Stabilita teploty je dôležitejšia ako dosiahnutie presnej hodnoty.
Prečo sa mi zdá, že sa batéria môjho termovízneho monokuláru vybíja rýchlejšie ako predtým? Lítium-iónové batérie sa v priebehu času prirodzene opotrebúvajú a zvyčajne je potrebné ich vymeniť po 2–3 rokoch bežného používania. Spotreba batérie sa môže zvýšiť aj v prípade, že používate nastavenia s vysokým jasom, maximálnu obnovovaciu frekvenciu alebo funkcie s vysokou spotrebou energie, ako je Wi-Fi a nahrávanie videa. Skúste znížiť jas, upraviť nastavenia a vymeniť batériu, ak je staršia ako dva roky.
Ako dlho by mal vydržať kvalitný termovízny monokulár? Pri správnej údržbe vydržia kvalitné termovízne monokuláre zvyčajne 5 až 10 rokov alebo aj dlhšie. Mikrobolometrické senzory sú dimenzované na tisíce prevádzkových hodín. Najdôležitejšími faktormi ovplyvňujúcimi životnosť sú ochrana pred fyzickými nárazmi, udržiavanie zariadenia v suchu, správne skladovanie mimo sezóny a základná údržba, ako je čistenie šošoviek a starostlivosť o batérie. Dobre udržiavané zariadenia často vydržia dlhšie, než ich majitelia pocítia potrebu ich modernizácie.
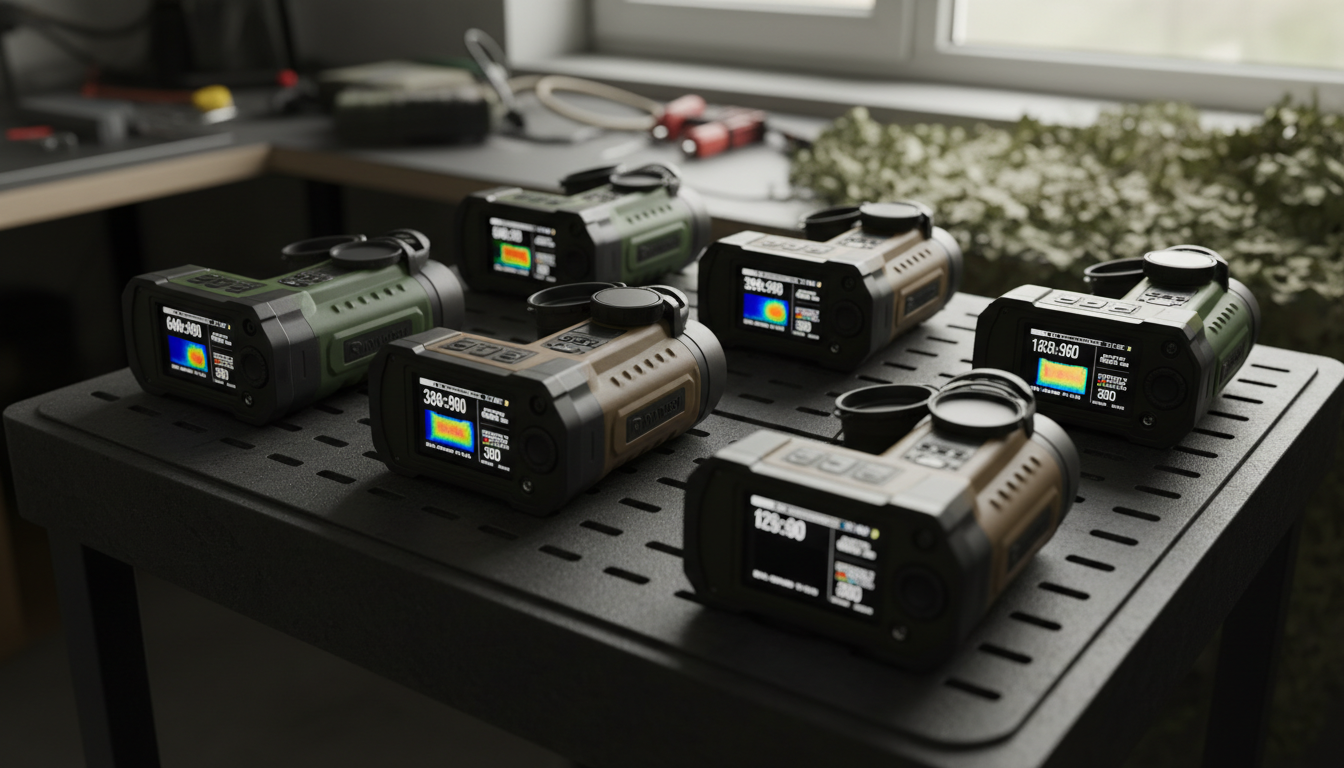
When you’re shopping for a thermal monocular, you’ll see specs like “640×480 resolution” and “50Hz refresh rate” plastered everywhere. But what do these numbers actually mean for your hunting trips or property scanning? And more importantly, which ones should you care about?
We’ve tested thermal devices in field conditions and talked to users who’ve spent thousands on gear. Here’s what you need to know about resolution and Hertz before making that investment.
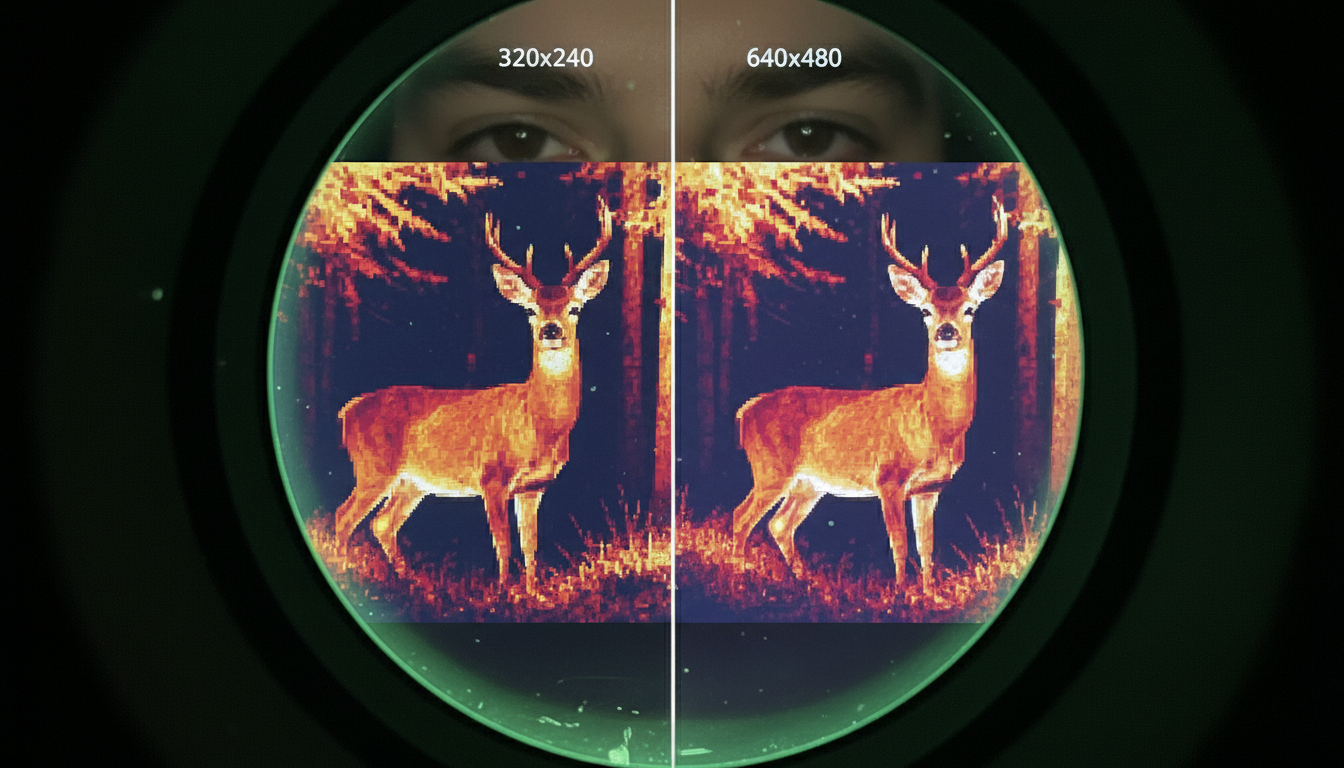
Here’s where it gets tricky. Your thermal monocular actually has two different resolutions, and manufacturers sometimes blur the line between them.
Toto sensor resolution is what captures heat information. Think of it as the camera itself—common sizes are 256×192, 384×288, or 640×480 pixels. A 384×288 sensor has 110,592 individual pixels detecting temperature differences in front of you.
Toto display resolution is the screen you look through. This number is often higher than the sensor resolution. You might see a monocular with a 384×288 sensor but a 1280×960 display. That doesn’t mean you’re getting more thermal information—it just means the display is upscaling what the sensor captures.
Your image quality is limited by the sensor, not the display. A high-resolution screen won’t fix a low-resolution sensor, but it can make the thermal image sharper and easier on your eyes during long scanning sessions.
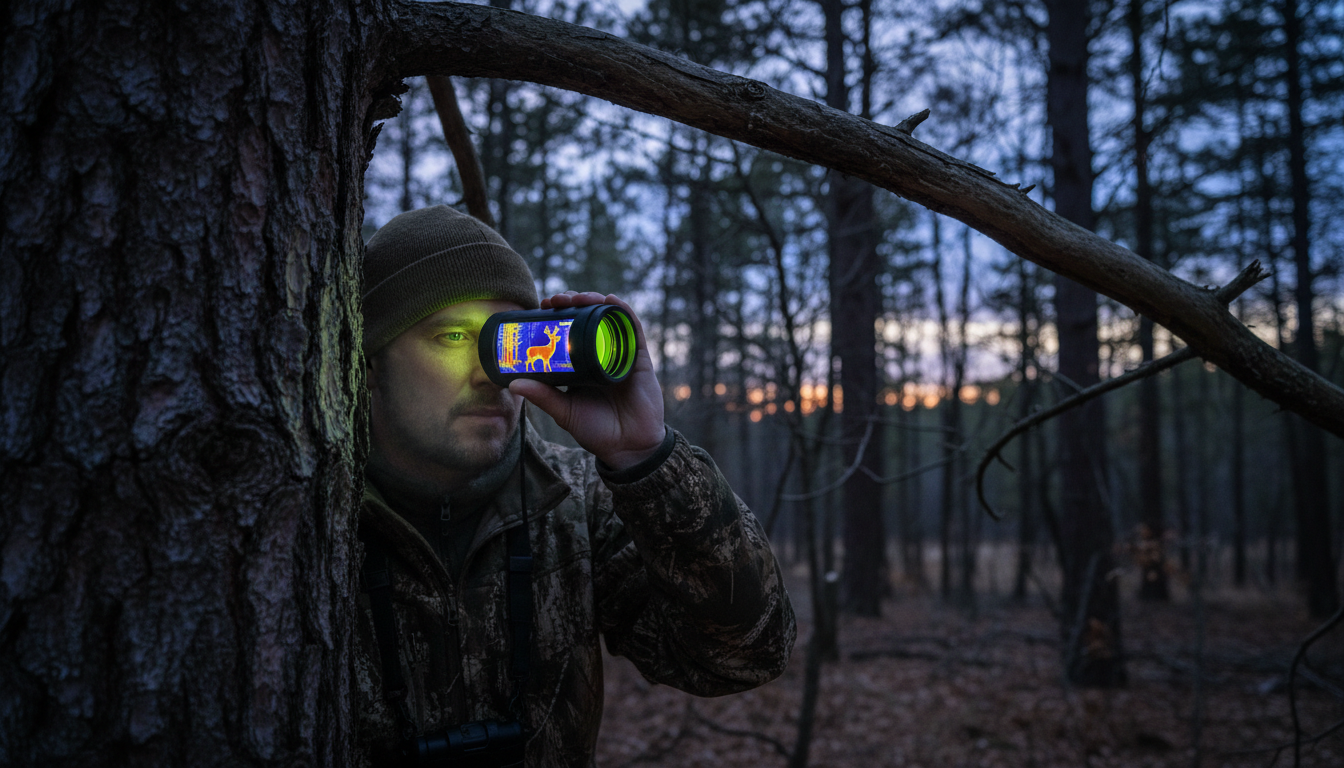
Budget devices with 256×192 sensors work fine for close-range scanning under 300 yards. We’ve used them on smaller properties where most activity happens within that range.
For properties over 100 acres, we recommend at least 384×288 resolution. This gives you clear recognition to 400-500 yards and handles most hunting scenarios. You’ll see enough detail to identify species and count animals.
If you’re scanning open terrain beyond 500 yards regularly, 640×480 resolution delivers better identification capability. Models like the Draco and Arc LRF from Pixfra offer reliable scanning at this level without jumping to premium pricing.
High-end 1280×1024 sensors provide exceptional detail even at full zoom, but they come with premium price tags. Unless you’re working at extreme distances or need professional-grade performance, you’ll get solid results from the mid-range options.
Hertz (Hz) tells you how many times per second your thermal monocular updates the image. A 30Hz device refreshes 30 times per second, while a 60Hz model does it twice as fast.
Standard thermal monoculars run at 30Hz or 50Hz. For most scanning work, 30Hz feels smooth enough. You can track moving deer, scan for hogs, and navigate terrain without noticeable lag.
Higher refresh rates like 50Hz or 60Hz provide smoother images when you’re moving fast or tracking quick targets. The difference becomes obvious when you’re panning across open fields or following running animals. Your eye picks up less blur and you can make faster identification decisions.
Low-end devices sometimes use 9Hz refresh rates to meet export regulations or cut costs. These create choppy images that make scanning frustrating. Movement appears stuttered, and you’ll struggle to track anything that’s not standing still.
Resolution and refresh rate affect different aspects of your thermal image. Resolution determines detail and clarity—how well you can identify what you’re seeing. Refresh rate affects smoothness and motion tracking—how well you follow moving targets.
A 384×288 sensor at 50Hz gives you decent detail with smooth motion tracking. That combination handles most hunting and property management tasks. You get clear thermal signatures without the choppy feel of low refresh rates.
A 640×480 sensor at 30Hz flips the priority. You see more detail in each frame but might notice slight motion blur when panning quickly. For stationary observation or methodical scanning, this works well.
The sweet spot for active scanning? Combine at least 384×288 resolution with 50Hz refresh. Products like the Sirius HD offer this balance, letting you cover ground quickly while maintaining image quality.
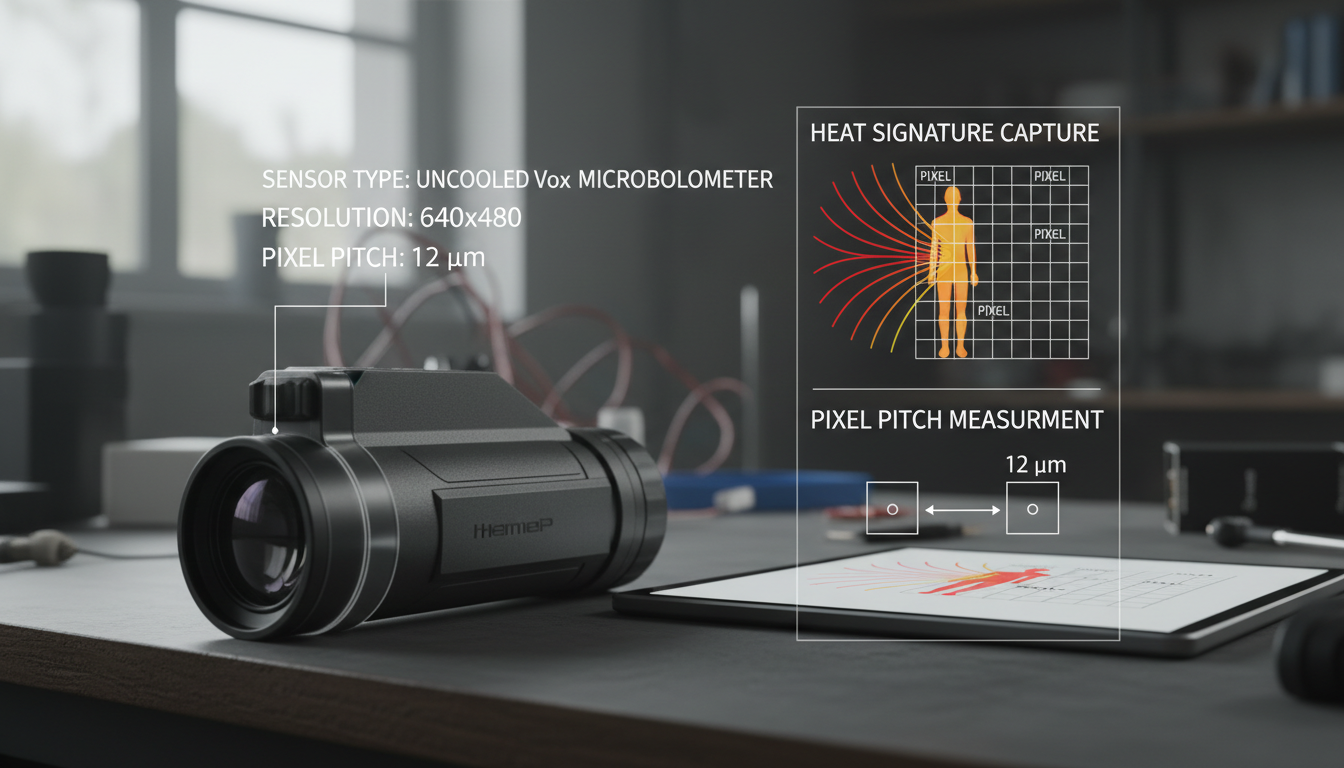
Pixel pitch measures the distance between sensor pixels, listed in micrometers (µm). You’ll typically see 12µm or 17µm ratings.
Smaller pixel pitch (12µm) packs pixels tighter together, creating sharper images at longer distances. This helps when you need to spot small targets far away. But here’s the catch—tighter spacing means each pixel collects less heat information per measurement.
Larger pixel pitch (17µm) captures more thermal data per pixel, which improves performance in challenging weather conditions like fog or rain. You’ll see better contrast when everything’s close to the same temperature.
If you hunt in varied conditions and different distances, 17µm with good thermal sensitivity often outperforms 12µm sensors. The extra thermal information helps more than the slight resolution advantage in real-world use.
256×192 (49,152 pixels): Entry-level units good for 200-300 yards. Works for small properties, close-range wildlife observation, and getting familiar with thermal technology. Budget-friendly but limited zoom capability.
384×288 (110,592 pixels): The middle ground that balances performance and cost. Handles medium-range scanning to 500 yards, provides useful digital zoom, and covers most hunting scenarios. Our Pegasus 2 LRF operates in this range.
640×480 (307,200 pixels): Professional-grade imaging with extended range beyond 800 yards. Three times the pixels of 256×192 means significantly better detail and comfortable digital zooming. Good for large properties and long-range identification.
1280×1024 (1,310,720 pixels): Premium territory with maximum detail even at full zoom. These sensors excel at extreme distances and challenging conditions, but cost reflects their capabilities.
The display type affects your viewing experience as much as pixel count. AMOLED displays provide brighter contrast, more vivid thermal color palettes, and faster response times than standard LCD screens.
Display resolution should match or exceed sensor resolution. A 640×480 sensor paired with a 1920×1080 display gives you sharp, easy-to-read thermal images. The extra display pixels help render overlay graphics like reticles, rangefinder readings, and menu systems clearly.
Higher display resolution also reduces eye strain during extended observation sessions. When you’re scanning for hours, a crisp display makes a real difference in comfort and effectiveness.
We’ve seen people spend thousands on 640×480 sensors with 60Hz refresh rates, then use them for tasks where a 384×288 at 30Hz would work fine. And we’ve seen hunters with budget units struggle because they genuinely needed more capability.
For property scanning under 300 yards, perimeter security, or learning whether thermal works for you, 256×192 at 30Hz handles the job. You’re not missing much by starting here.
Wildlife observation and hunting on properties up to 200 acres benefits from 384×288 resolution at 50Hz. This combination gives you enough detail to identify species and smooth enough motion to track movement patterns. Our IR Torch pairs well with devices in this range for situations requiring illumination alongside thermal detection.
Search and rescue, large property management, or serious hunting applications justify stepping up to 640×480 at 50Hz or higher. You’re covering more ground, working at greater distances, and need reliable performance in challenging conditions.
NETD (Noise Equivalent Temperature Difference) measures how small a temperature difference your sensor can detect. It’s expressed in millikelvins (mK). Lower numbers mean better performance.
A sensor with <25mK NETD sees smaller temperature variations than one rated at 40mK. This matters most in fog, humidity, or when everything’s close to the same temperature—like summer mornings when the ground and animals haven’t separated thermally yet.
NETD affects image quality differently than resolution. High resolution with poor NETD gives you detailed but low-contrast images where everything looks similar. Good NETD with moderate resolution provides clear thermal contrast, making targets pop against backgrounds.
Look for devices that balance both. A 384×288 sensor with <25mK NETD often outperforms a 640×480 sensor with 40mK NETD in real hunting conditions.
You’ll notice some thermal devices are limited to 9Hz refresh rates despite having high-resolution sensors. This relates to export regulations that restrict thermal technology.
Devices with 640×480 or higher resolution combined with refresh rates above 9Hz often face export restrictions. Manufacturers create 9Hz versions to comply with international regulations, making those models available in more markets.
For domestic use in hunting and property management, you want at least 30Hz if possible. The choppy 9Hz image makes tracking difficult and reduces your overall effectiveness. Spend your money on a 30Hz or higher device unless regulations in your area require otherwise.
Entry-level thermal monoculars ($800-$1,500) typically offer 256×192 resolution with 30Hz refresh rates. They work for close-range needs and help you figure out if thermal technology fits your activities.
Mid-range devices ($1,500-$3,500) step up to 384×288 or 640×480 resolution with 50Hz refresh rates. This tier delivers the best value for serious use. You get professional-grade performance without extreme pricing.
Premium monoculars ($3,500+) feature 640×480 or higher resolution, 50-60Hz refresh, integrated laser rangefinders, and advanced image processing. These make sense when your activities depend on equipment performance or you’re covering extreme distances.
Don’t chase maximum detection range numbers that exceed your realistic needs. Focus on recognition range that matches your property size, refresh rate that supports your scanning style, and resolution that provides enough detail for confident identification.
We’ve run thermal monoculars in rain, fog, freezing temperatures, and summer heat. Here’s what actually matters in the field:
Resolution helps most when you need to identify targets at your maximum working distance. If you rarely scan beyond 400 yards, paying premium prices for 1280×1024 sensors doesn’t improve your results.
Refresh rate becomes obvious when you’re actively moving. Stationary observation works fine at 30Hz. Active scanning, vehicle-mounted use, or tracking fast animals benefits noticeably from 50Hz or higher.
Thermal sensitivity (NETD) affects every scan you make. Good NETD performs in varied weather and lighting conditions. Poor NETD only works well in ideal thermal contrast situations.
Resolution and Hertz work together to define your thermal monocular’s performance. Resolution determines how much detail you see, while Hertz controls how smoothly you see it.
For most hunters and property managers, 384×288 resolution at 50Hz provides the sweet spot between performance and cost. This combination delivers clear identification to 500 yards with smooth motion tracking.
Budget-conscious users can start with 256×192 at 30Hz for close-range work. Those needing extreme performance should look at 640×480 at 50Hz or higher, but expect to pay significantly more.
Match your specs to your actual use case, not marketing hype. The right thermal monocular enhances how you work in the field—it’s about practical performance, not impressive spec sheets.
What’s more important in a thermal monocular: resolution or refresh rate?
Both matter, but for different reasons. Resolution affects detail and identification range—how clearly you see targets. Refresh rate affects motion smoothness and tracking capability. For stationary observation, prioritize resolution. For active scanning or moving platforms, refresh rate becomes equally important. Most users benefit from balancing both with at least 384×288 resolution at 50Hz.
Can a high display resolution make up for a low sensor resolution?
No. The display only shows what the sensor captures. A 256×192 sensor displayed on a 1920×1080 screen still provides 256×192 worth of thermal information. The high-res display makes the image sharper and easier to view, but it can’t create thermal detail that the sensor didn’t capture. Always check sensor resolution first.
Why do some thermal monoculars have 9Hz refresh rates?
Export regulations restrict high-performance thermal technology. Devices with 640×480 or higher resolution combined with refresh rates above 9Hz face export limitations. Manufacturers create 9Hz versions to comply with international regulations. For domestic hunting and scanning, avoid 9Hz if possible—the choppy image makes tracking difficult.
How much resolution do I need for hunting at 300-500 yards?
For consistent identification at 300-500 yards, we recommend at least 384×288 resolution. This provides enough pixels to distinguish species, count animals, and judge size. Budget 256×192 sensors struggle beyond 300 yards. If you regularly work at the 500-yard end, consider stepping up to 640×480 for better detail and comfortable digital zooming.
Does higher resolution always mean better thermal images?
Not necessarily. Resolution combines with other factors like thermal sensitivity (NETD), pixel pitch, and lens quality to create your final image. A 384×288 sensor with excellent NETD and good optics can outperform a 640×480 sensor with poor thermal sensitivity in challenging conditions like fog or low-contrast environments. Look at the complete package, not just resolution numbers.
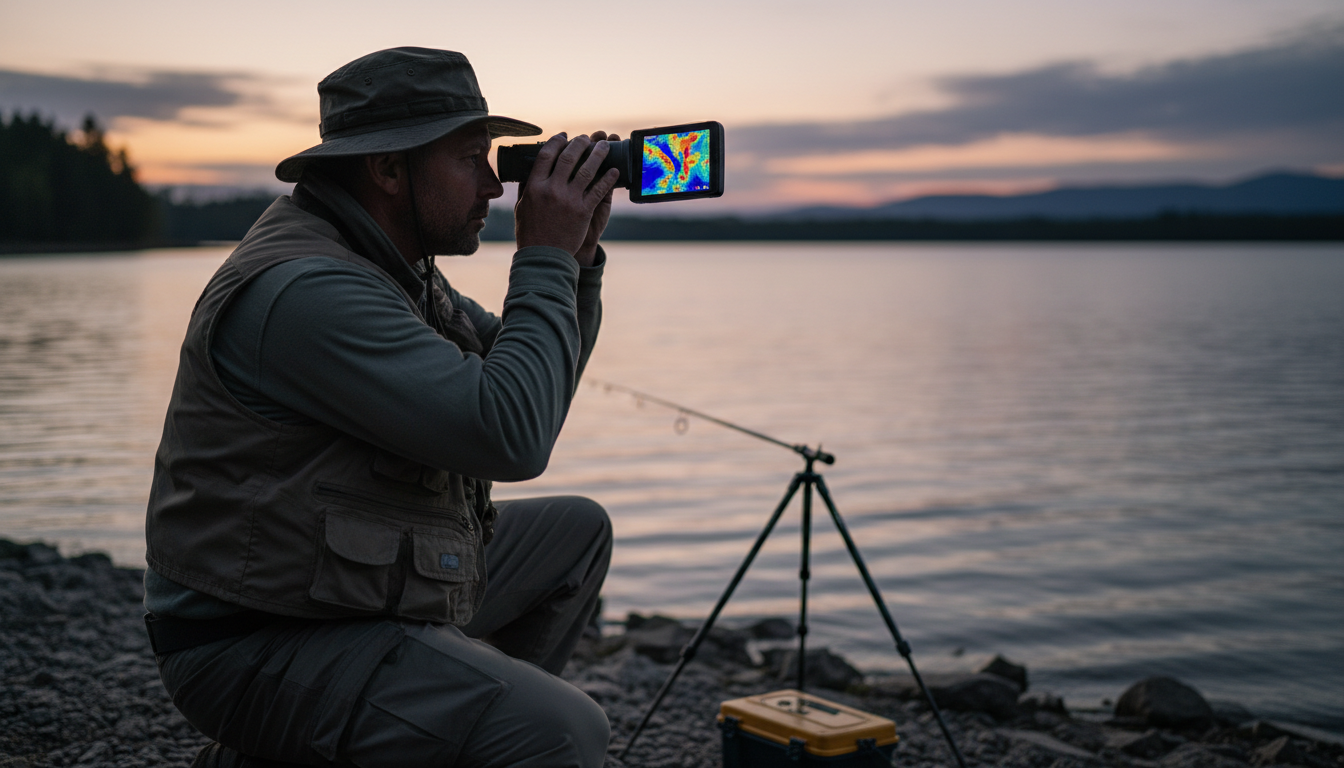
You’ve probably heard anglers talking about thermal scopes and wondered if they’re the secret weapon for finding fish. The short answer? Not quite the way you’d think. Fish are cold-blooded creatures whose temperature is not constant and depends on the water temperature, which makes them really hard to spot with thermal technology. But that doesn’t mean thermal scopes are useless for fishing—you just need to know what they can and can’t do.
We’re going to walk you through how thermal imaging actually works around water, why you won’t see fish swimming below the surface, and the surprising ways thermal scopes can still help you catch more fish. If you’re interested in exploring different thermal imaging options, check out our range of outdoor thermal devices designed for various applications.
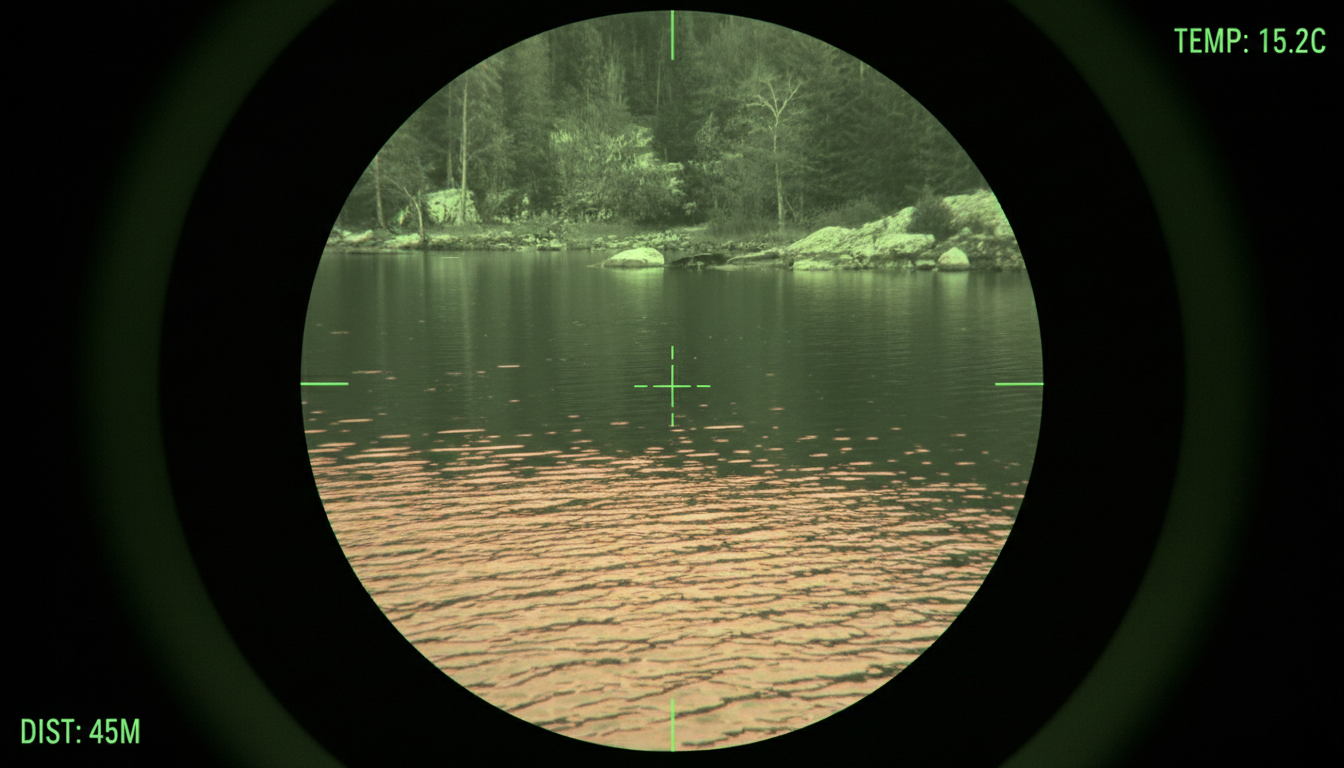
Here’s the deal: water absorbs infrared radiation, which reduces the effectiveness of thermal imaging, and infrared radiation does not penetrate water well. Think of water as a thick blanket that blocks the heat signatures thermal scopes need to create an image.
But there’s another problem. A thermal imaging camera displays a contrasting temperature background of the objects you are observing, and it will not show fish with the same body temperature as the water. Most fish sit at roughly the same temperature as their surroundings, so even if the infrared radiation could get through the water (which it can’t), there’d be almost no temperature difference to detect.
The primary limitation of thermal imaging underwater is the poor penetration of infrared radiation, and thermal cameras are limited to detecting heat on or very near the surface. Sound familiar if you’ve ever tried using one near a lake or river? That’s why.
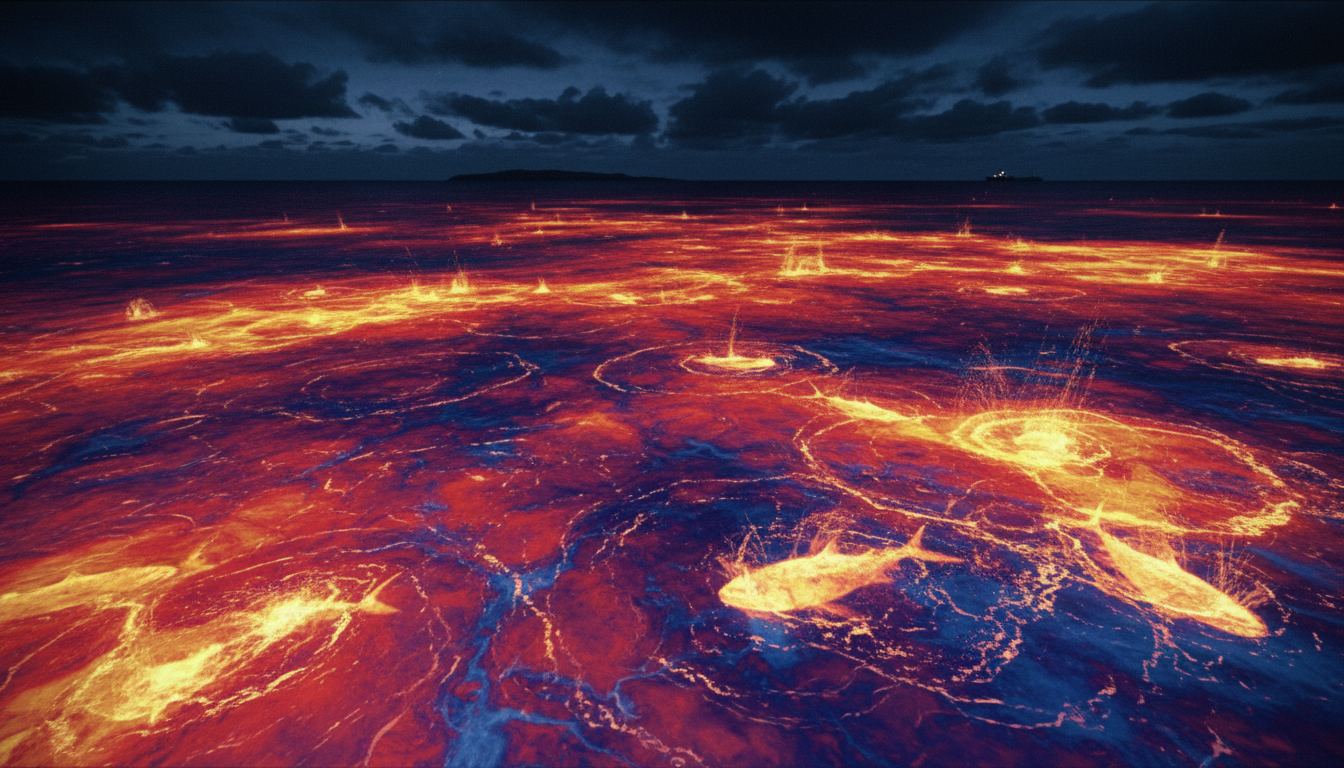
Before you write off thermal imaging for fishing completely, there’s good news. Schools of fish change the characteristics of the water’s surface, and that’s what you can see with thermal imaging. When fish are active near the surface—feeding, breaking, or moving in large schools—they create tiny temperature changes and disturbances that show up on a thermal scope.
Thermal-imaging cameras are sensitive enough to see temperature breaks — areas that tend to attract schools of baitfish and predators, as long as the water temperature changes rapidly within a few meters. This works particularly well in saltwater where you’re looking for temperature gradients offshore, or at night when you’re trying to spot baitfish dimpling the surface.
For those serious about nighttime observation and fishing applications, our Pegasus 2 LRF offers long-range detection capabilities that work well in low-light marine conditions.
Thermal cameras can register a temperature anomaly as small as a tenth of a degree, and that difference becomes more pronounced offshore when the camera’s field of view fills with mostly water and sky. This is where thermal imaging really shines for fishing.
You can spot weed lines, kelp paddies, and floating debris that hold fish—even in complete darkness. These objects absorb heat differently than open water, making them stand out like beacons on your thermal display. Anglers say they’ve hooked tuna after finding breaking fish before daylight by using a thermal-imaging camera, and can spot schools of baitfish dimpling the surface in the dark.
While infrared radiation is absorbed by water, it is possible to detect temperature differences on the water’s surface, and fish swimming close to the surface can create disturbances and thermal anomalies. Look, it’s not x-ray vision, but it beats staring into pitch darkness hoping to stumble onto fish.
Honestly, thermal imaging does way more for fishing safety and navigation than direct fish finding. Thermal cameras cannot see through water, but they’re still the best tool for professional and recreational marine use when you need to see in total darkness.
Infrared thermal imaging cameras can reliably deliver clear thermal images even in extremely low-visibility conditions such as nighttime, heavy fog, rain, or snow, and provide all-weather identification of key targets including other vessels, buoys, shorelines, and floating debris. You’ll avoid hitting debris, spot other boats, and navigate safely—which matters more than finding fish when you’re miles offshore in the dark.
During winter fishing, thermal imaging can identify weak spots in ice, cracks, and thin areas that could be dangerous. It’s a safety tool first, fishing aid second. Our thermal monocular technology article explains more about how these devices work if you’re curious about the technical side.
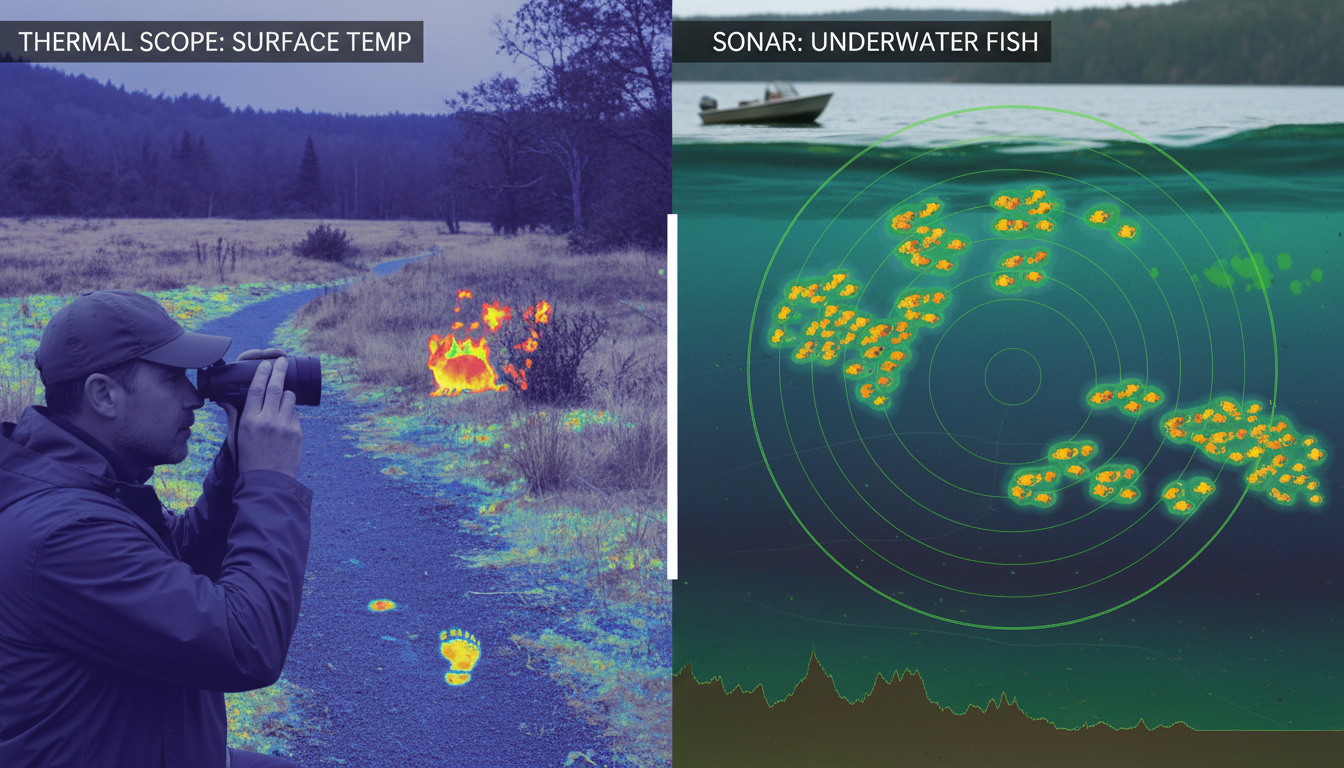
Sonar technology, which uses sound waves to detect objects underwater, is widely used for fish finding and can penetrate water effectively and provide detailed information about the location, size, and movement of fish schools. If you want to see what’s actually below your boat, sonar is your answer—not thermal.
Underwater cameras, often coupled with lighting systems, can capture visual images of fish and other marine life and are commonly used in marine biology, underwater research, and recreational diving. These give you actual video of what’s down there, which is pretty cool if you’re trying to figure out what fish are doing around your bait.
Thermal scopes work great for spotting surface activity and navigating at night, but they’re not replacements for traditional fish finders. Use them together and you’ll have a much better setup than relying on just one technology.
So can you see fish with a thermal scope? Not underwater—physics just doesn’t work that way. Water blocks infrared radiation and fish match the water temperature too closely to show up as heat signatures. But thermal scopes aren’t worthless for fishing. They’ll help you spot surface activity, temperature breaks, floating structure, and navigate safely in conditions where regular vision fails.
The best approach? Use thermal imaging for what it does well—surface observation, safety, and navigation—and stick with sonar for finding fish below the surface. Thermal technology has its place in your fishing toolkit, just not as an underwater fish camera. If you’re ready to explore thermal imaging for your outdoor adventures, visit our main product page to see our full lineup of thermal devices.
Can thermal scopes see through water to detect fish?
No, thermal scopes cannot see through water. Water absorbs infrared radiation that thermal imaging relies on, blocking heat signatures from penetrating more than a few millimeters below the surface. Fish swimming underwater remain invisible to thermal technology.
What can thermal imaging actually help with when fishing?
Thermal imaging excels at detecting surface activity like baitfish schools dimpling the water, temperature breaks that attract fish, weed lines, floating debris, and other surface features. It’s also excellent for safe navigation in darkness, fog, or low-visibility conditions on the water.
Why don’t fish show up on thermal cameras?
Fish are cold-blooded animals that maintain body temperatures nearly identical to the surrounding water. Thermal cameras detect temperature differences, and since fish don’t create enough contrast against the water temperature, they remain undetectable even if water penetration wasn’t an issue.
Is thermal imaging or sonar better for finding fish?
Sonar is better for directly locating fish underwater. It uses sound waves that penetrate water effectively and can show exact fish locations, depths, and school sizes. Thermal imaging works best for surface observation and navigation, while sonar handles underwater detection.
Can you see fish breaking the surface with a thermal scope at night?
Yes, you can detect fish activity at the surface with thermal imaging. When fish break the surface, create disturbances, or move in schools near the top, they change the water surface characteristics enough to show up as thermal patterns—particularly useful for spotting feeding activity before dawn.
















