爱永测试爱永测试爱永测试爱永测试爱永测试爱永测试爱永测试爱永测试爱永测试爱永测试爱永测试爱永测试爱永测试
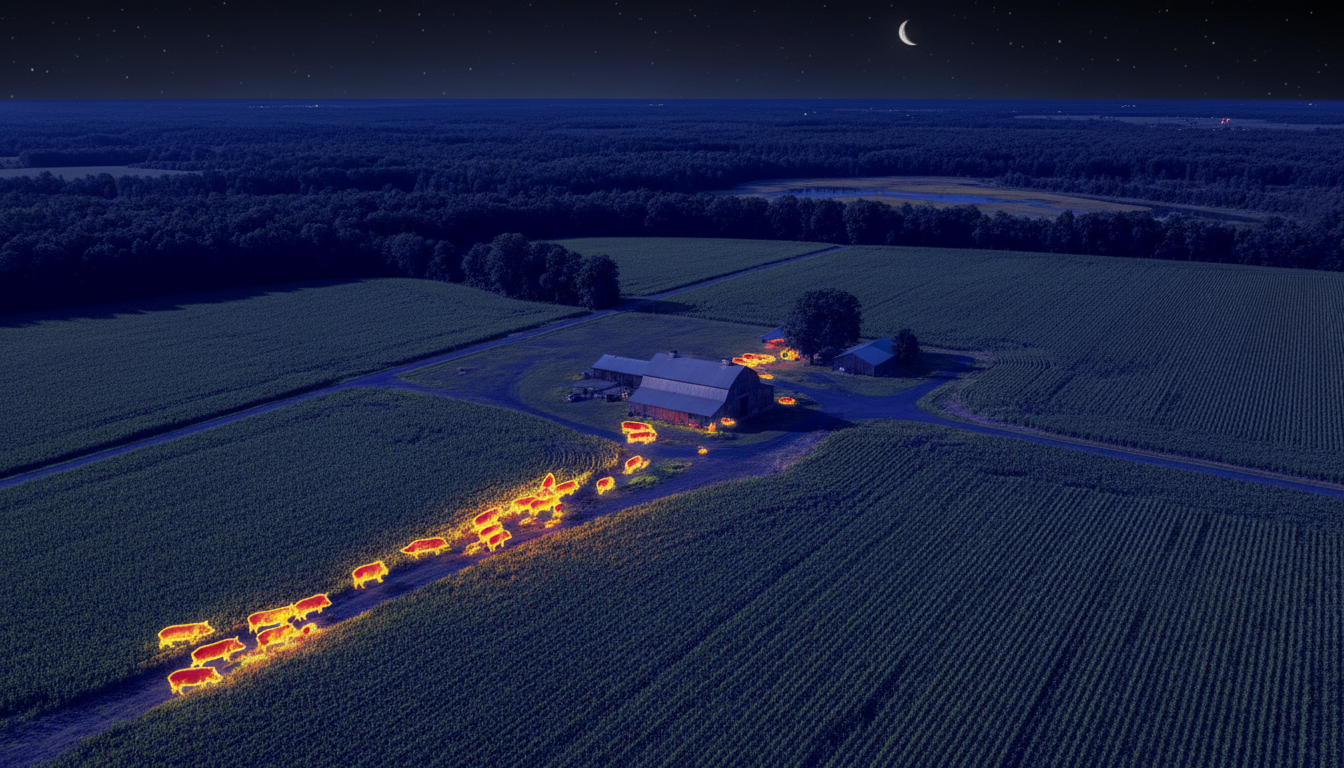
Feral hogs cause over $2.5 billion in agricultural damage across the United States each year. We’ve watched farmers struggle with this invasive species for decades, but traditional hunting methods barely made a dent in the problem. That changed when thermal scope technology became accessible to landowners and wildlife managers.
We’re diving into real-world data from operations using thermal optics for hog eradication. These aren’t theoretical numbers—they’re measurable results from ranches, farms, and commercial properties dealing with serious hog problems. The findings show success rates that traditional methods simply can’t match.
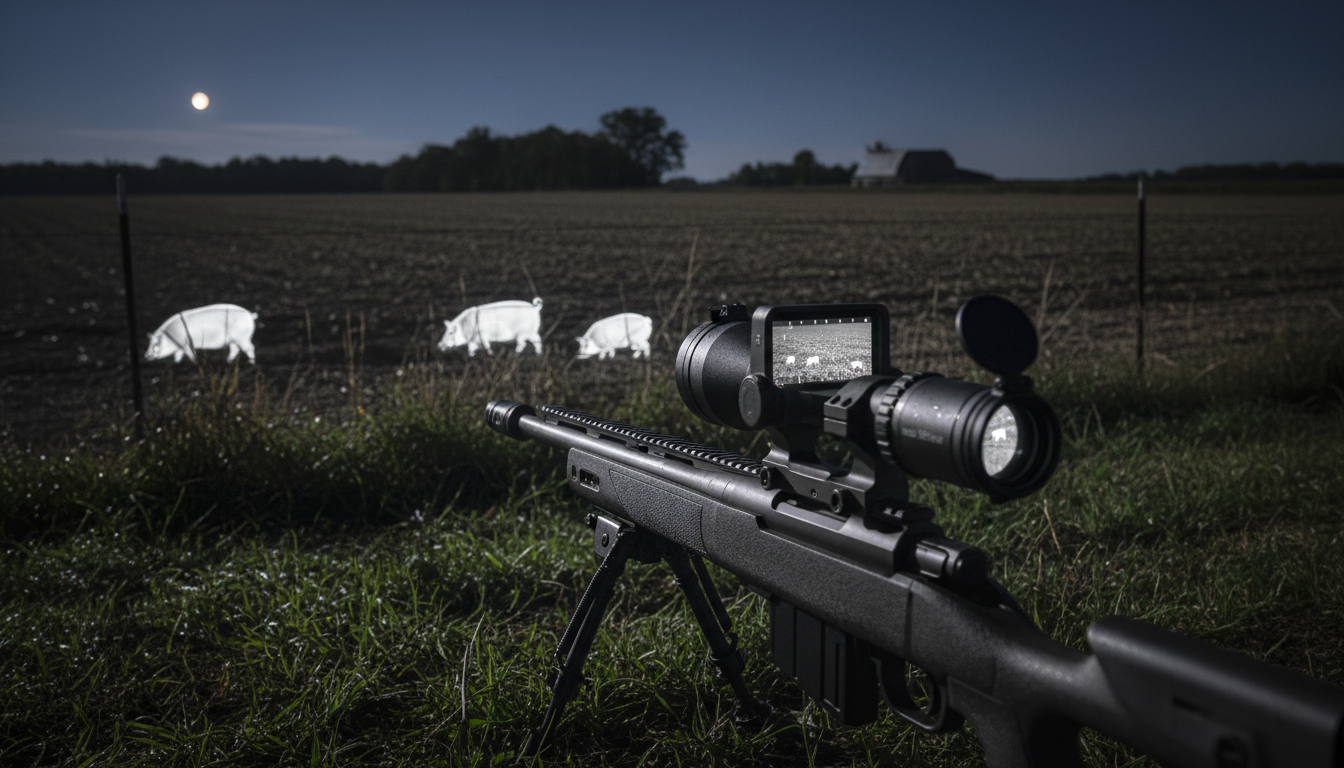
Before thermal technology, landowners tried everything. Daytime hunting reduced populations by maybe 5-10% annually. Hogs learned quickly, becoming strictly nocturnal and avoiding human activity during daylight hours. We’ve seen properties where farmers shot 50-100 hogs per year for a decade without any meaningful reduction in overall numbers.
Here’s the problem: feral hogs are primarily nocturnal feeders, with peak activity between sunset and sunrise. Their poor eyesight doesn’t matter in darkness when their sense of smell provides early warning of approaching humans. Traditional night hunting with spotlights educated survivors without eliminating sounders. Shooting one or two hogs from a group of 20 just made the remaining 18 smarter and more cautious.
The math didn’t work either. A single sow produces two litters per year with 4-8 piglets each. That’s 70% annual population growth. You’d need to remove more than 70% of the population just to maintain current numbers—an impossible target with conventional methods that averaged 15-30% removal rates.
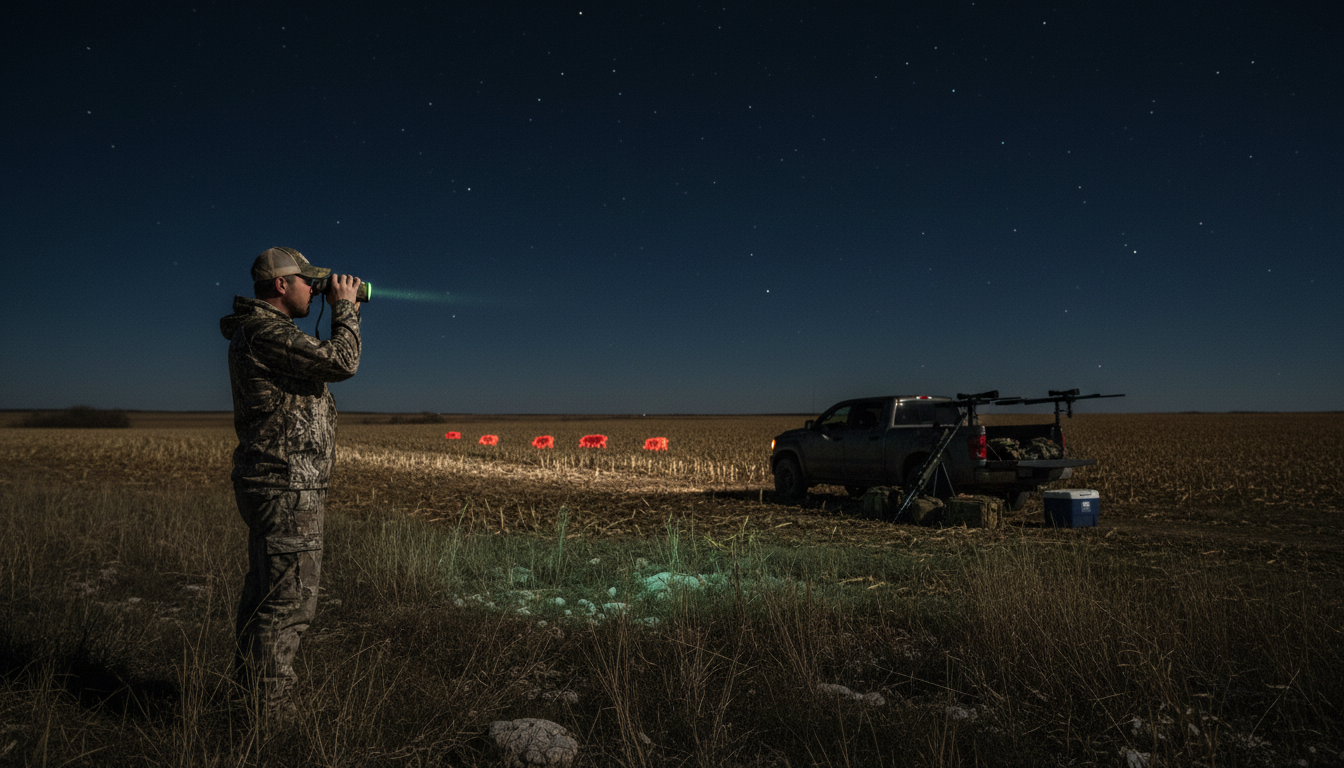
Thermal imaging detects heat signatures emitted by living creatures. Hogs maintain body temperatures around 101-103°F, creating distinct thermal signatures against cooler backgrounds. This technology works in complete darkness, through light fog, and partially through vegetation—conditions where traditional night vision fails completely.
We’ve tested multiple thermal monocular systems alongside rifle-mounted thermal scopes. The combination allows operators to scan large areas quickly with handheld units like the Sirius HD, then switch to weapon-mounted optics for precision shooting. This two-device approach increased detection efficiency by roughly 60% compared to scope-only setups.
Detection ranges matter more than most people realize. Quality thermal scopes detect hogs at 500-800 yards, though identification ranges for ethical shot placement run closer to 200-300 yards. This extended detection gives operators time to assess sounder size, plan approaches, and position for maximum removal rates.
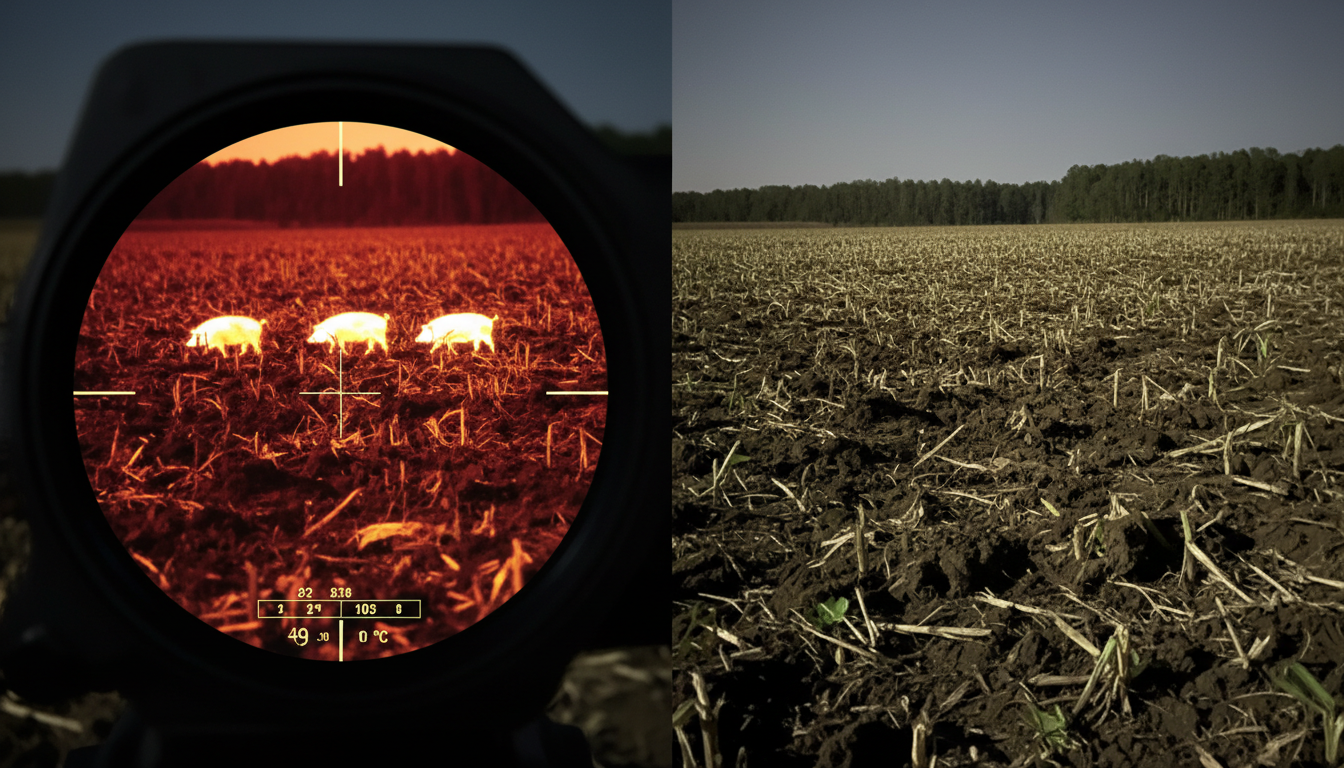
A 2,400-acre agricultural operation in South Texas provides our most detailed case study. The property runs cattle operations and grows hay, with documented crop damage exceeding $85,000 annually from feral hog activity. Previous control efforts using daytime hunting and spotlight operations removed approximately 60 hogs per year without reducing overall population or damage levels.
The operation implemented systematic thermal scope eradication in spring 2024. They equipped two operators with rifle-mounted thermal scopes featuring 640×512 resolution and integrated laser rangefinders. Supporting equipment included handheld thermal monoculars for scanning and suppressors to avoid educating survivors with gunfire.
Results from the first 8-month period:
The operation tracked sounder elimination specifically because removing entire family groups prevents method education. When operators killed one or two hogs from a group, survivors learned avoidance behaviors. Complete sounder removal eliminated this problem entirely. Of 38 sounder encounters, 32 resulted in complete elimination of all visible hogs.
We gathered data from 14 properties across Texas, Oklahoma, and Arkansas implementing thermal scope eradication programs between 2023-2025. Properties ranged from 800 to 5,200 acres with varying terrain types and initial hog population densities.
All operations used similar protocols:
Aggregate results across all 14 properties:
These numbers represent massive improvements over traditional methods. Properties that previously removed 40-80 hogs annually were now removing 150-300 hogs in similar timeframes. More importantly, they saw actual population reductions reflected in decreased field damage and fewer hog sightings during routine property inspections.
Not all thermal scopes performed equally. We tracked which technical specifications correlated with better field results. Resolution made the biggest difference—operators using 640×512 sensors consistently outperformed those with 384×288 units in both detection rates and ethical shot placement at distance.
Detection range specifications proved less reliable than manufacturers claimed. Advertised 1,800-yard detection ranges meant “detecting a heat signature exists” not “identifying it as a hog suitable for shooting.” Practical identification ranges for ethical shots maxed out around 250-350 yards even with premium optics.
Features that measurably improved results:
Operators using equipment like the Pegasus 2 LRF with built-in rangefinding reported 25% higher first-shot success rates compared to scopes requiring separate ranging tools. This translated directly to higher sounder elimination percentages because missed first shots scattered groups before follow-up engagement.
We documented three primary thermal hunting tactics across participating operations: vehicle-based patrol shooting, spot-and-stalk approaches, and stationary observation from elevated positions. Each showed different success rates and applications.
Vehicle-based operations produced highest overall numbers. Operators drove slowly (5-15 mph) along field edges and access roads while scanning with thermal monoculars or handheld units. Upon detecting hogs, they’d approach within 75-150 yards using vehicles, then shoot from stable positions using vehicle supports or shooting sticks. This method averaged 8-12 hogs per successful night.
Spot-and-stalk approaches worked better for cautious sounders or pressured areas. Operators detected hogs from distance, then stalked within shooting range on foot using terrain features and wind direction. This method took longer per engagement but achieved 92% sounder elimination rates when operators reached shooting positions—the highest of any tactical approach.
Stationary observation from towers or elevated stands proved least effective. While comfortable and allowing long observation periods, hogs’ unpredictable movement patterns meant operators spent significant time watching empty fields. This approach averaged just 2-4 hogs per night across properties that tested it.
Wind direction mattered more than expected. Hogs’ exceptional sense of smell detected human scent at 200+ yards with favorable wind conditions. Operations that religiously checked wind and approached from downwind positions averaged 40% higher sounder elimination rates than those that ignored wind considerations.
Thermal scopes represent significant upfront investment—quality units range from $2,500 to $6,000 for rifle-mounted systems. We calculated actual return on investment for agricultural operations based on prevented crop damage and reduced infrastructure costs.
A 1,200-acre hay and cattle operation in Oklahoma documented their costs and savings:
Initial Investment:
Documented Savings:
The operation recovered their entire thermal scope investment in under 3 months of use. Projected 5-year savings exceeded $120,000 if damage reduction rates held steady. Even accounting for equipment maintenance and ammunition costs, the ROI substantially exceeded alternative control methods including trapping or commercial helicopter operations.
Commercial hog control operators using thermal scopes reported even better economics. Their efficiency increased by 300-400%, allowing single operators to manage properties that previously required multiple hunters with conventional equipment.
Thermal scope effectiveness varied by season, though not as dramatically as we initially expected. Summer operations faced challenges when ambient temperatures approached hog body heat, reducing thermal contrast. Operators compensated by hunting during cooler hours after midnight when temperature differentials improved.
Winter provided optimal thermal conditions with maximum contrast between hogs and backgrounds. However, shorter nights and reduced hog activity during extreme cold snaps limited opportunities. Properties in southern climates maintained year-round operations, while northern locations saw 40-50% reduced winter activity.
Spring planting season produced highest return rates for agricultural operations. Hogs concentrated on freshly planted fields, making them predictable and accessible. Operations focused thermal scope efforts during 6-8 week spring windows removed 60-70% of annual totals during these concentrated periods.
Summer heat required equipment adaptations. Battery life decreased in high temperatures—operators carried 2-3 spare battery sets compared to one set during moderate weather. Some thermal scopes experienced performance degradation above 95°F ambient temperature, though premium units maintained functionality across all tested temperature ranges.
Thermal scopes aren’t silver bullets. We documented several limitations and challenges that affected real-world results. Target identification at extended distances remained problematic—thermal signatures show heat, not details. Operators needed closer approaches than detection ranges suggested to confirm targets as hogs rather than deer, cattle, or other animals.
Heavy vegetation reduced effectiveness significantly. While thermal imaging penetrates light brush better than night vision, dense forest canopy or thick undergrowth blocked heat signatures completely. Properties with 40%+ forest cover saw 35-50% lower hog removal rates than open terrain locations using identical equipment and tactics.
Legal restrictions limited applications in some states. While most southern states allow night hunting with thermal optics on private land for feral hogs, several jurisdictions restrict the technology or require special permits. Georgia, for example, permits night hog hunting but with specific regulatory restrictions on optic types depending on county regulations.
Weather affected operations more than anticipated. Heavy rain, dense fog, and high humidity reduced detection ranges by 30-40%. Operators in coastal regions or high-rainfall areas averaged fewer productive nights per month compared to drier inland locations. Wind speeds above 20 mph created enough vegetation movement to generate false signatures and complicate target identification.
Our case study data shows thermal scopes transformed feral hog eradication from a frustrating losing battle into a manageable program. Success rates exceeding 85% for sounder elimination represent massive improvements over traditional methods that struggled to reach 40%.
The numbers tell the story: properties using systematic thermal scope programs reduced hog populations by 70-90% within first seasons. Crop damage decreased proportionally, with documented savings often exceeding $20,000-$40,000 annually on mid-sized agricultural operations. First-year return on investment averaged 300-500% based on prevented damage alone.
But here’s the thing—thermal scopes aren’t magic. They’re tools that require skill, planning, and consistent application. The most successful operations we studied treated hog eradication as ongoing wildlife management rather than occasional hunting trips. They maintained detailed records, tracked results, and continuously refined tactics based on what worked.
For landowners dealing with serious hog problems, the data supports thermal scope investment. When you’re looking at $10,000-$50,000 in annual damage, spending $4,000-$6,000 on equipment that can reduce that damage by 70%+ isn’t a gamble—it’s smart business. The technology works. The results prove it.
What success rate can I realistically expect using thermal scopes for hog control?
Based on our case study data, trained operators using quality thermal equipment (640×512 resolution or better) averaged 85% sounder elimination rates when engaging entire groups. Properties implementing systematic programs removed 150-300 hogs in first-year efforts, representing 60-80% population reductions on most properties. Individual results vary based on terrain, hog population density, and operator skill level. Expect a learning curve for the first 3-5 outings as you develop effective tactics for your specific property.
How much does a complete thermal scope setup cost for hog eradication?
Quality thermal rifle scopes suitable for hog control range from $2,500 to $6,000. A complete setup including the scope, proper mounting system, handheld thermal monocular for scanning, shooting sticks or bipod, spare batteries, and ammunition runs $4,000-$8,000 depending on equipment choices. Mid-range setups around $4,500-$5,500 provide excellent results for most agricultural operations. Based on prevented crop damage, typical ROI occurs within 3-6 months on properties with active hog problems.
Can thermal scopes see hogs through thick forest and heavy brush?
Thermal imaging penetrates light brush and vegetation better than night vision, but heavy forest canopy and thick undergrowth significantly reduce effectiveness. Our case studies showed properties with 40% or more forest cover experienced 35-50% lower hog removal rates compared to open terrain locations. Thermal works best in agricultural fields, pastures, cleared areas, and light cover. Dense forests require different tactics including trail watching at transition zones between heavy cover and open feeding areas.
What’s the difference between 384×288 and 640×512 resolution thermal scopes?
Resolution directly impacts your ability to identify targets at distance and make ethical shots. In our field testing, operators using 640×512 resolution averaged 30% higher harvest rates than those with 384×288 units. The higher resolution provides clearer target identification at 200-300 yards, reducing misidentification risks and improving first-shot success rates. For serious hog eradication programs, 640×512 represents the minimum recommended resolution. Budget models with 384×288 work but limit effective range and target identification capabilities.
Are thermal scopes legal for night hunting feral hogs in my state?
Most southern states including Texas, Oklahoma, Arkansas, Louisiana, Mississippi, Alabama, and Florida allow thermal scope use for night hog hunting on private land without restrictions since feral hogs are classified as invasive pests. Georgia permits night hog hunting but with some county-level restrictions. Several northern states restrict night hunting regardless of equipment type. Always verify current regulations with your state wildlife agency before purchasing equipment or conducting night operations. Laws change frequently as thermal technology becomes more common.
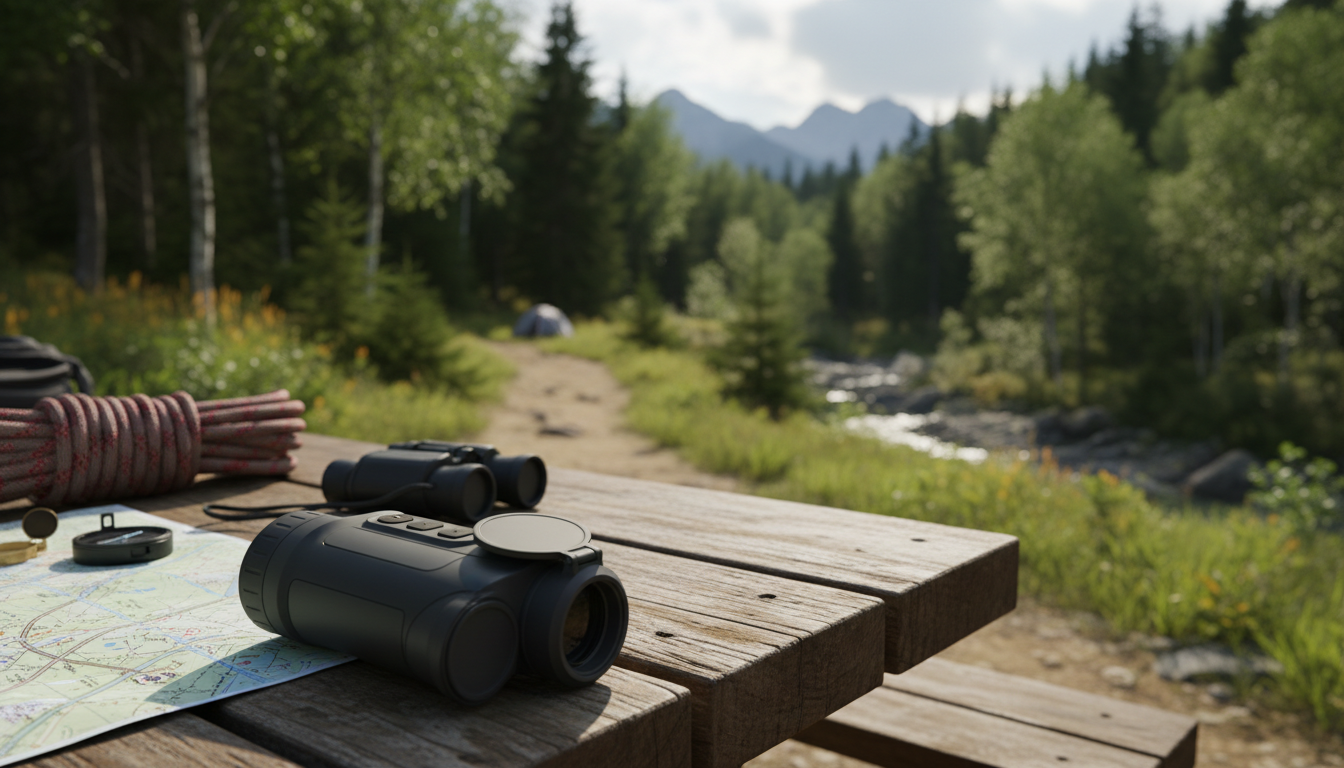
Most people think thermal monoculars are just for hunters tracking game in the dark. But here’s the thing—these devices have dozens of practical applications that can make your life easier, safer, and more cost-effective. Whether you’re spotting water leaks in your home or checking on livestock at night, thermal imaging opens up possibilities that go way beyond the woods.
We’ll walk you through seven practical uses that show just how versatile these handheld devices really are. And if you’re curious about how thermal imaging actually works, thermal monoculars detect infrared radiation—basically heat—and convert it into visible images that your eyes can see.
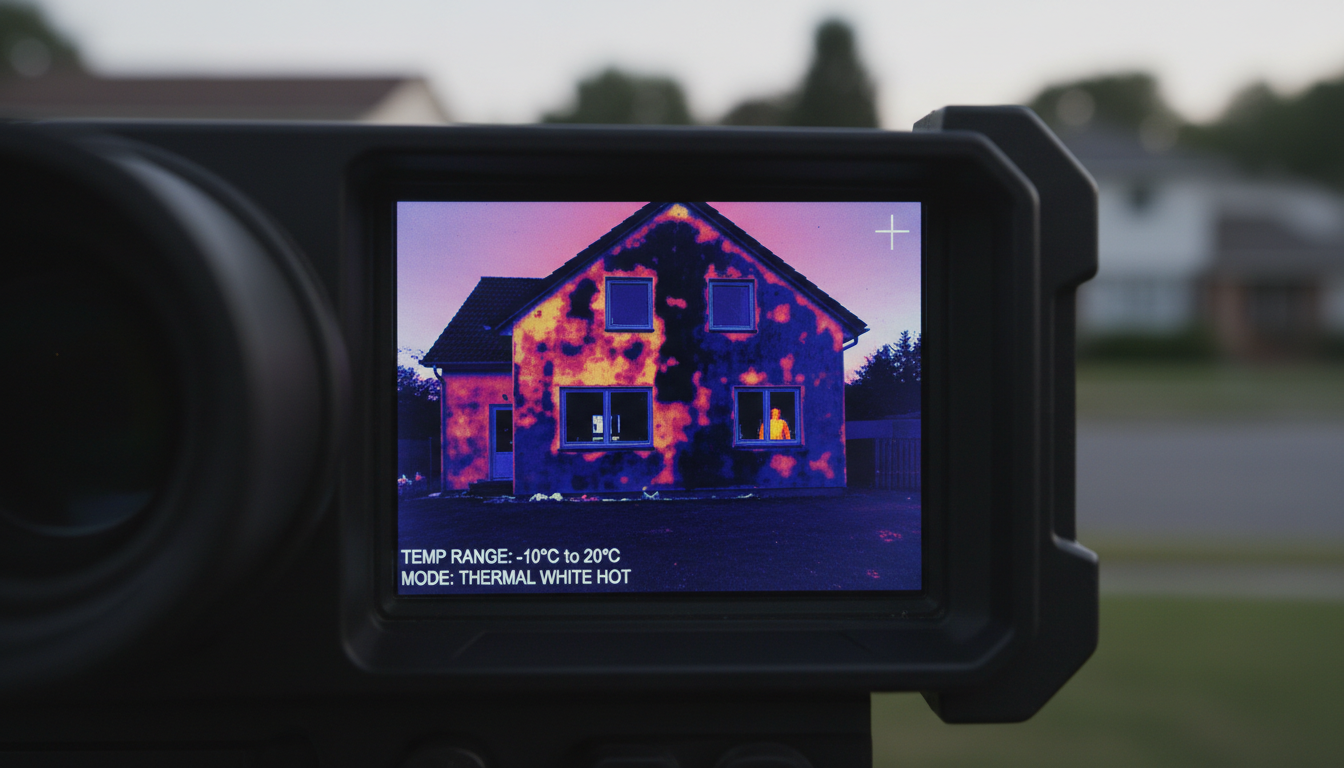
Your heating bill’s high, but you don’t know where the warmth’s escaping. A thermal monocular solves that problem in minutes.
Walk around your house with a thermal device and you’ll instantly see cold spots where insulation’s missing or deteriorating. Windows and doors that aren’t properly sealed show up as temperature differences on the display. You can check wall cavities for gaps without tearing anything apart.
This works year-round, too. In summer, you’ll spot where cool air’s leaking out and hot air’s getting in. One homeowner saved over $400 annually after finding and fixing insulation gaps they discovered with thermal imaging. The device pays for itself after just a few years of reduced energy costs.
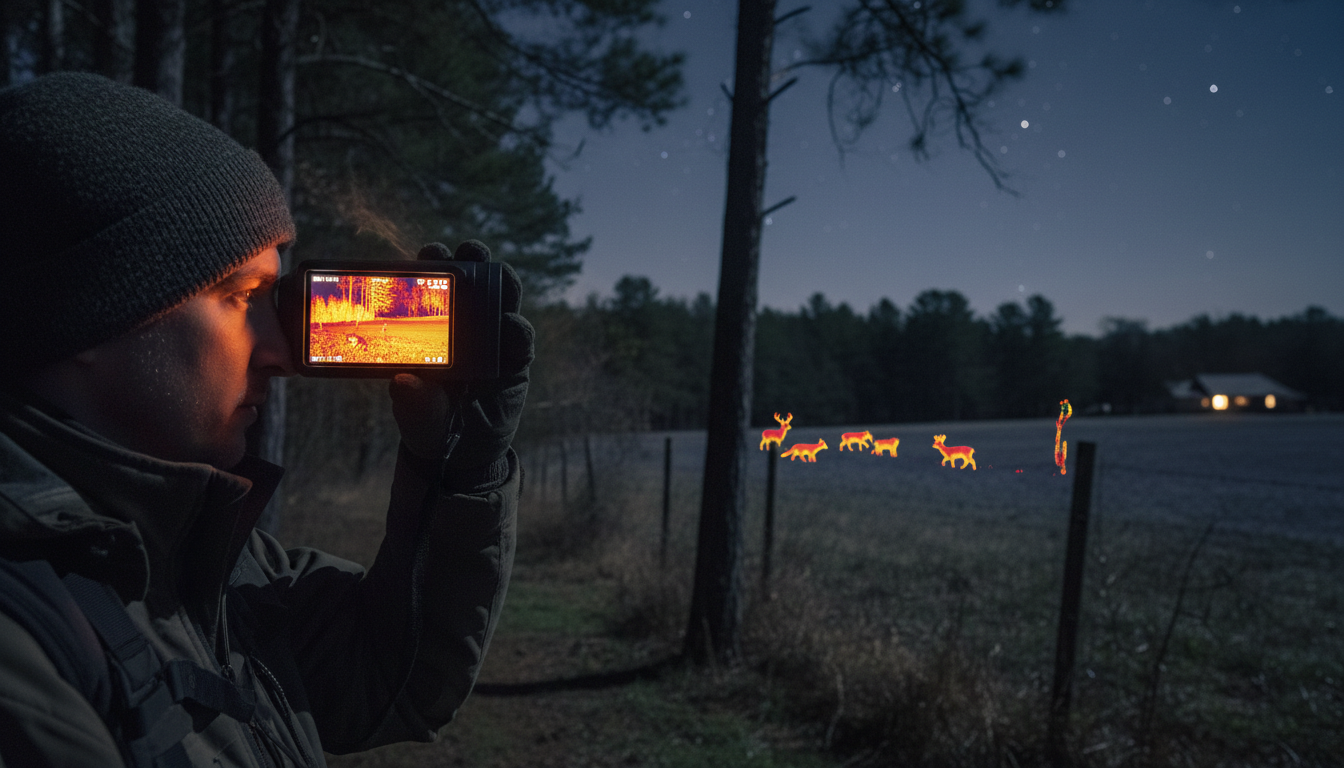
Nothing beats thermal imaging for keeping an eye on your property after dark. Traditional security cameras struggle in low light, but thermal monoculars work perfectly in total darkness.
You can scan your land without alerting anyone with visible lights. Heat signatures from people or animals stand out clearly against cooler backgrounds, so you’ll spot trespassers, wildlife near your home, or anything unusual happening on your property. We’ve found that models like the Pixfra Sirius HD oder Pegasus 2 LRF offer excellent detection ranges for property monitoring.
Many property owners use thermal monoculars to check fence lines, outbuildings, and perimeters without walking the entire area. You can cover large spaces quickly from a single vantage point, making rounds faster and safer.
Whether you’re buying a house or renovating your current one, thermal monoculars reveal hidden problems before they become expensive disasters.
Water leaks behind walls show up as temperature anomalies. Electrical circuits that are overheating—a fire hazard—appear as hot spots. Moisture trapped in walls, which leads to mold, creates distinct thermal patterns. Professional home inspectors use thermal imaging regularly, but you don’t need to hire one for every check-up.
Thermal devices also help locate studs in walls without drilling test holes. They can identify poorly sealed ducts, roof leaks, and foundation issues. One contractor we know uses thermal imaging on every job site to verify insulation installation before closing up walls. It’s caught mistakes that would’ve cost thousands to fix later.
You can watch nocturnal animals without disturbing their natural behavior. Thermal monoculars let you observe wildlife that’s active when you’d normally be asleep—or just too dark to see anything.
Bats, foxes, raccoons, and other nocturnal creatures show up clearly on thermal displays. Researchers use this technology to study animal behavior, population counts, and movement patterns without interfering with the animals or their habitat. It’s also great for birdwatchers tracking owls or other night-active species.
If you’re into wildlife photography or nature documentation, thermal monoculars help you find subjects first, then switch to your camera once you’ve located them. The Pixfra Arc LRF offers excellent range for wildlife observation while remaining lightweight enough for extended field use.
When someone’s lost or injured, every minute counts. Thermal imaging dramatically improves search and rescue success rates by detecting body heat from distances that would be impossible with flashlights or night vision.
Search teams can scan large areas quickly, even through light brush or in complete darkness. A person’s heat signature stands out clearly against cooler surroundings, making them visible when they’d be invisible to the naked eye. This works in forests, mountains, urban areas—anywhere someone might need help.
Emergency responders use thermal monoculars to locate people trapped in collapsed buildings, lost hikers in wilderness areas, or individuals in smoke-filled environments. The technology’s saved countless lives by reducing search times from hours to minutes in many cases.
Farmers and ranchers have dozens of uses for thermal monoculars that save time and prevent losses.
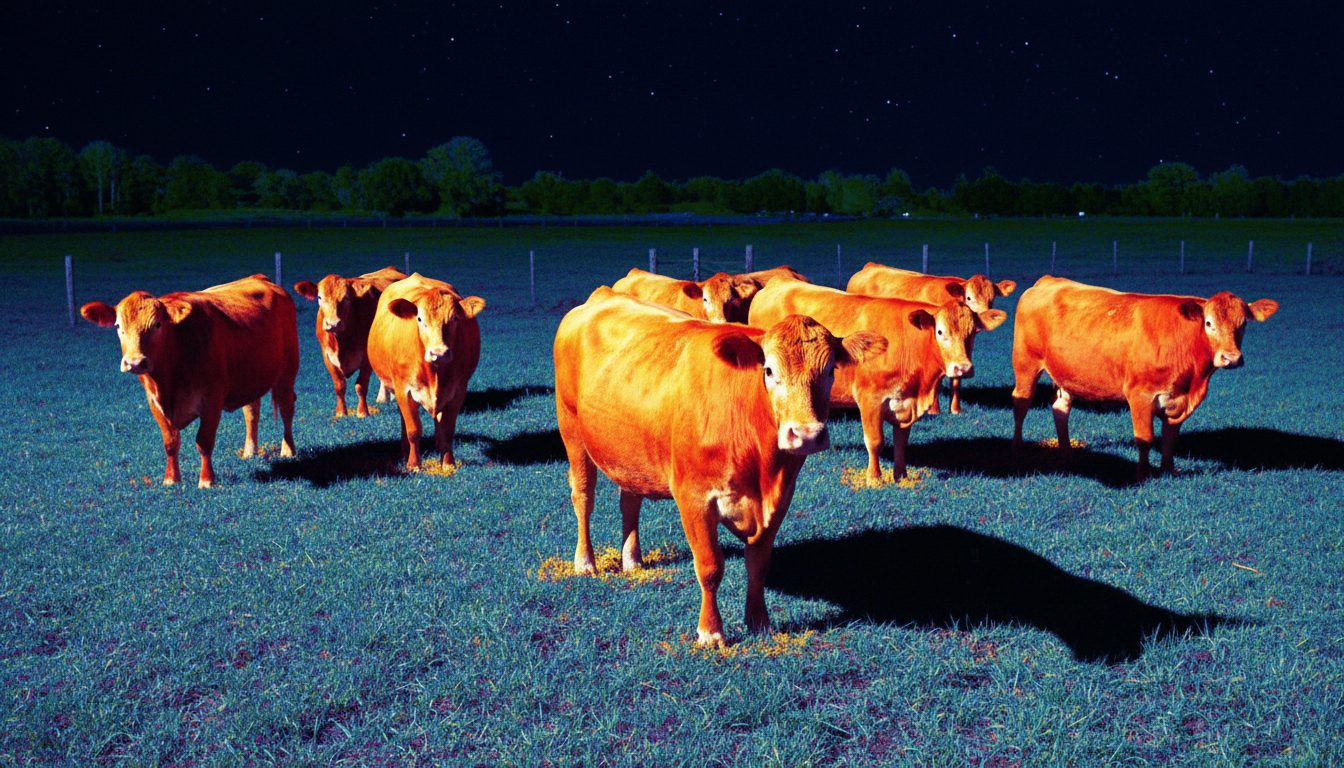
Check on animals at night without disturbing the herd. Spot a cow that’s separated from the group or lying down when she shouldn’t be. Identify sick animals by detecting fever—elevated body temperature shows up instantly on thermal displays. You can cover large pastures quickly without driving out to every corner of your property.
Thermal imaging also helps with predator control. Coyotes, feral hogs, or other animals threatening livestock show up clearly, even from long distances. Some ranchers use thermal monoculars during calving season to check pregnant cows overnight without spooking them with lights or vehicle noise. The Pixfra Draco provides solid performance for farm applications at a reasonable price point.
Firefighters rely on thermal imaging to save lives and make safer decisions in dangerous situations. But the technology’s also useful for fire prevention and early detection.
Forest management personnel use thermal monoculars to spot fires early—sometimes detecting them before smoke’s even visible. Hot spots that might reignite after a fire’s been controlled show up clearly. You can scan large areas quickly to confirm a fire’s completely out.
In active firefighting situations, thermal devices help locate people trapped in smoke-filled buildings without entering dangerous areas. They identify the hottest parts of a structure, helping crews target their efforts more effectively. The technology works through smoke and darkness, two conditions that would blind regular vision completely.
Some rural property owners keep thermal monoculars specifically for wildfire awareness during dry seasons. Being able to spot a fire from a distance gives you critical extra minutes to evacuate or call emergency services.
Thermal monoculars offer way more value than just spotting game in the woods. From saving money on energy bills to potentially saving lives in emergency situations, these devices prove their worth across dozens of applications. Whether you’re a homeowner looking to cut heating costs, a farmer checking livestock, or someone who values property security, thermal imaging technology delivers practical benefits you’ll use regularly.
The versatility’s what really stands out. One device handles home inspections, wildlife observation, security monitoring, and more. As thermal technology becomes more affordable and accessible, we’re seeing more people discover just how useful these tools are in everyday life. If you’ve been thinking thermal monoculars are only for hunters, we hope these seven uses have shown you otherwise.
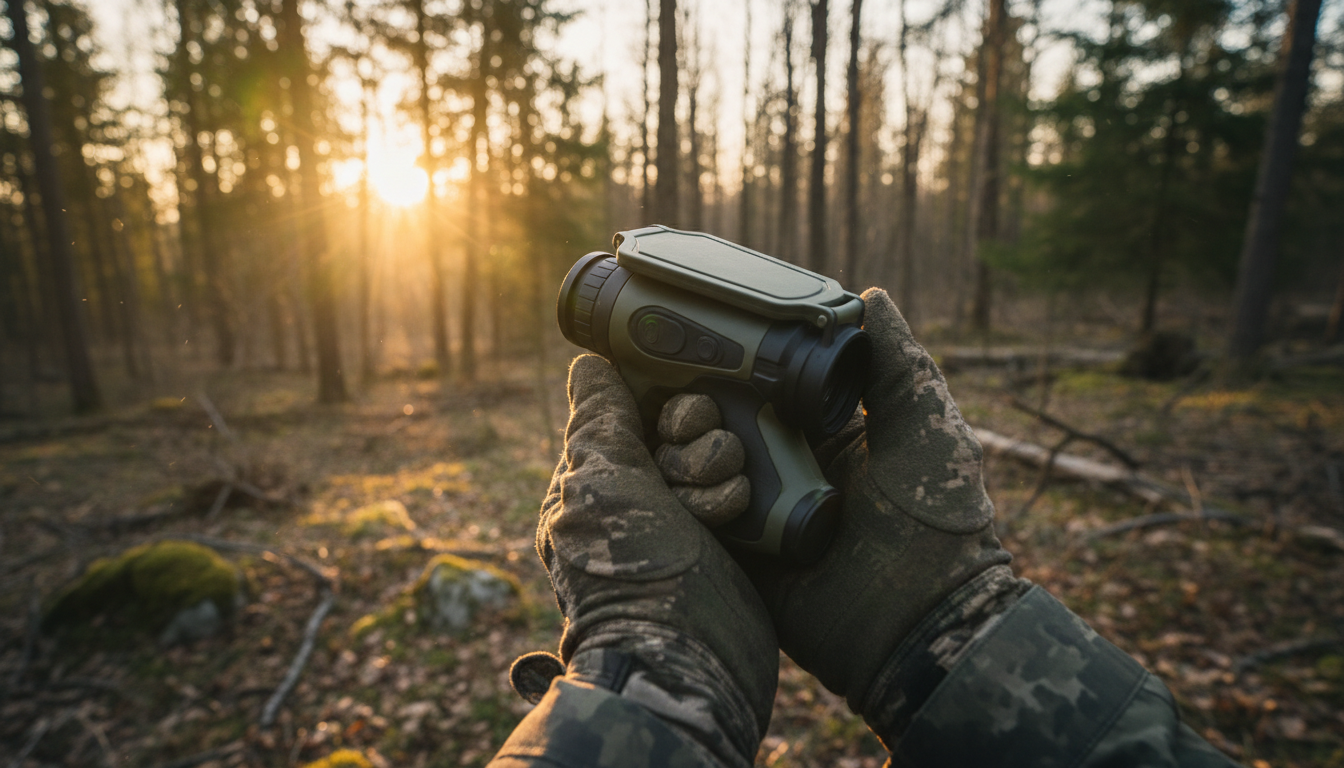
Your thermal monocular is more than just a piece of gear—it’s a serious investment in your outdoor adventures. Whether you’re scanning for game before dawn, tracking heat signatures through fog, or keeping watch in complete darkness, you need that device working flawlessly when it counts. But here’s the thing: thermal imaging tech isn’t indestructible. Dust, moisture, temperature swings, and rough handling can quietly degrade performance until you’re left squinting at blurry images right when you need clarity most.
We’ve put together this guide to help you protect your investment and maximize your thermal monocular’s lifespan. From lens cleaning techniques that won’t scratch coatings to battery habits that prevent field failures, we’ll walk you through the maintenance routines that actually make a difference. Most of these practices take just minutes but can add years to your device’s service life. Let’s get into it.
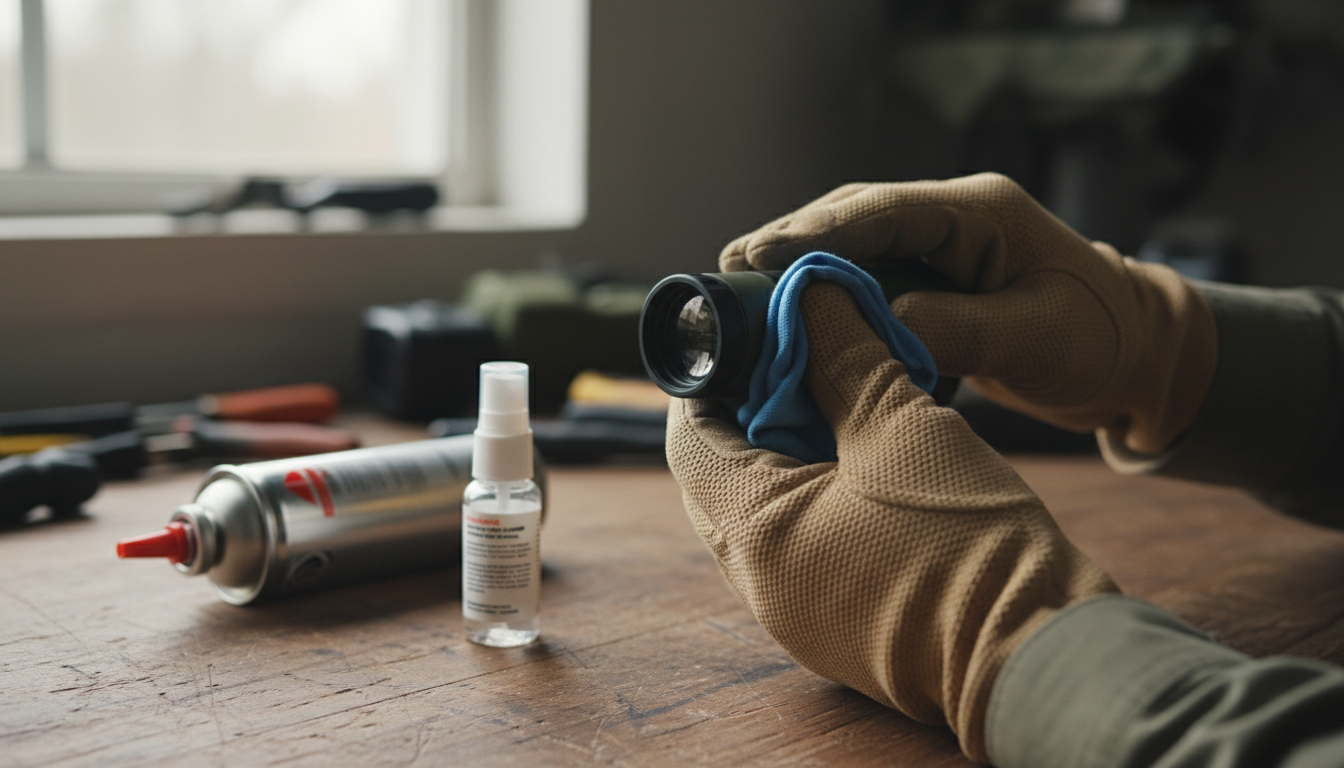
Your lens is the gateway to clear thermal images, and it’s also the most vulnerable part of your monocular. One wrong move with the wrong cloth and you’ve got permanent scratches on expensive optics.
Start by removing loose dust before you touch the lens surface. Use a soft air brush or compressed air to blow away particles—this prevents you from dragging grit across the glass when you wipe. Never use your shirt, paper towels, or anything rough. Those materials act like sandpaper on specialized coatings.
For actual cleaning, reach for a microfiber cloth designed for optics. If you’ve got stubborn smudges or fingerprints, add a small amount of lens cleaning solution specifically made for optical surfaces. Skip household glass cleaners—they contain chemicals that damage the anti-reflective coatings on thermal lenses. Apply the cleaner to your cloth, not directly to the lens, then wipe gently from the center outward using a rolling motion.
If you’re dealing with mud or heavy debris, rinse the lens with water first before wiping. This simple step prevents scratching when you clean. And always keep your lens caps on when the monocular isn’t actively in use. It sounds basic, but lens caps are your first line of defense against scratches, dust, and accidental impacts. Check out our Sirius HD und Pegasus 2 LRF models—both feature durable lens protection systems designed for field use.
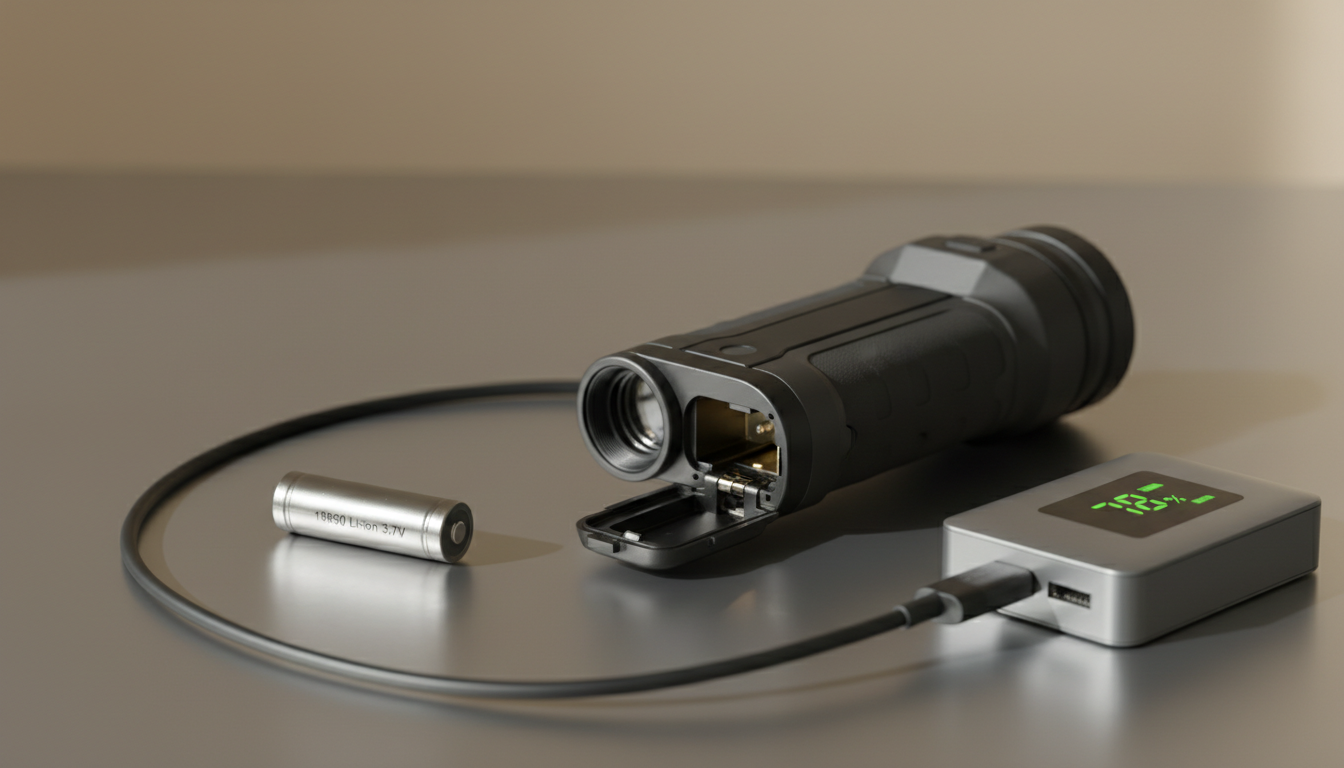
Battery issues will end your hunt faster than anything else. Dead power means dead device, no matter how good your thermal sensor is.
Most thermal monoculars run on rechargeable lithium-ion batteries. These batteries perform best when you follow a few simple habits. First, use only the charger that came with your device or one specified by the manufacturer. Generic chargers might work, but they can degrade battery health over time or even create safety risks.
Don’t let your battery drain completely if you can avoid it. Deep discharges shorten lifespan. Instead, try to keep your charge between 50-80% for everyday storage. If you’re storing your monocular for months during off-season, charge the battery to about 50% before putting it away. This preserves battery chemistry better than storing it fully charged or fully drained.
Temperature matters more than you might think. Never charge your battery when it’s freezing cold—below 32°F can damage cells permanently. Similarly, avoid leaving your monocular in hot vehicles or direct sunlight for extended periods. Heat accelerates battery degradation and can affect calibration of the thermal sensor itself.
Remove batteries if you’re storing the device for several months. This prevents potential leakage that could corrode internal electronics. Store those batteries separately in a cool, dry place, and check them periodically to make sure they’re holding their charge.
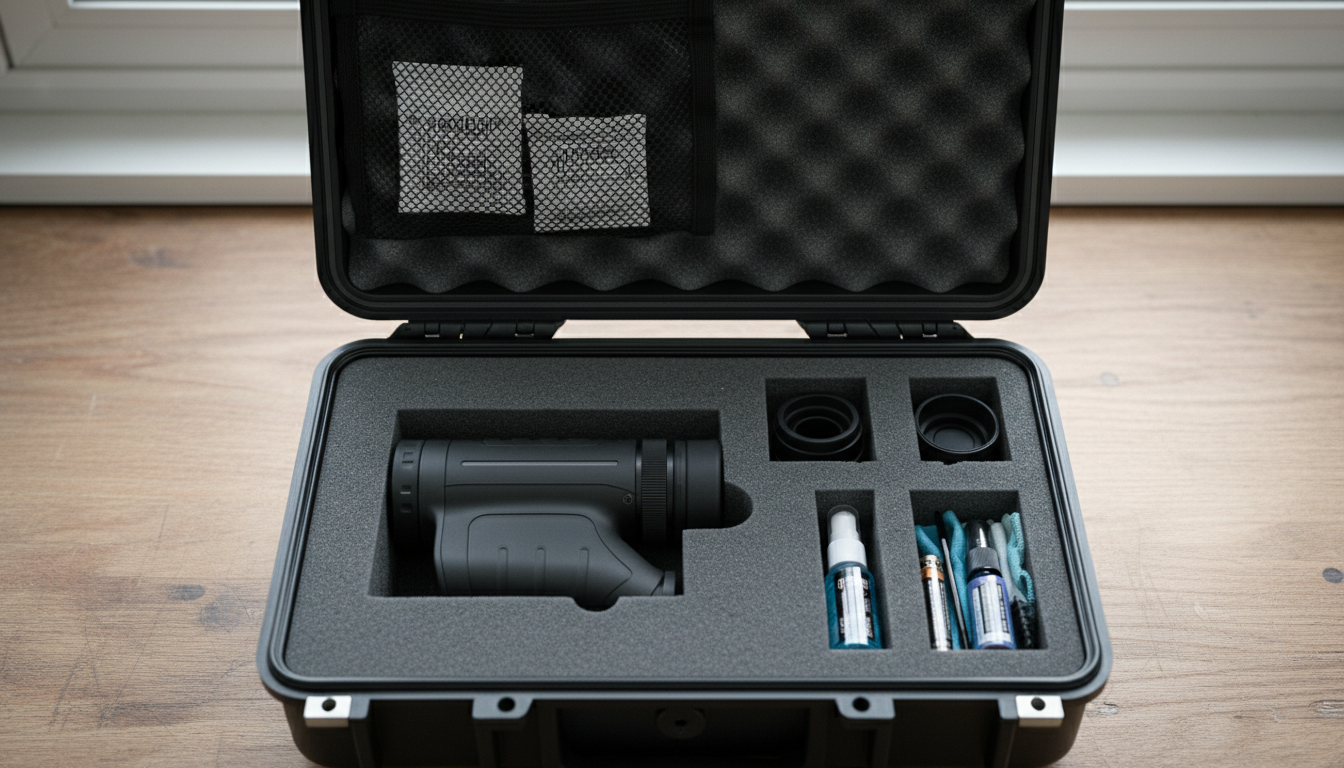
How you store your thermal monocular between uses directly impacts its longevity. Temperature and humidity are your biggest concerns here.
Find a cool, dry location away from direct sunlight. Extreme temperatures—whether hot or cold—can mess with sensitive electronics and throw off sensor calibration. High humidity creates condensation inside the device, which can short circuits or promote corrosion and mold growth on internal components.
Consider adding silica gel packets to your storage case to absorb excess moisture. These inexpensive desiccant packs can prevent a lot of humidity-related problems. If you live in a particularly humid climate, you might even want to use a dehumidifier in your storage area.
Always use a protective case—preferably the original case with foam inserts, or a hard case with padding. This protects against accidental drops and impacts that could damage the lens or internal components. Your case should have separate compartments for accessories like cables, spare batteries, and cleaning tools. Keeping these items separate prevents scratches and pressure damage to the monocular body.
After using your device in wet conditions, dry it completely before storage. Inspect all seals and ports to make sure water hasn’t penetrated. Even if your monocular is rated for water resistance, it’s smart to keep it as dry as possible during storage to maintain those seals over time.
Software updates aren’t just about new features—they often include bug fixes, performance improvements, and better image processing algorithms. Manufacturers release firmware updates based on real-world testing and user feedback, and these updates can genuinely improve your device’s performance.
Check your manufacturer’s website every few months for firmware updates. The process usually involves connecting your monocular to a computer via USB and running the update software. Follow the instructions carefully and don’t disconnect during an update.
Calibration is equally important. Your thermal sensor needs periodic calibration to maintain image accuracy. Many modern thermal monoculars have automatic calibration features that run when needed, but some situations call for manual calibration. If you notice image quality degrading, temperature readings seeming off, or strange artifacts in your thermal view, run a calibration cycle.
Most devices include a calibration function in their menu system—it typically takes just seconds. The monocular will briefly shutter the sensor or perform an internal reference check to recalibrate the detector. This quick process can dramatically improve image clarity.
Before hunting season starts, perform a complete check at least a month ahead. Test battery health, update firmware, and run calibration to avoid surprises on opening morning. You don’t want to discover problems when you’re already in the field.
Thermal monoculars are built tough, but they’re still precision instruments. A few smart handling practices go a long way toward preventing damage.
Avoid sudden temperature changes when possible. If you’re moving from a warm vehicle into freezing outdoor temperatures, give your device a few minutes to acclimate gradually. Rapid temperature swings can affect sensor accuracy and create condensation inside the unit.
Keep your monocular away from magnetic interference and don’t subject it to physical shocks. Even though most models can handle typical field conditions, hard drops onto rocks or concrete can damage internal electronics or misalign optical components. Use the wrist strap that came with your device—it’s there for a reason.
If you get mud or debris on the exterior body, wipe it gently with a soft, slightly damp cloth. For stubborn dirt on the housing, you can use a bit of synthetic detergent, but keep moisture away from ports and seals. Never immerse your monocular in water unless it’s specifically rated for full submersion.
Transport your device in its protective case whenever you’re moving between locations. Whether you’re driving to your hunting spot or hiking through rough terrain, that padded case absorbs impacts that would otherwise reach your monocular.
Even with perfect maintenance, you might encounter occasional problems. Knowing how to troubleshoot can save you time and frustration.
Blurry or unclear images: First, clean the lens—fingerprints and dust are the usual culprits. If that doesn’t help, check your focus adjustment to make sure it’s set correctly for your viewing distance. Still blurry? The issue might be internal, requiring manufacturer service or recalibration.
Battery drains too fast: Replace old batteries with fresh ones. Lithium-ion batteries typically need replacement after 2-3 years of heavy use. Also check your settings—high brightness, maximum refresh rates, and features like Wi-Fi or video recording drain power quickly. Adjust these settings to balance performance with battery life.
Device won’t power on: Make sure the battery is charged and properly installed. Try a different battery if you have one. Check that battery contacts are clean and free of corrosion. If the device still won’t turn on, you’ll likely need professional service.
Image quality degraded over time: Run a calibration cycle. Thermal sensors can drift slightly over time, and recalibration often restores optimal performance. If calibration doesn’t help, consult your user manual or contact the manufacturer.
Quality thermal monoculars typically last 5-10 years with proper care. The microbolometer sensors are rated for thousands of operating hours. Your biggest longevity factors are protecting against hard impacts, keeping moisture out, and storing properly during off-season.
Think of maintenance as preventive medicine. A few minutes after each outing to clean your lens, check seals, and properly store your device will prevent problems that could cost hundreds to repair. Regular inspection catches wear early, before small issues become major failures.
Buy quality accessories that protect your gear. Invest in a good case, quality batteries, and proper cleaning supplies. These relatively small expenses protect a much larger investment. And when it comes time to upgrade, well-maintained gear holds its resale value significantly better than neglected equipment.
At Pixfra, we design our thermal imaging products—like the Draco und Arc LRF models—with durability in mind. But even the toughest gear benefits from smart maintenance practices. Treat your equipment right, and it’ll deliver reliable performance season after season.
Maintaining your thermal monocular isn’t complicated—it just takes consistency. Clean your lenses carefully with the right materials, manage your batteries properly, store in controlled conditions, keep firmware updated, and handle with reasonable care. These habits take minimal time but can literally add years to your device’s lifespan while maintaining peak performance.
Your thermal monocular gives you capabilities in the field that were military-only technology just a few years ago. Return the favor by giving it the basic care it needs. A few minutes of maintenance after each outing beats days without your gear while it’s off getting repaired—or worse, shopping for an expensive replacement.
Start building these habits now. Your future self, glassing heat signatures through pre-dawn darkness with crystal-clear optics, will thank you.
How often should I clean my thermal monocular lens? Clean your lens after each use, especially if you’ve been in dusty or dirty conditions. For light use in clean environments, a quick inspection and cleaning every few outings is fine. Always remove visible dust or fingerprints before your next outing to maintain optimal image quality. Use proper lens cleaning materials—never rough fabrics or household cleaners.
Can I use regular glass cleaner on my thermal monocular? No. Household glass cleaners contain chemicals that can damage the specialized anti-reflective coatings on thermal lenses. These coatings are what make your thermal imaging work properly, and damaging them can cause permanent image degradation. Always use lens cleaning solutions specifically designed for optical instruments, or plain isopropyl alcohol at 90%+ concentration applied to a microfiber cloth.
What’s the best temperature for storing my thermal monocular? Store your device in a cool, dry environment with stable temperatures between 50-70°F if possible. Avoid locations with extreme heat or cold, direct sunlight, or high humidity. If you’re storing for several months, keep the battery at around 50% charge and remove it from the device to prevent potential leakage. Temperature stability matters more than hitting an exact number.
Why does my thermal monocular battery seem to drain faster than it used to? Lithium-ion batteries naturally degrade over time, typically needing replacement after 2-3 years of regular use. Battery drain can also increase if you’re using high brightness settings, maximum refresh rates, or power-hungry features like Wi-Fi and video recording. Try lowering brightness, adjusting settings, and replacing the battery if it’s more than two years old.
How long should a quality thermal monocular last? With proper maintenance, quality thermal monoculars typically last 5-10 years or longer. The microbolometer sensors are rated for thousands of operating hours. The biggest factors affecting longevity are protection from physical impacts, keeping the device dry, proper storage during off-season, and basic maintenance like lens cleaning and battery care. Well-maintained devices often outlast their owners’ need for upgrades.
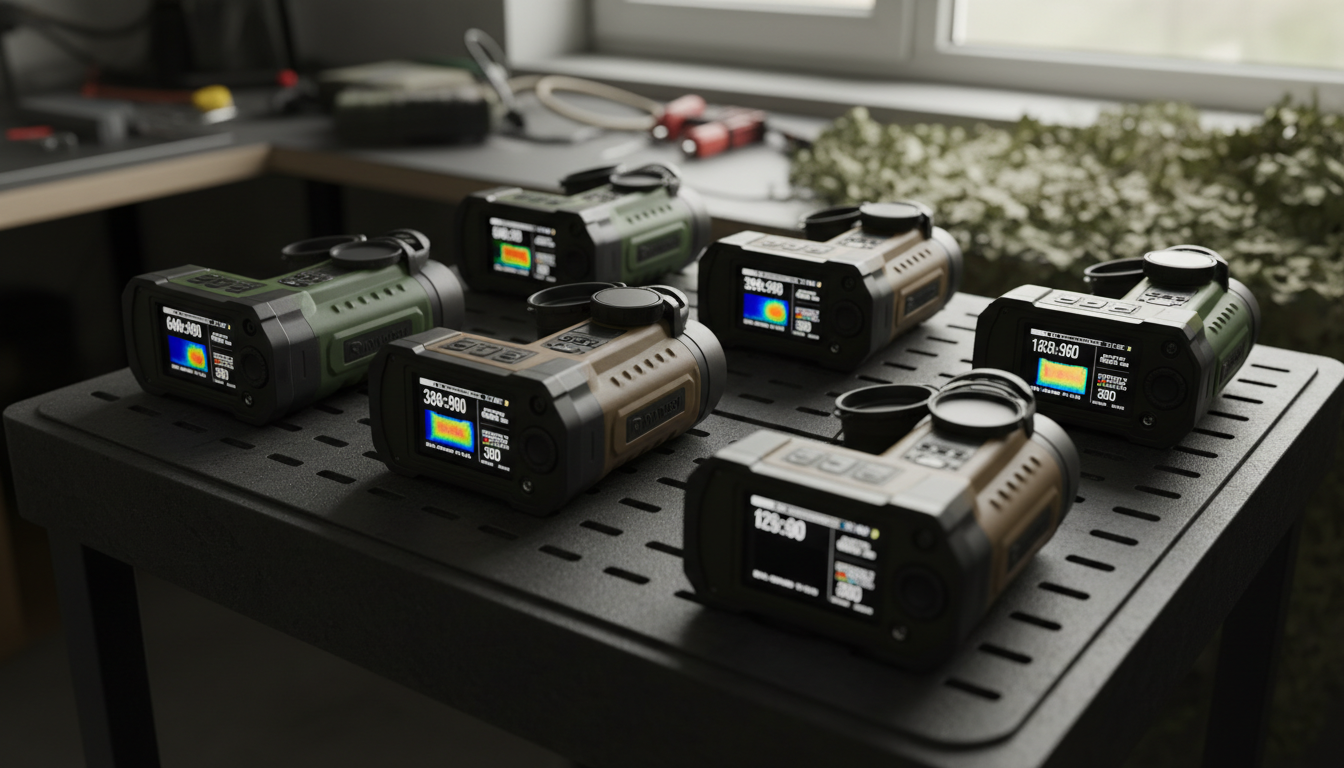
Wenn Sie sich nach einem Wärmebildmonokular umsehen, werden Sie überall Angaben wie “Auflösung 640×480” und “Bildwiederholfrequenz 50 Hz” finden. Aber was bedeuten diese Zahlen eigentlich für Ihre Jagdausflüge oder die Überwachung Ihres Grundstücks? Und was noch wichtiger ist: Auf welche Werte sollten Sie besonders achten?
Wir haben Wärmebildgeräte unter realen Einsatzbedingungen getestet und mit Anwendern gesprochen, die Tausende für ihre Ausrüstung ausgegeben haben. Hier erfahren Sie, was Sie über Auflösung und Hertz wissen müssen, bevor Sie diese Investition tätigen.
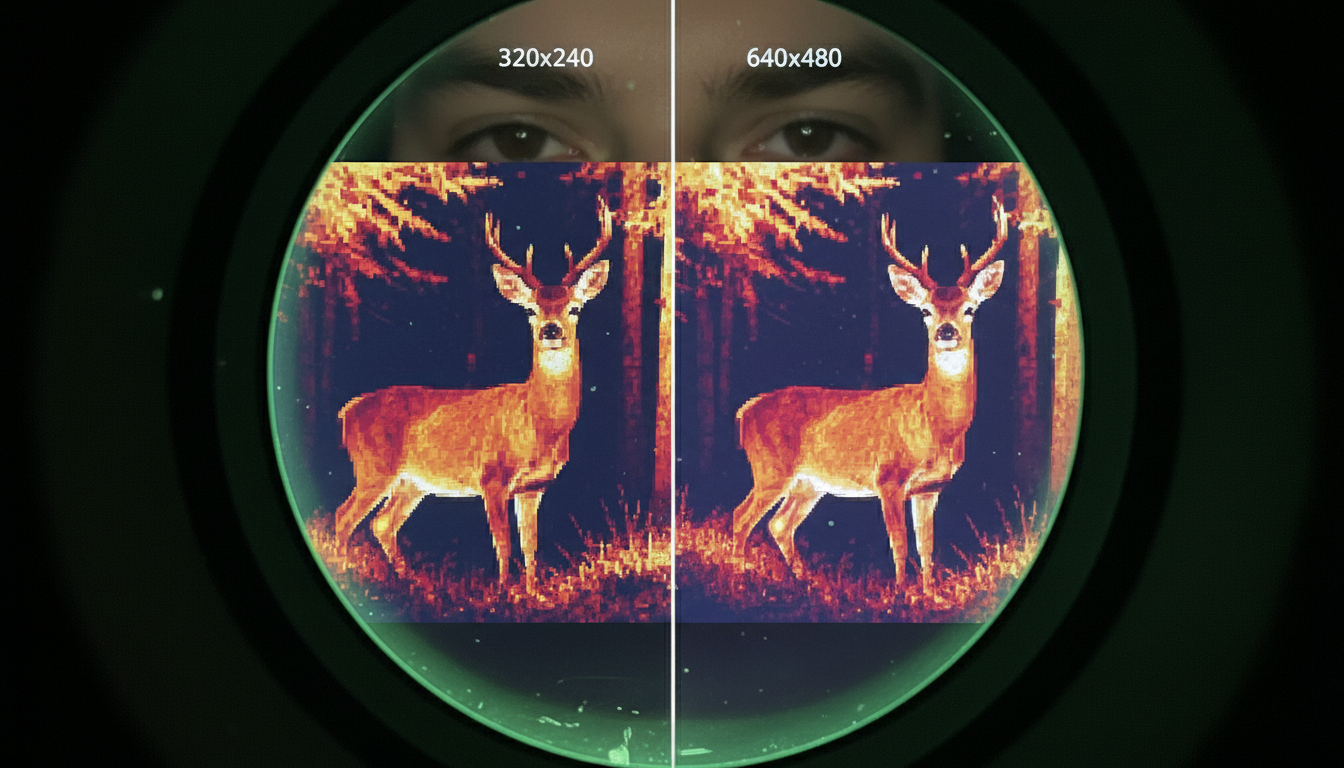
Hier wird es etwas knifflig. Ihr Wärmebildmonokular verfügt tatsächlich über zwei verschiedene Auflösungen, und die Hersteller lassen die Grenze zwischen diesen beiden manchmal verschwimmen.
Die Sensorauflösung ist das, was die Wärmeinformationen erfasst. Stellen Sie sich das wie die Kamera selbst vor – gängige Größen sind 256×192, 384×288 oder 640×480 Pixel. Ein 384×288-Sensor verfügt über 110.592 einzelne Pixel, die Temperaturunterschiede vor Ihnen erfassen.
Die Bildschirmauflösung ist der Bildschirm, durch den Sie schauen. Diese Zahl ist oft höher als die Sensorauflösung. Es kann vorkommen, dass ein Monokular einen 384×288-Sensor, aber ein 1280×960-Display hat. Das bedeutet nicht, dass Sie mehr thermische Informationen erhalten – es bedeutet lediglich, dass das Display die vom Sensor erfassten Daten hochskaliert.
Die Bildqualität wird durch den Sensor bestimmt, nicht durch das Display. Ein hochauflösender Bildschirm kann einen Sensor mit geringer Auflösung zwar nicht ausgleichen, sorgt aber dafür, dass das Wärmebild schärfer erscheint und bei langen Scan-Sitzungen für die Augen angenehmer ist.
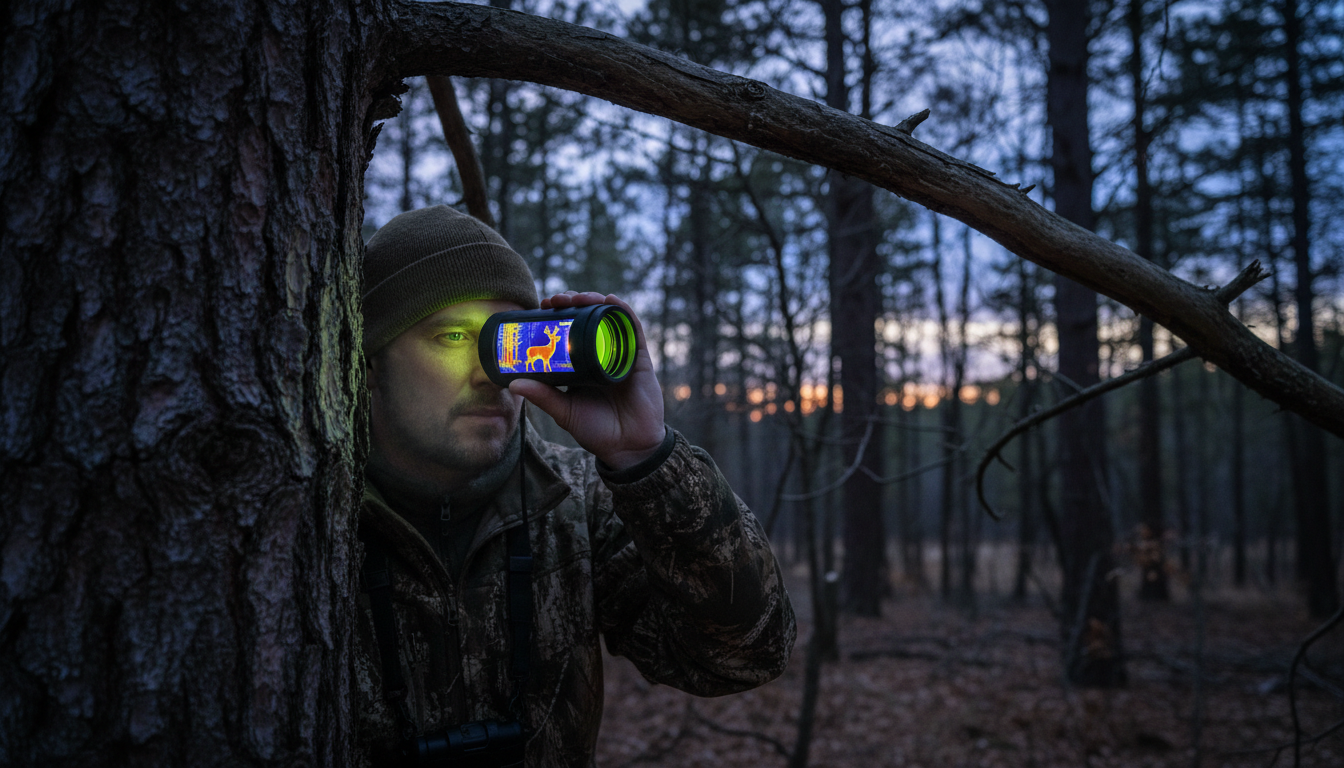
Preisgünstige Geräte mit 256×192 Sensoren eignen sich gut für die Überwachung im Nahbereich unter 300 Yards. Wir haben sie auf kleineren Grundstücken eingesetzt, auf denen sich der Großteil der Aktivitäten innerhalb dieses Bereichs abspielt.
Für Grundstücke mit einer Fläche von mehr als 100 Acres empfehlen wir eine Auflösung von mindestens 384 × 288. Damit erzielen Sie eine klare Sicht bis zu 400–500 Yards und sind für die meisten Jagdsituationen gerüstet. Sie erkennen genügend Details, um Tierarten zu identifizieren und Tiere zu zählen.
Wenn Sie regelmäßig offenes Gelände in einer Entfernung von mehr als 500 Yards absuchen, bietet eine Auflösung von 640 × 480 eine bessere Erkennungsleistung. Modelle wie der Draco und der Arc LRF von Pixfra ermöglichen eine zuverlässige Erfassung in diesem Bereich, ohne dass Sie dafür einen hohen Preis zahlen müssen.
Hochwertige 1280×1024-Sensoren liefern selbst bei vollem Zoom außergewöhnliche Detailgenauigkeit, haben jedoch einen hohen Preis. Sofern Sie nicht mit extremen Entfernungen arbeiten oder professionelle Leistung benötigen, erzielen Sie mit den Modellen der Mittelklasse solide Ergebnisse.
Die Einheit Hertz (Hz) gibt an, wie oft pro Sekunde Ihr Wärmebildmonokular das Bild aktualisiert. Ein Gerät mit 30 Hz aktualisiert das Bild 30 Mal pro Sekunde, während ein Modell mit 60 Hz dies doppelt so schnell tut.
Herkömmliche Wärmebildmonokulare arbeiten mit 30 Hz oder 50 Hz. Für die meisten Suchvorgänge sind 30 Hz völlig ausreichend. Sie können sich bewegende Rehe verfolgen, nach Wildschweinen Ausschau halten und sich im Gelände orientieren, ohne dass es zu spürbaren Verzögerungen kommt.
Höhere Bildwiederholraten wie 50 Hz oder 60 Hz sorgen für flüssigere Bilder, wenn Sie sich schnell bewegen oder schnelle Ziele verfolgen. Der Unterschied wird deutlich, wenn Sie über offene Felder schwenken oder rennende Tiere verfolgen. Ihr Auge nimmt weniger Unschärfe wahr, und Sie können schneller Entscheidungen zur Identifizierung treffen.
Bei Geräten der unteren Preisklasse werden manchmal Bildwiederholraten von 9 Hz verwendet, um Exportvorschriften zu erfüllen oder Kosten zu senken. Dies führt zu ruckelnden Bildern, die das Scannen zu einer frustrierenden Angelegenheit machen. Bewegungen wirken abgehackt, und es fällt schwer, alles zu verfolgen, was sich nicht im Stillstand befindet.
Auflösung und Bildwiederholfrequenz beeinflussen verschiedene Aspekte Ihres Wärmebildes. Die Auflösung bestimmt Detailgenauigkeit und Klarheit – also, wie gut Sie erkennen können, was Sie sehen. Die Bildwiederholfrequenz beeinflusst die Bildflüssigkeit und die Bewegungsverfolgung – also, wie gut Sie sich bewegende Ziele verfolgen können.
Ein 384×288-Sensor bei 50 Hz liefert Ihnen eine ordentliche Detailgenauigkeit bei flüssiger Bewegungserfassung. Diese Kombination eignet sich für die meisten Aufgaben im Bereich der Jagd und der Grundstücksverwaltung. Sie erhalten klare Wärmesignaturen ohne das ruckartige Gefühl, das bei niedrigen Bildwiederholraten auftritt.
Ein Sensor mit einer Auflösung von 640 × 480 bei 30 Hz kehrt die Prioritäten um. Man sieht in jedem Einzelbild mehr Details, bemerkt jedoch möglicherweise eine leichte Bewegungsunschärfe bei schnellen Schwenks. Für die Beobachtung stationärer Motive oder das systematische Abtasten eignet sich dies gut.
Die optimale Kombination für aktives Scannen? Kombinieren Sie eine Auflösung von mindestens 384×288 mit einer Bildwiederholfrequenz von 50 Hz. Produkte wie der Sirius HD bieten diese ausgewogene Kombination, sodass Sie schnell große Flächen abdecken können, ohne dass die Bildqualität darunter leidet.
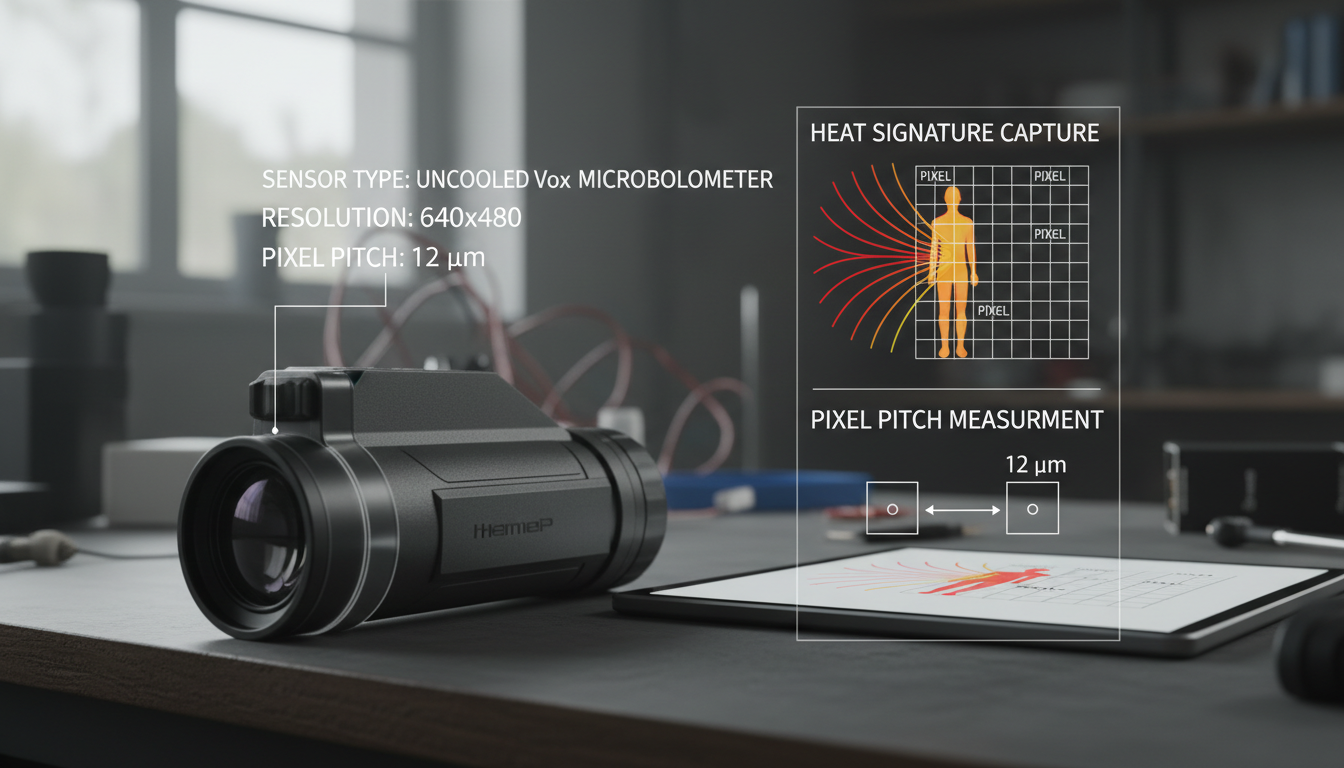
Der Pixelabstand gibt den Abstand zwischen den Sensorpixeln an und wird in Mikrometern (µm) angegeben. Üblicherweise findet man Angaben von 12 µm oder 17 µm.
Durch einen kleineren Pixelabstand (12 µm) liegen die Pixel enger beieinander, wodurch auch aus größerer Entfernung schärfere Bilder entstehen. Das ist hilfreich, wenn Sie kleine Ziele in großer Entfernung erkennen müssen. Doch hier liegt der Haken: Ein engerer Abstand bedeutet, dass jedes Pixel pro Messung weniger Wärmeinformationen erfasst.
Ein größerer Pixelabstand (17 µm) erfasst mehr thermische Daten pro Pixel, was die Leistung unter schwierigen Wetterbedingungen wie Nebel oder Regen verbessert. Sie werden einen besseren Kontrast feststellen, wenn alle Objekte nahezu die gleiche Temperatur haben.
Wenn Sie unter unterschiedlichen Bedingungen und auf verschiedenen Entfernungen jagen, schneiden 17-µm-Sensoren mit guter thermischer Empfindlichkeit oft besser ab als 12-µm-Sensoren. Die zusätzlichen thermischen Informationen sind im praktischen Einsatz von größerem Nutzen als der geringfügige Auflösungsvorteil.
256 × 192 (49.152 Pixel): Einsteigermodelle mit einer Reichweite von 200 bis 300 Yards. Geeignet für kleine Grundstücke, die Beobachtung von Wildtieren aus nächster Nähe und zum Kennenlernen der Wärmebildtechnik. Preisgünstig, jedoch mit eingeschränkter Zoomfunktion.
384 × 288 (110.592 Pixel): Der goldene Mittelweg zwischen Leistung und Preis. Geeignet für Entfernungen bis zu 500 Yards, verfügt über einen praktischen Digitalzoom und deckt die meisten Jagdsituationen ab. Unser Pegasus 2 LRF arbeitet in diesem Bereich.
640 × 480 (307.200 Pixel): Professionelle Bildqualität mit einer Reichweite von über 800 Yards. Die dreifache Pixelanzahl gegenüber 256×192 sorgt für deutlich bessere Detailwiedergabe und komfortables digitales Zoomen. Ideal für große Grundstücke und die Identifizierung aus großer Entfernung.
1280 × 1024 (1.310.720 Pixel): Spitzenklasse mit maximaler Detailgenauigkeit selbst bei vollem Zoom. Diese Sensoren zeichnen sich bei extremen Entfernungen und unter schwierigen Bedingungen aus, doch ihr Preis spiegelt ihre Leistungsfähigkeit wider.
Der Displaytyp beeinflusst Ihr Seherlebnis ebenso stark wie die Pixelanzahl. AMOLED-Displays bieten einen höheren Kontrast, lebendigere Farbpaletten und schnellere Reaktionszeiten als herkömmliche LCD-Bildschirme.
Die Bildschirmauflösung sollte mindestens der Sensorauflösung entsprechen. Ein 640×480-Sensor in Kombination mit einem 1920×1080-Bildschirm liefert scharfe, gut lesbare Wärmebilder. Die zusätzlichen Bildschirmpixel tragen dazu bei, dass Überlagerungsgrafiken wie Fadenkreuze, Entfernungsmesseranzeigen und Menüsysteme klar dargestellt werden.
Eine höhere Bildschirmauflösung verringert zudem die Belastung der Augen bei längeren Betrachtungsphasen. Wenn Sie stundenlang Bildmaterial durchsehen, macht ein scharfes Display einen echten Unterschied in puncto Komfort und Effizienz.
Wir haben erlebt, dass Leute Tausende für 640×480-Sensoren mit einer Bildwiederholfrequenz von 60 Hz ausgegeben haben, um sie dann für Aufgaben zu nutzen, bei denen ein 384×288-Sensor mit 30 Hz völlig ausgereicht hätte. Und wir haben Jäger mit preisgünstigen Geräten gesehen, die Probleme hatten, weil sie tatsächlich mehr Leistung gebraucht hätten.
Für die Überprüfung von Grundstücken im Umkreis von unter 300 Yards, die Absicherung von Grundstücksgrenzen oder um herauszufinden, ob die Wärmebildtechnik für Sie geeignet ist, reicht eine Auflösung von 256×192 bei 30 Hz völlig aus. Wenn Sie hier einsteigen, entgeht Ihnen nicht viel.
Bei der Wildbeobachtung und der Jagd auf Grundstücken mit einer Fläche von bis zu 200 Acres kommt die Auflösung von 384 × 288 bei 50 Hz zum Tragen. Diese Kombination bietet Ihnen genügend Detailgenauigkeit, um Tierarten zu identifizieren, und eine ausreichend flüssige Darstellung, um Bewegungsmuster zu verfolgen. Unsere IR-Taschenlampe lässt sich gut mit Geräten dieser Klasse kombinieren – insbesondere in Situationen, in denen neben der Wärmebilderkennung auch eine Beleuchtung erforderlich ist.
Such- und Rettungsaktionen, die Verwaltung großer Grundstücke oder anspruchsvolle Jagdaktivitäten rechtfertigen den Umstieg auf eine Auflösung von 640×480 bei 50 Hz oder höher. Sie decken ein größeres Gebiet ab, arbeiten über größere Entfernungen und benötigen zuverlässige Leistung unter schwierigen Bedingungen.
NETD (Noise Equivalent Temperature Difference) gibt an, wie kleine Temperaturunterschiede Ihr Sensor erkennen kann. Der Wert wird in Millikelvin (mK) angegeben. Je niedriger der Wert, desto besser die Leistung.
Ein Sensor mit einem NETD von <25 mK erfasst geringere Temperaturschwankungen als ein Sensor mit einem NETD von 40 mK. Dies spielt vor allem bei Nebel, hoher Luftfeuchtigkeit oder dann eine Rolle, wenn alle Objekte nahezu die gleiche Temperatur haben – wie beispielsweise an Sommermorgen, wenn sich der Boden und die Tiere thermisch noch nicht voneinander abgekühlt haben.
Der NETD-Wert wirkt sich anders auf die Bildqualität aus als die Auflösung. Eine hohe Auflösung bei schlechtem NETD-Wert führt zu detailreichen, aber kontrastarmen Bildern, auf denen alles ähnlich aussieht. Ein guter NETD-Wert bei mäßiger Auflösung sorgt für einen deutlichen thermischen Kontrast, wodurch sich Ziele deutlich vom Hintergrund abheben.
Achten Sie auf Geräte, die beides in Einklang bringen. Ein 384×288-Sensor mit einem NETD von <25 mK übertrifft unter realen Jagdbedingungen oft einen 640×480-Sensor mit einem NETD von 40 mK.
Sie werden feststellen, dass einige thermische Geräte trotz hochauflösender Sensoren auf eine Bildwiederholfrequenz von 9 Hz begrenzt sind. Dies hängt mit Exportvorschriften zusammen, die den Einsatz thermischer Technologien einschränken.
Geräte mit einer Auflösung von 640 × 480 oder höher in Verbindung mit Bildwiederholraten über 9 Hz unterliegen häufig Exportbeschränkungen. Um internationale Vorschriften einzuhalten, bringen die Hersteller 9-Hz-Versionen auf den Markt, wodurch diese Modelle in mehr Märkten erhältlich sind.
Für den privaten Einsatz bei der Jagd und der Grundstückspflege sollten Sie nach Möglichkeit ein Gerät mit mindestens 30 Hz wählen. Das ruckelige 9-Hz-Bild erschwert die Verfolgung und mindert Ihre allgemeine Effektivität. Investieren Sie Ihr Geld in ein Gerät mit 30 Hz oder mehr, sofern die Vorschriften in Ihrer Region nichts anderes vorschreiben.
Wärmebildmonokulare der Einstiegsklasse ($800–$1.500) bieten in der Regel eine Auflösung von 256 × 192 bei einer Bildwiederholfrequenz von 30 Hz. Sie eignen sich für den Einsatz im Nahbereich und helfen Ihnen dabei, herauszufinden, ob die Wärmebildtechnologie für Ihre Aktivitäten geeignet ist.
Geräte der Mittelklasse ($1.500–$3.500) bieten eine Auflösung von 384 × 288 oder 640 × 480 bei einer Bildwiederholfrequenz von 50 Hz. Diese Produktklasse bietet das beste Preis-Leistungs-Verhältnis für den anspruchsvollen Einsatz. Sie erhalten Leistung auf professionellem Niveau, ohne dafür einen überhöhten Preis zahlen zu müssen.
Premium-Monokulare ($3.500+) verfügen über eine Auflösung von 640 × 480 oder höher, eine Bildwiederholfrequenz von 50–60 Hz, integrierte Laser-Entfernungsmesser und fortschrittliche Bildverarbeitung. Diese Geräte sind sinnvoll, wenn Ihre Aktivitäten von der Leistungsfähigkeit der Ausrüstung abhängen oder Sie extreme Entfernungen zurücklegen.
Streben Sie keine maximalen Erfassungsreichweiten an, die über Ihren tatsächlichen Bedarf hinausgehen. Konzentrieren Sie sich stattdessen auf eine Erkennungsreichweite, die der Größe Ihres Grundstücks entspricht, eine Bildwiederholrate, die Ihrem Scan-Stil entgegenkommt, und eine Auflösung, die genügend Details für eine sichere Identifizierung liefert.
Wir haben Wärmebildmonokulare bei Regen, Nebel, Minustemperaturen und sommerlicher Hitze getestet. Hier sind die Faktoren, auf die es im Einsatz wirklich ankommt:
Die Auflösung ist vor allem dann von Vorteil, wenn Sie Ziele bei Ihrer maximalen Reichweite erkennen müssen. Wenn Sie selten über 400 Yards hinaus scannen, bringt es Ihnen keine Verbesserung, den hohen Preis für 1280×1024-Sensoren zu zahlen.
Die Bildwiederholrate macht sich besonders dann bemerkbar, wenn man sich aktiv bewegt. Bei stationärer Beobachtung reichen 30 Hz völlig aus. Beim aktiven Abtasten, beim Einsatz in Fahrzeugen oder bei der Verfolgung schneller Tiere macht sich eine Bildwiederholrate von 50 Hz oder mehr deutlich positiv bemerkbar.
Die thermische Empfindlichkeit (NETD) wirkt sich auf jede von Ihnen durchgeführte Aufnahme aus. Ein guter NETD-Wert sorgt für gute Ergebnisse bei unterschiedlichen Wetter- und Lichtverhältnissen. Ein schlechter NETD-Wert liefert nur unter idealen thermischen Kontrastbedingungen gute Ergebnisse.
Die Auflösung und die Hertz-Zahl bestimmen gemeinsam die Leistung Ihres Wärmebildmonokulars. Die Auflösung legt fest, wie viele Details Sie erkennen können, während die Hertz-Zahl bestimmt, wie flüssig die Darstellung ist.
Für die meisten Jäger und Grundstücksverwalter stellt eine Auflösung von 384 × 288 bei 50 Hz den optimalen Kompromiss zwischen Leistung und Kosten dar. Diese Kombination ermöglicht eine klare Erkennung bis zu einer Entfernung von 500 Yards bei flüssiger Bewegungserfassung.
Preisbewusste Nutzer können für Arbeiten im Nahbereich mit einer Auflösung von 256×192 bei 30 Hz beginnen. Wer extreme Leistung benötigt, sollte sich für 640×480 bei 50 Hz oder höher entscheiden, muss jedoch mit deutlich höheren Kosten rechnen.
Passen Sie die technischen Daten an Ihren tatsächlichen Einsatzzweck an, nicht an Marketing-Hype. Das richtige Wärmebildmonokular verbessert Ihre Arbeitsweise im Einsatz – es kommt auf die praktische Leistung an, nicht auf beeindruckende technische Daten.
Was ist bei einem Wärmebildmonokular wichtiger: Auflösung oder Bildwiederholfrequenz?
Beides ist wichtig, allerdings aus unterschiedlichen Gründen. Die Auflösung beeinflusst die Detailgenauigkeit und die Erkennungsreichweite – also, wie deutlich Sie Ziele erkennen können. Die Bildwiederholfrequenz beeinflusst die Bewegungsflüssigkeit und die Verfolgungsfähigkeit. Bei der Beobachtung stationärer Objekte sollte die Auflösung Vorrang haben. Bei aktiver Abtastung oder auf beweglichen Plattformen gewinnt die Bildwiederholfrequenz gleichermaßen an Bedeutung. Die meisten Nutzer profitieren von einem ausgewogenen Verhältnis beider Faktoren bei einer Auflösung von mindestens 384×288 bei 50 Hz.
Kann eine hohe Bildschirmauflösung eine niedrige Sensorauflösung ausgleichen?
Nein. Das Display zeigt nur das an, was der Sensor erfasst. Ein 256×192-Sensor, dessen Bild auf einem 1920×1080-Bildschirm angezeigt wird, liefert weiterhin thermische Informationen im Format 256×192. Das hochauflösende Display sorgt für ein schärferes und besser erkennbares Bild, kann jedoch keine thermischen Details erzeugen, die der Sensor nicht erfasst hat. Überprüfen Sie daher immer zuerst die Sensorauflösung.
Warum haben manche Wärmebildmonokulare eine Bildwiederholfrequenz von 9 Hz?
Exportbestimmungen schränken den Export von Hochleistungs-Wärmebildtechnologie ein. Geräte mit einer Auflösung von 640×480 oder höher in Kombination mit Bildwiederholraten über 9 Hz unterliegen Exportbeschränkungen. Hersteller bringen daher 9-Hz-Versionen auf den Markt, um die internationalen Vorschriften einzuhalten. Bei der Jagd und beim Scannen im Inland sollten Sie 9 Hz nach Möglichkeit vermeiden – das ruckelige Bild erschwert die Verfolgung.
Welche Auflösung benötige ich für die Jagd auf 300–500 Yards?
Für eine zuverlässige Identifizierung bei Entfernungen von 300 bis 500 Yards empfehlen wir eine Auflösung von mindestens 384×288. Dies bietet genügend Pixel, um Tierarten zu unterscheiden, Tiere zu zählen und ihre Größe einzuschätzen. Preisgünstige Sensoren mit einer Auflösung von 256 × 192 haben jenseits von 300 Yards Schwierigkeiten. Wenn Sie regelmäßig Entfernungen von bis zu 500 Yards abdecken, sollten Sie einen Wechsel zu einer Auflösung von 640 × 480 in Betracht ziehen, um bessere Details und ein komfortables digitales Zoomen zu erzielen.
Bedeutet eine höhere Auflösung immer auch bessere Wärmebilder?
Nicht unbedingt. Die Auflösung wirkt zusammen mit anderen Faktoren wie der thermischen Empfindlichkeit (NETD), dem Pixelabstand und der Objektivqualität auf das endgültige Bild ein. Ein 384×288-Sensor mit hervorragendem NETD-Wert und guter Optik kann unter schwierigen Bedingungen wie Nebel oder in kontrastarmen Umgebungen einen 640×480-Sensor mit schlechter thermischer Empfindlichkeit übertreffen. Betrachten Sie das Gesamtpaket und nicht nur die Auflösungswerte.
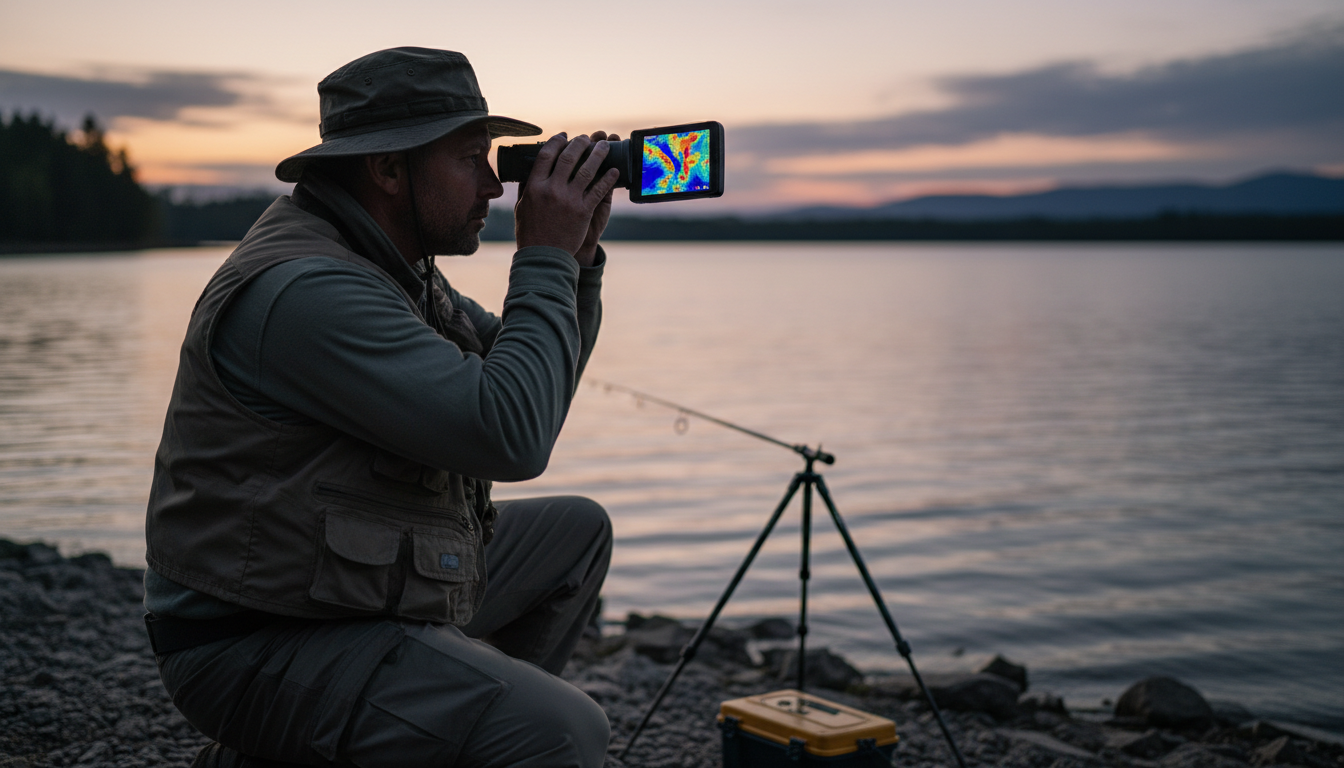
You’ve probably heard anglers talking about thermal scopes and wondered if they’re the secret weapon for finding fish. The short answer? Not quite the way you’d think. Fish are cold-blooded creatures whose temperature is not constant and depends on the water temperature, which makes them really hard to spot with thermal technology. But that doesn’t mean thermal scopes are useless for fishing—you just need to know what they can and can’t do.
We’re going to walk you through how thermal imaging actually works around water, why you won’t see fish swimming below the surface, and the surprising ways thermal scopes can still help you catch more fish. If you’re interested in exploring different thermal imaging options, check out our range of outdoor thermal devices designed for various applications.
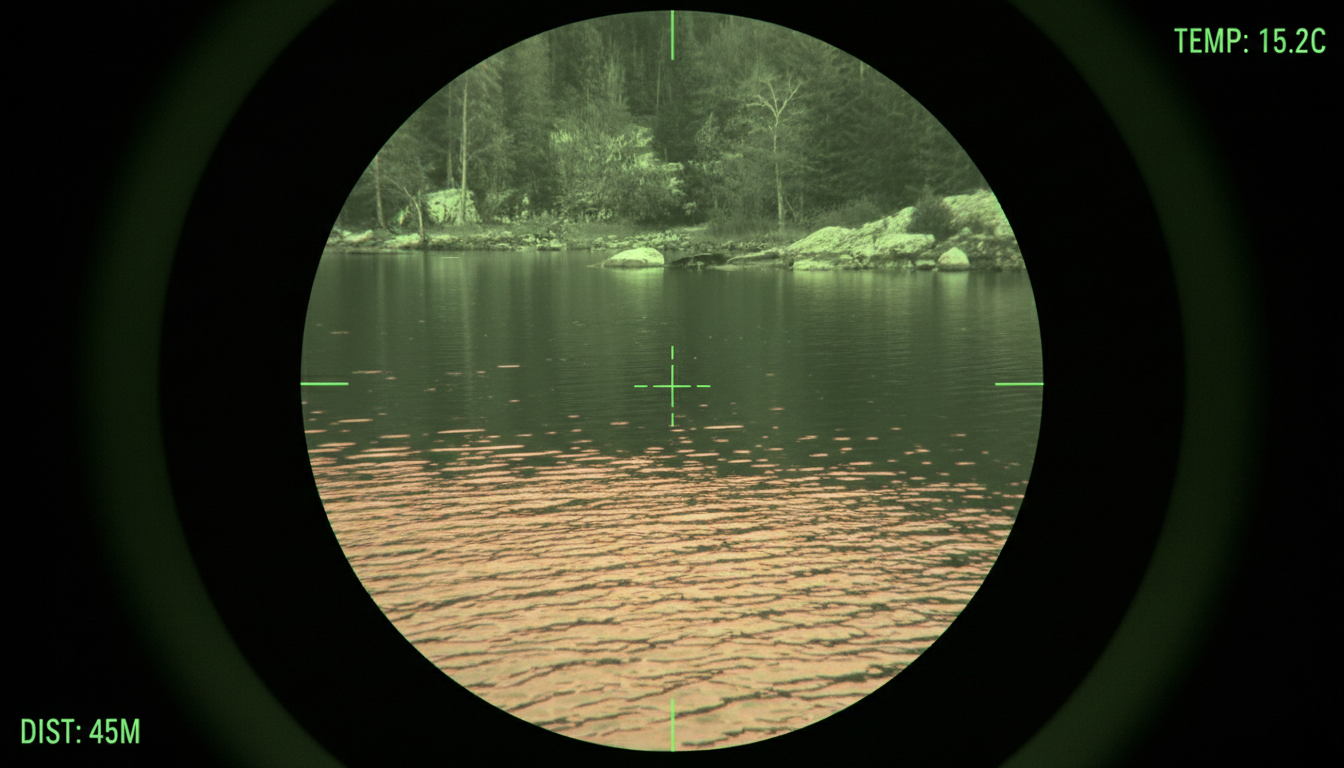
Here’s the deal: water absorbs infrared radiation, which reduces the effectiveness of thermal imaging, and infrared radiation does not penetrate water well. Think of water as a thick blanket that blocks the heat signatures thermal scopes need to create an image.
But there’s another problem. A thermal imaging camera displays a contrasting temperature background of the objects you are observing, and it will not show fish with the same body temperature as the water. Most fish sit at roughly the same temperature as their surroundings, so even if the infrared radiation could get through the water (which it can’t), there’d be almost no temperature difference to detect.
The primary limitation of thermal imaging underwater is the poor penetration of infrared radiation, and thermal cameras are limited to detecting heat on or very near the surface. Sound familiar if you’ve ever tried using one near a lake or river? That’s why.
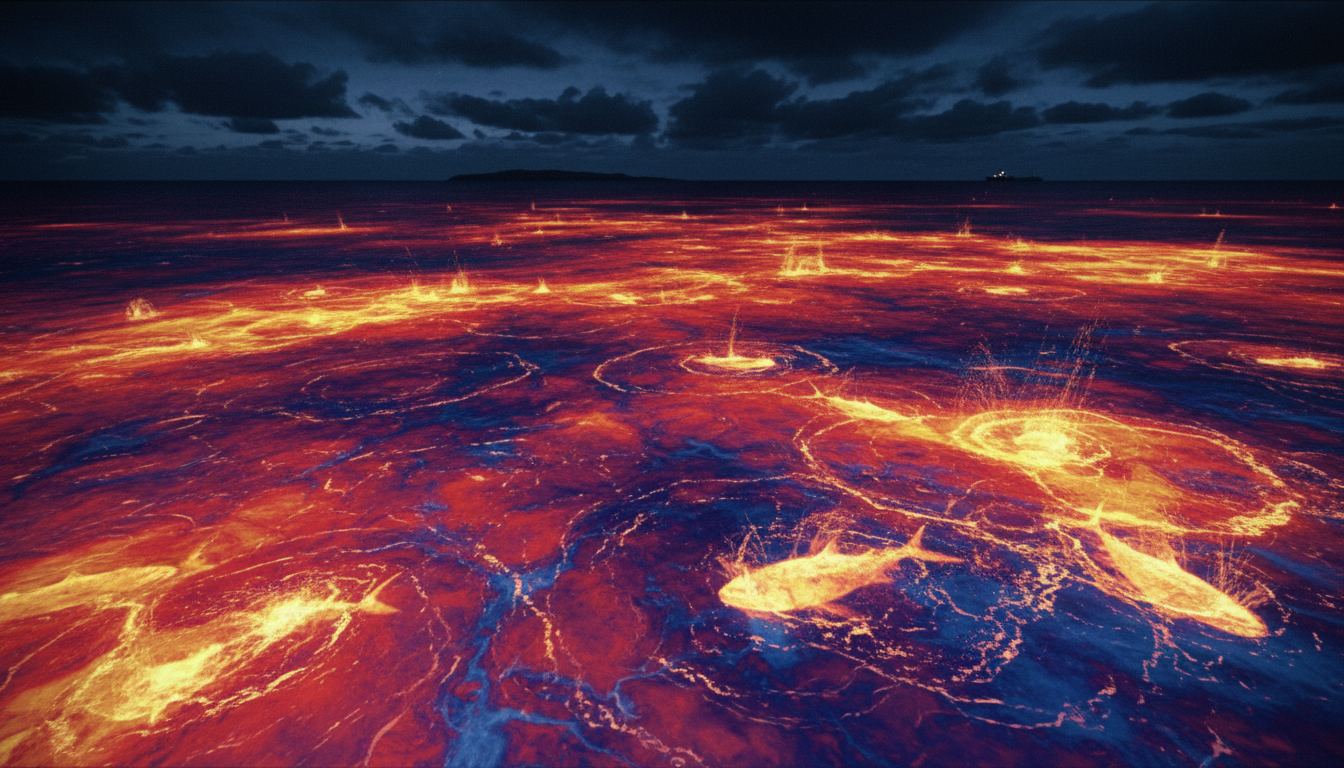
Before you write off thermal imaging for fishing completely, there’s good news. Schools of fish change the characteristics of the water’s surface, and that’s what you can see with thermal imaging. When fish are active near the surface—feeding, breaking, or moving in large schools—they create tiny temperature changes and disturbances that show up on a thermal scope.
Thermal-imaging cameras are sensitive enough to see temperature breaks — areas that tend to attract schools of baitfish and predators, as long as the water temperature changes rapidly within a few meters. This works particularly well in saltwater where you’re looking for temperature gradients offshore, or at night when you’re trying to spot baitfish dimpling the surface.
For those serious about nighttime observation and fishing applications, our Pegasus 2 LRF offers long-range detection capabilities that work well in low-light marine conditions.
Thermal cameras can register a temperature anomaly as small as a tenth of a degree, and that difference becomes more pronounced offshore when the camera’s field of view fills with mostly water and sky. This is where thermal imaging really shines for fishing.
You can spot weed lines, kelp paddies, and floating debris that hold fish—even in complete darkness. These objects absorb heat differently than open water, making them stand out like beacons on your thermal display. Anglers say they’ve hooked tuna after finding breaking fish before daylight by using a thermal-imaging camera, and can spot schools of baitfish dimpling the surface in the dark.
While infrared radiation is absorbed by water, it is possible to detect temperature differences on the water’s surface, and fish swimming close to the surface can create disturbances and thermal anomalies. Look, it’s not x-ray vision, but it beats staring into pitch darkness hoping to stumble onto fish.
Honestly, thermal imaging does way more for fishing safety and navigation than direct fish finding. Thermal cameras cannot see through water, but they’re still the best tool for professional and recreational marine use when you need to see in total darkness.
Infrared thermal imaging cameras can reliably deliver clear thermal images even in extremely low-visibility conditions such as nighttime, heavy fog, rain, or snow, and provide all-weather identification of key targets including other vessels, buoys, shorelines, and floating debris. You’ll avoid hitting debris, spot other boats, and navigate safely—which matters more than finding fish when you’re miles offshore in the dark.
During winter fishing, thermal imaging can identify weak spots in ice, cracks, and thin areas that could be dangerous. It’s a safety tool first, fishing aid second. Our thermal monocular technology article explains more about how these devices work if you’re curious about the technical side.
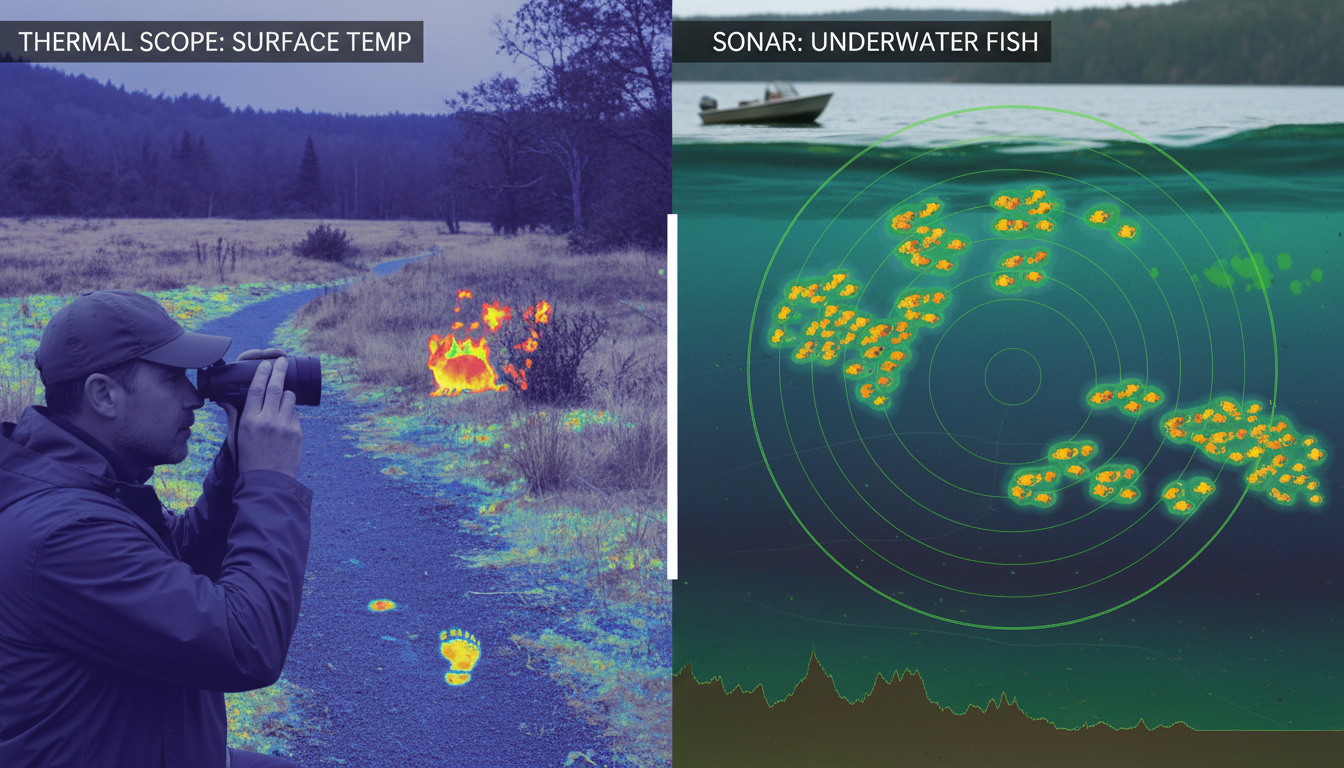
Sonar technology, which uses sound waves to detect objects underwater, is widely used for fish finding and can penetrate water effectively and provide detailed information about the location, size, and movement of fish schools. If you want to see what’s actually below your boat, sonar is your answer—not thermal.
Underwater cameras, often coupled with lighting systems, can capture visual images of fish and other marine life and are commonly used in marine biology, underwater research, and recreational diving. These give you actual video of what’s down there, which is pretty cool if you’re trying to figure out what fish are doing around your bait.
Thermal scopes work great for spotting surface activity and navigating at night, but they’re not replacements for traditional fish finders. Use them together and you’ll have a much better setup than relying on just one technology.
So can you see fish with a thermal scope? Not underwater—physics just doesn’t work that way. Water blocks infrared radiation and fish match the water temperature too closely to show up as heat signatures. But thermal scopes aren’t worthless for fishing. They’ll help you spot surface activity, temperature breaks, floating structure, and navigate safely in conditions where regular vision fails.
The best approach? Use thermal imaging for what it does well—surface observation, safety, and navigation—and stick with sonar for finding fish below the surface. Thermal technology has its place in your fishing toolkit, just not as an underwater fish camera. If you’re ready to explore thermal imaging for your outdoor adventures, visit our main product page to see our full lineup of thermal devices.
Can thermal scopes see through water to detect fish?
No, thermal scopes cannot see through water. Water absorbs infrared radiation that thermal imaging relies on, blocking heat signatures from penetrating more than a few millimeters below the surface. Fish swimming underwater remain invisible to thermal technology.
What can thermal imaging actually help with when fishing?
Thermal imaging excels at detecting surface activity like baitfish schools dimpling the water, temperature breaks that attract fish, weed lines, floating debris, and other surface features. It’s also excellent for safe navigation in darkness, fog, or low-visibility conditions on the water.
Why don’t fish show up on thermal cameras?
Fish are cold-blooded animals that maintain body temperatures nearly identical to the surrounding water. Thermal cameras detect temperature differences, and since fish don’t create enough contrast against the water temperature, they remain undetectable even if water penetration wasn’t an issue.
Is thermal imaging or sonar better for finding fish?
Sonar is better for directly locating fish underwater. It uses sound waves that penetrate water effectively and can show exact fish locations, depths, and school sizes. Thermal imaging works best for surface observation and navigation, while sonar handles underwater detection.
Can you see fish breaking the surface with a thermal scope at night?
Yes, you can detect fish activity at the surface with thermal imaging. When fish break the surface, create disturbances, or move in schools near the top, they change the water surface characteristics enough to show up as thermal patterns—particularly useful for spotting feeding activity before dawn.
















