Ai Yong-test Ai Yong-test Ai Yong-test Ai Yong-test Ai Yong-test Ai Yong-test Ai Yong-test Ai Yong-test Ai Yong-test Ai Yong-test Ai Yong-test Ai Yong-test Ai Yong-test
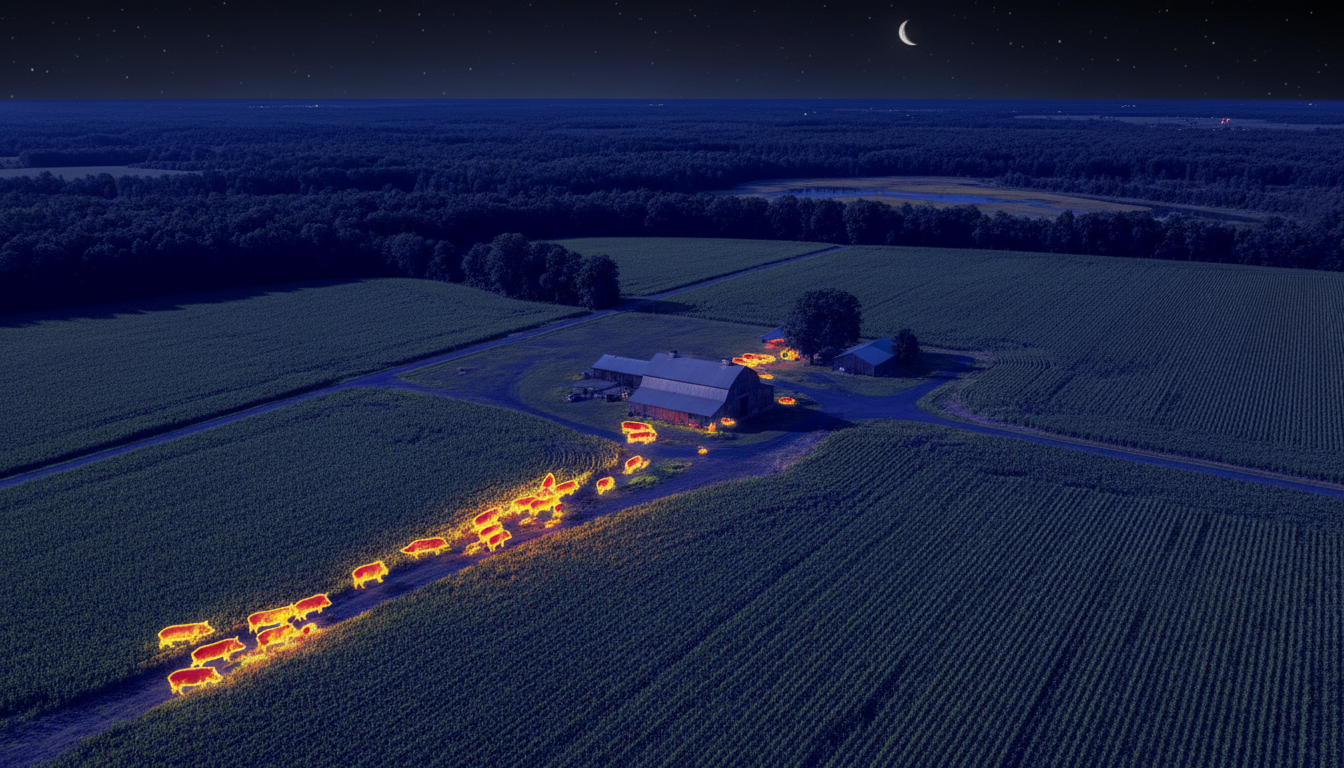
Villsvin forårsaker hvert år skader på landbruket for over $2,5 milliarder i hele USA. Vi har i flere tiår sett hvordan bøndene sliter med denne invasive arten, men tradisjonelle jaktmetoder har knapt nok gjort noen forskjell. Det endret seg da teknologi med varmesøk ble tilgjengelig for grunneiere og viltforvaltere.
Vi tar en nærmere titt på data fra virkelige operasjoner der termisk optikk brukes til utrydding av villsvin. Dette er ikke teoretiske tall – det er målbare resultater fra rancher, gårder og kommersielle eiendommer som sliter med alvorlige problemer med villsvin. Resultatene viser suksessrater som tradisjonelle metoder rett og slett ikke kan måle seg med.
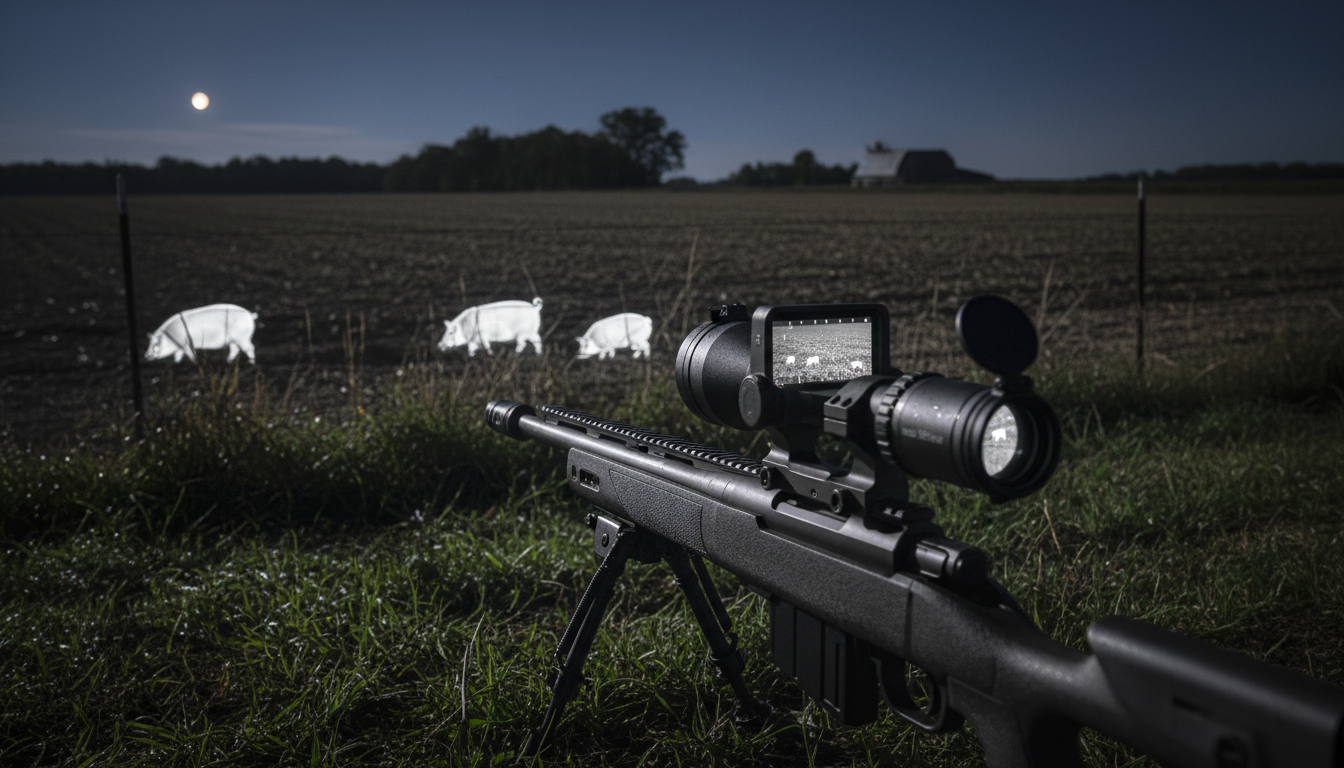
Før termisk teknologi ble tatt i bruk, prøvde grunneierne alt mulig. Jakt på dagtid reduserte bestandene med kanskje 5–10% årlig. Villsvinene lærte seg raskt å bli utelukkende nattaktive og unngå menneskelig aktivitet i dagslys. Vi har sett eiendommer der bøndene skjøt 50–100 villsvin per år i et tiår uten at det førte til noen nevneverdig reduksjon i den totale bestanden.
Her er problemet: villsvin er først og fremst nattaktive, med høyest aktivitet mellom solnedgang og soloppgang. Deres dårlige syn spiller ingen rolle i mørket, da luktesansen gir dem tidlig varsel om mennesker som nærmer seg. Tradisjonell nattjakt med lyskastere har gjort de overlevende mer oppmerksomme, uten å utrydde flokkene. Å skyte ett eller to villsvin fra en flokk på 20 gjorde bare de resterende 18 smartere og mer forsiktige.
Regnestykket gikk heller ikke opp. En enkelt purke får to kull per år med 4–8 smågris i hvert. Det gir en årlig bestandsvekst på 70%. Man måtte fjerne mer enn 70% av bestanden bare for å opprettholde dagens bestandsstørrelse – et umulig mål med konvensjonelle metoder som i gjennomsnitt hadde en fjerningsrate på 15–30%.
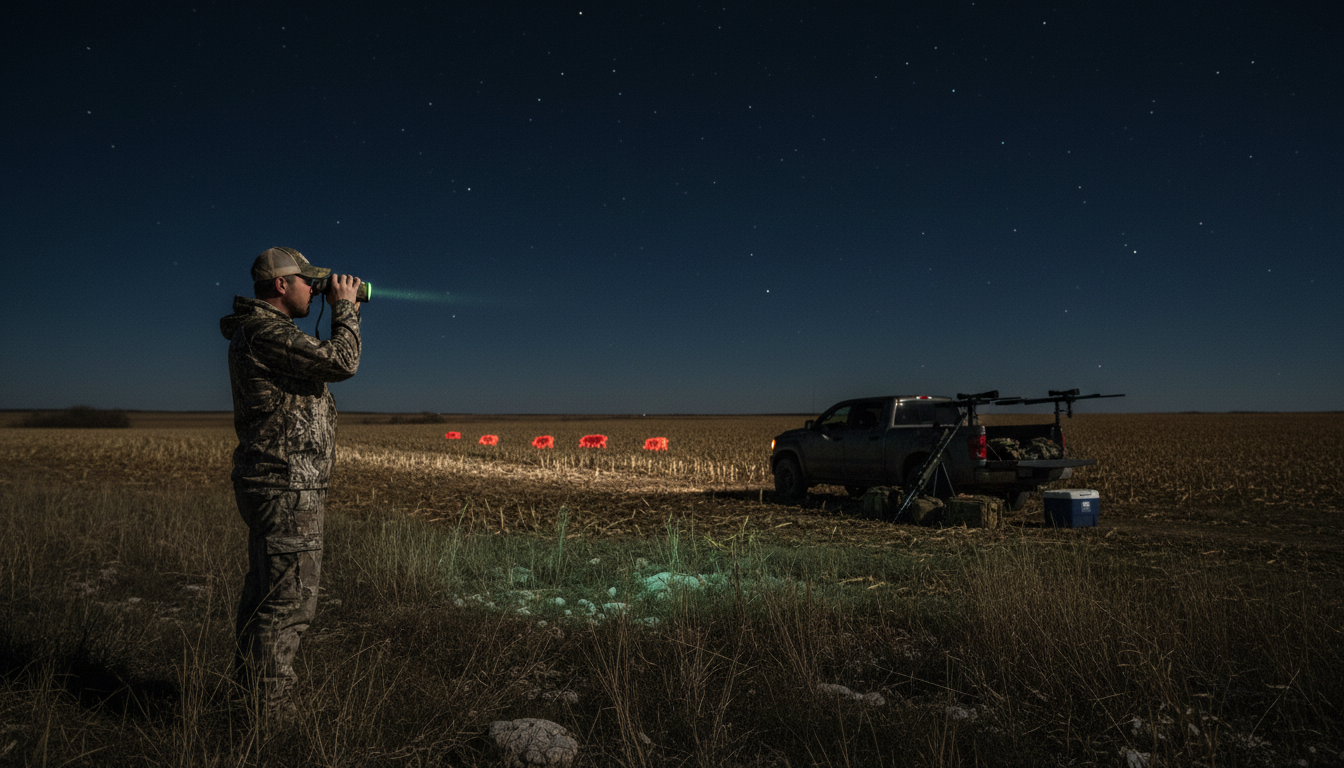
Varmebildeteknologi registrerer varmesignaturer som avgis av levende vesener. Villsvin holder en kroppstemperatur på rundt 101–103 °F, noe som skaper tydelige varmesignaturer mot kjøligere bakgrunner. Denne teknologien fungerer i fullstendig mørke, gjennom lett tåke og delvis gjennom vegetasjon – forhold der tradisjonelt nattesyn svikter fullstendig.
Vi har testet flere termisk monokulær systemer sammen med termiske siktemidler montert på rifler. Denne kombinasjonen gjør det mulig for operatørene å skanne store områder raskt med håndholdte enheter som Sirius HD, og bytt deretter til våpenmontert optikk for presisjonsskyting. Denne tilnærmingen med to enheter økte oppdagelseseffektiviteten med omtrent 60% sammenlignet med oppsett som kun besto av kikkertsikte.
Oppdagelsesavstanden er viktigere enn de fleste er klar over. Termiske kikkerter av høy kvalitet oppdager villsvin på 500–800 yards, selv om identifikasjonsavstanden for etisk skyting ligger nærmere 200–300 yards. Denne utvidede oppdagelsesavstanden gir jegerne tid til å vurdere flokkens størrelse, planlegge tilnærmingen og finne den beste posisjonen for å oppnå maksimal uttak.
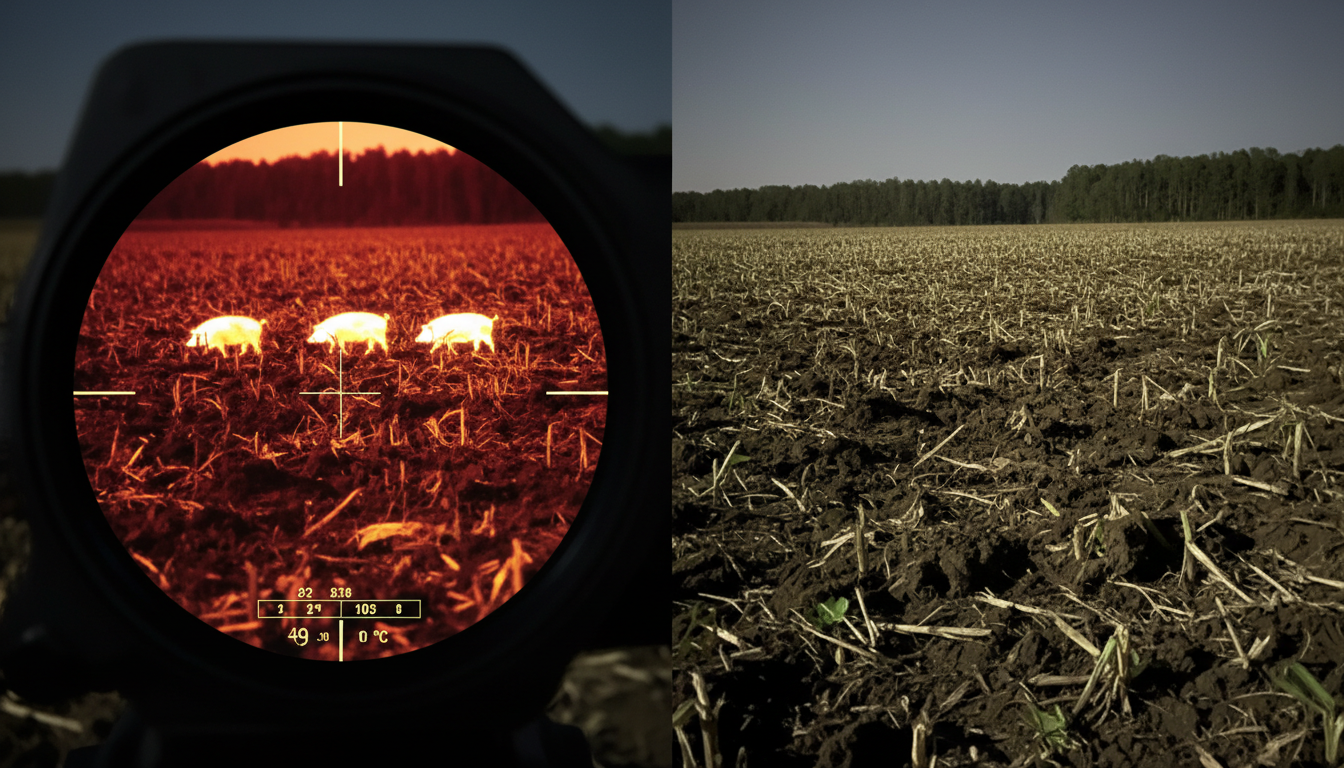
En landbruksbedrift på 2 400 acre i Sør-Texas utgjør vår mest detaljerte casestudie. Gården driver storfeoppdrett og dyrker høy, og har dokumenterte avlingsskader på over $85 000 årlig som følge av villsvinaktivitet. Tidligere bekjempelsestiltak med jakt på dagtid og bruk av lyskastere fjernet omtrent 60 villsvin per år uten at det førte til en reduksjon i den totale bestanden eller skadeomfanget.
Operasjonen gjennomførte en systematisk utrydding ved hjelp av varmesøkere våren 2024. To operatører ble utstyrt med varmesøkere montert på rifler, med en oppløsning på 640×512 og innebygde laseravstandsmålere. Støtteutstyret besto blant annet av håndholdte termiske monokularer for skanning og lyddempere for å unngå å skremme overlevende med skudd.
Resultater fra den første 8-månedersperioden:
Operasjonen fokuserte spesielt på å eliminere hele flokker, fordi fjerning av hele familiegrupper hindrer at dyrene lærer seg metoden. Når operatørene drepte ett eller to villsvin fra en gruppe, lærte de overlevende å unngå situasjonen. Fullstendig eliminering av flokken fjernet dette problemet helt. Av 38 møter med flokker resulterte 32 i fullstendig eliminering av alle synlige villsvin.
Vi samlet inn data fra 14 eiendommer i Texas, Oklahoma og Arkansas som gjennomførte utryddingsprogrammer ved hjelp av termisk skop i perioden 2023–2025. Eiendommene varierte i størrelse fra 800 til 5 200 acre, med ulike terrengtyper og utgangspunktsbestander av villsvin.
Alle operasjonene fulgte lignende protokoller:
Samlede resultater for alle 14 eiendommene:
Disse tallene viser en enorm forbedring sammenlignet med tradisjonelle metoder. Eiendommer som tidligere fjernet 40–80 villsvin årlig, fjernet nå 150–300 villsvin i tilsvarende tidsrom. Enda viktigere var det at de opplevde en reell nedgang i bestanden, noe som gjenspeilet seg i reduserte skader på åkrene og færre observasjoner av villsvin under rutinemessige inspeksjoner av eiendommene.
Ikke alle varmesikter presterte like godt. Vi kartla hvilke tekniske spesifikasjoner som ga bedre resultater i felten. Oppløsningen gjorde den største forskjellen – operatører som brukte 640×512-sensorer, presterte gjennomgående bedre enn de som brukte 384×288-enheter, både når det gjaldt oppdagelsesfrekvens og etisk skuddplassering på avstand.
Spesifikasjonene for deteksjonsrekkevidde viste seg å være mindre pålitelige enn det produsentene hevdet. Den oppgitte deteksjonsrekkevidden på 1 800 yard betydde “at det oppdages et varmesignal”, ikke “at det identifiseres som et villsvin som er egnet for jakt”. Den praktiske identifikasjonsrekkevidden for etiske skudd lå på maksimalt rundt 250–350 yard, selv med optikk av høyeste kvalitet.
Funksjoner som har ført til målbare forbedringer i resultatene:
Operatører som bruker utstyr som Pegasus 2 LRF Med innebygd avstandsmåler ble det rapportert 25% høyere treffprosent ved første skudd sammenlignet med kikkerter som krever separate avstandsmålerverktøy. Dette førte direkte til høyere andel elimineringer, ettersom bomskudd ved første skudd spredte skuddgruppene før oppfølgingsskytingen.
Vi kartla tre hovedtaktikker for termisk jakt blant de deltakende operasjonene: skyting fra patruljebiler, «spot-and-stalk»-metoder og stasjonær observasjon fra høytliggende posisjoner. Hver av disse hadde ulike suksessrater og anvendelsesområder.
Kjøretøybaserte operasjoner ga de høyeste totale tallene. Jaktlederne kjørte sakte (5–15 mph) langs åkerkanter og adkomstveier mens de speidet med termiske monokularer eller håndholdte enheter. Når de oppdaget villsvin, nærmet de seg innenfor 75–150 yards med kjøretøy, for deretter å skyte fra stabile posisjoner ved hjelp av kjøretøystøtter eller skytestokker. Denne metoden resulterte i gjennomsnittlig 8–12 villsvin per vellykket natt.
Metoder for å oppdage og forfølge byttedyr fungerte bedre for forsiktige flokker eller områder under press. Operatørene oppdaget villsvin på avstand og snek seg deretter til skuddavstand til fots ved å utnytte terrengforholdene og vindretningen. Denne metoden tok lengre tid per oppdrag, men oppnådde en eliminasjonsrate på 92% når operatørene nådde skuddposisjonene – den høyeste av alle taktiske tilnærminger.
Stasjonær observasjon Fra tårn eller forhøyede utsiktsplattformer viste seg å være minst effektivt. Selv om dette var komfortabelt og ga mulighet for lange observasjonsperioder, førte villsvinets uforutsigbare bevegelsesmønstre til at operatørene brukte mye tid på å observere tomme åkrer. Denne metoden resulterte i gjennomsnitt i bare 2–4 villsvin per natt på eiendommene der den ble testet.
Vindretningen hadde større betydning enn forventet. Hogs’ eksepsjonelle luktesans oppfanget menneskelig lukt på over 200 yards under gunstige vindforhold. Operasjoner der man nøye sjekket vindforholdene og nærmet seg fra posisjoner i medvind, oppnådde i gjennomsnitt 40% høyere eliminasjonsrater for ekkolodd enn de som ikke tok hensyn til vindforholdene.
Termiske sikter innebærer en betydelig startinvestering – kvalitetsenheter koster mellom $2 500 og $6 000 for systemer som monteres på rifler. Vi har beregnet den faktiske avkastningen på investeringen for landbruksvirksomheter basert på forhindrede avlingsskader og reduserte infrastrukturkostnader.
En gård på 1 200 acre i Oklahoma, som driver med høyproduksjon og kvegoppdrett, har kartlagt sine kostnader og besparelser:
Startinvestering:
Dokumenterte besparelser:
Operasjonen tjente inn hele investeringen i det termiske siktet på under tre måneders bruk. De forventede besparelsene over en femårsperiode ville overstige $120 000 dersom skadereduksjonsraten holdt seg stabil. Selv når man tar hensyn til vedlikeholdskostnader for utstyret og ammunisjonskostnader, var avkastningen på investeringen betydelig høyere enn ved alternative bekjempelsesmetoder, herunder felling eller kommersiell helikopterdrift.
Kommersielle viltforvaltere som bruker termiske kikkerter, rapporterte om enda bedre økonomi. Effektiviteten deres økte med 300–400%, noe som gjorde det mulig for én enkelt operatør å forvalte områder som tidligere krevde flere jegere med konvensjonelt utstyr.
Effektiviteten til varmesøkerne varierte fra årstid til årstid, men ikke så markant som vi opprinnelig hadde forventet. Under sommeroperasjoner oppstod det utfordringer når omgivelsestemperaturen nærmet seg kroppsvarmen til villsvin, noe som reduserte den termiske kontrasten. Operatørene kompenserte for dette ved å jakte i de kjøligere timene etter midnatt, når temperaturforskjellene ble større.
Vinteren ga optimale lysforhold med maksimal kontrast mellom svinene og bakgrunnen. Kortere netter og redusert aktivitet hos svinene under ekstreme kuldeperioder begrenset imidlertid mulighetene. Anlegg i sørlige klimaer opprettholdt driften hele året, mens anlegg i nord opplevde 40-50% redusert aktivitet om vinteren.
Vårens plantesesong ga de høyeste utbytteprosentene for landbruksbedriftene. Svinene samlet seg på nyplantede åkrer, noe som gjorde dem forutsigbare og tilgjengelige. Bedriftene konsentrerte innsatsen med varmesynskameraer i løpet av et 6–8 ukers vindu om våren og fjernet 60–70% av det årlige totalvolumet i løpet av disse konsentrerte periodene.
Sommervarmen gjorde det nødvendig å tilpasse utstyret. Batterilevetiden ble kortere ved høye temperaturer – operatørene hadde med seg 2–3 sett med reservebatterier, mot ett sett ved moderate værforhold. Noen termiske kikkerter opplevde redusert ytelse ved omgivelsestemperaturer over 95°F, mens enheter i premiumklassen opprettholdt funksjonaliteten i alle testede temperaturområder.
Varmesikter er ikke noen mirakelkur. Vi dokumenterte flere begrensninger og utfordringer som påvirket resultatene i praksis. Identifisering av mål på store avstander var fortsatt problematisk – varmesignaturer viser varme, ikke detaljer. Operatørene måtte komme nærmere enn det deteksjonsområdet tilsa for å bekrefte at målene var villsvin og ikke hjort, storfe eller andre dyr.
Tett vegetasjon reduserte effektiviteten betydelig. Mens termisk avbildning trenger bedre gjennom lett kratt enn nattvisjon, blokkerte tett skogtak eller tett undervegetasjon varmesignaturene fullstendig. Områder med 40%+ skogdekke oppnådde 35–50% lavere uttak av villsvin enn områder med åpent terreng, selv ved bruk av identisk utstyr og taktikk.
Lovmessige begrensninger satte en stopper for bruken i enkelte delstater. Mens de fleste sørlige delstatene tillater nattjakt på villsvin med termisk optikk på privat eiendom, innfører flere jurisdiksjoner restriksjoner på bruken av denne teknologien eller krever spesielle tillatelser. Georgia tillater for eksempel nattjakt på villsvin, men med spesifikke lovbestemte begrensninger på hvilke typer optikk som kan brukes, avhengig av fylkesbestemmelsene.
Været påvirket driften mer enn forventet. Kraftig regn, tett tåke og høy luftfuktighet reduserte deteksjonsrekkevidden med 30–40%. Operatører i kystregioner eller områder med mye nedbør hadde i gjennomsnitt færre produktive netter per måned sammenlignet med tørrere områder i innlandet. Vindhastigheter over 20 mph førte til nok bevegelse i vegetasjonen til å skape falske signaler og komplisere identifiseringen av mål.
Dataene fra vår casestudie viser at termiske kikkerter har forvandlet utryddelsen av villsvin fra en frustrerende og håpløs kamp til et håndterbart program. En suksessrate på over 85% for eliminering av flokker utgjør en enorm forbedring sammenlignet med tradisjonelle metoder, som knapt klarte å nå 40%.
Tallene taler for seg selv: Gårder som benytter systematiske termiske overvåkingsprogrammer, reduserte svinebestanden med 70–90% allerede i løpet av de første sesongene. Skadene på avlingene gikk ned tilsvarende, og de dokumenterte besparelsene oversteg ofte $20 000–$40 000 årlig på mellomstore landbruksbedrifter. Avkastningen på investeringen det første året var i gjennomsnitt 300–500%, basert utelukkende på forhindrede skader.
Men saken er denne: Varmesikter er ikke magi. De er verktøy som krever ferdigheter, planlegging og konsekvent bruk. De mest vellykkede operasjonene vi studerte, betraktet utryddingen av villsvin som en kontinuerlig del av viltforvaltningen, snarere enn sporadiske jaktturer. De førte detaljerte registre, fulgte opp resultatene og forbedret taktikkene kontinuerlig ut fra hva som fungerte.
For grunneiere som sliter med alvorlige villsvinproblemer, taler tallene for å investere i termisk kikkert. Når man ser på årlige skader på mellom $10 000 og $50 000, er det ikke noen risiko å bruke $4 000–$6 000 på utstyr som kan redusere skadene med 70%+—det er smart forretningsdrift. Teknologien fungerer. Resultatene beviser det.
Hvilken treffprosent kan jeg realistisk sett forvente ved bruk av varmesøkende kikkerter til villsvinbekjempelse?
Basert på dataene fra vår casestudie oppnådde opplærte operatører som brukte termisk utstyr av høy kvalitet (oppløsning på 640×512 eller bedre) en gjennomsnittlig eliminasjonsrate på 85% når de tok for seg hele grupper. Eiendommer som implementerte systematiske programmer fjernet 150–300 villsvin i løpet av det første året, noe som tilsvarer en reduksjon i bestanden på 60–80% på de fleste eiendommene. Individuelle resultater varierer avhengig av terreng, tetthet i villsvinbestanden og operatørens ferdighetsnivå. Det er vanlig å oppleve en læringskurve de første 3–5 utfluktene mens du utvikler effektive taktikker for akkurat din eiendom.
Hvor mye koster et komplett oppsett med termisk kikkert til utrydding av villsvin?
Kvalitets termiske riflesikter egnet for villsvinjakt koster mellom $2 500 og $6 000. Et komplett sett som inkluderer kikkertsiktet, et passende monteringssystem, et håndholdt termisk monokulær for skanning, skytepinner eller tobeinstativ, reservebatterier og ammunisjon koster mellom $4 000 og $8 000, avhengig av valg av utstyr. Utstyr i mellomklassen på rundt $4 500–$5 500 gir utmerkede resultater for de fleste landbruksvirksomheter. Basert på forhindret avlingsskade oppnås vanligvis avkastning på investeringen innen 3–6 måneder på eiendommer med aktive villsvinproblemer.
Kan termiske kikkerter oppdage villsvin gjennom tett skog og tett kratt?
Varmebildekameraer trenger bedre gjennom lett kratt og vegetasjon enn nattkikkerter, men tett skogtak og tett undervegetasjon reduserer effektiviteten betydelig. Våre casestudier viste at områder med 40% eller mer skogdekke hadde 35–50% lavere uttak av villsvin sammenlignet med områder i åpent terreng. Termisk bildebehandling fungerer best på jordbruksmark, beiteområder, ryddede områder og i lett vegetasjon. Tette skoger krever andre taktikker, blant annet overvåking av stier i overgangssoner mellom tett vegetasjon og åpne fôringsområder.
Hva er forskjellen mellom termiske kikkerter med oppløsning på 384×288 og 640×512?
Oppløsningen har direkte innvirkning på din evne til å identifisere mål på avstand og avfyre etiske skudd. I våre feltforsøk oppnådde brukere med en oppløsning på 640×512 i gjennomsnitt 30% høyere nedleggingsrate enn de som brukte enheter med 384×288. Den høyere oppløsningen gir klarere målidentifisering på 200–300 yards, noe som reduserer risikoen for feilidentifisering og forbedrer treffprosenten ved første skudd. For seriøse villsvinutryddingsprogrammer er 640×512 den anbefalte minimumsoppløsningen. Rimeligere modeller med 384×288 fungerer, men begrenser den effektive rekkevidden og mulighetene for målidentifisering.
Er det lovlig å bruke termiske kikkerter ved nattjakt på villsvin i min delstat?
De fleste sørstatene, inkludert Texas, Oklahoma, Arkansas, Louisiana, Mississippi, Alabama og Florida, tillater bruk av varmesynskikkert til nattjakt på villsvin på privat eiendom uten begrensninger, siden villsvin er klassifisert som invasive skadedyr. Georgia tillater nattjakt på villsvin, men med visse begrensninger på fylkesnivå. Flere nordlige delstater har restriksjoner på nattjakt uavhengig av utstyrstype. Sjekk alltid gjeldende regelverk hos delstatens viltforvaltningsmyndighet før du kjøper utstyr eller gjennomfører nattlige operasjoner. Lovene endres ofte etter hvert som termisk teknologi blir mer utbredt.
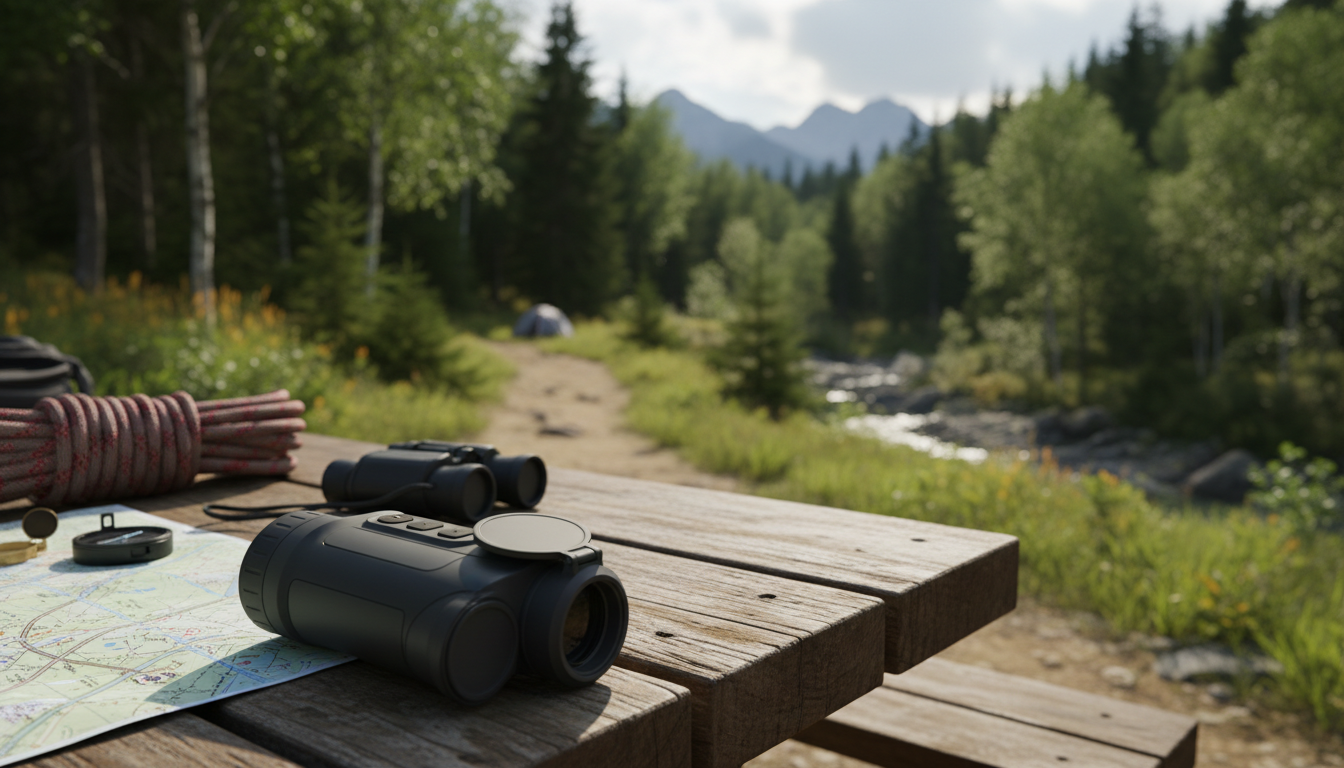
Most people think thermal monoculars are just for hunters tracking game in the dark. But here’s the thing—these devices have dozens of practical applications that can make your life easier, safer, and more cost-effective. Whether you’re spotting water leaks in your home or checking on livestock at night, thermal imaging opens up possibilities that go way beyond the woods.
We’ll walk you through seven practical uses that show just how versatile these handheld devices really are. And if you’re curious about how thermal imaging actually works, thermal monoculars detect infrared radiation—basically heat—and convert it into visible images that your eyes can see.
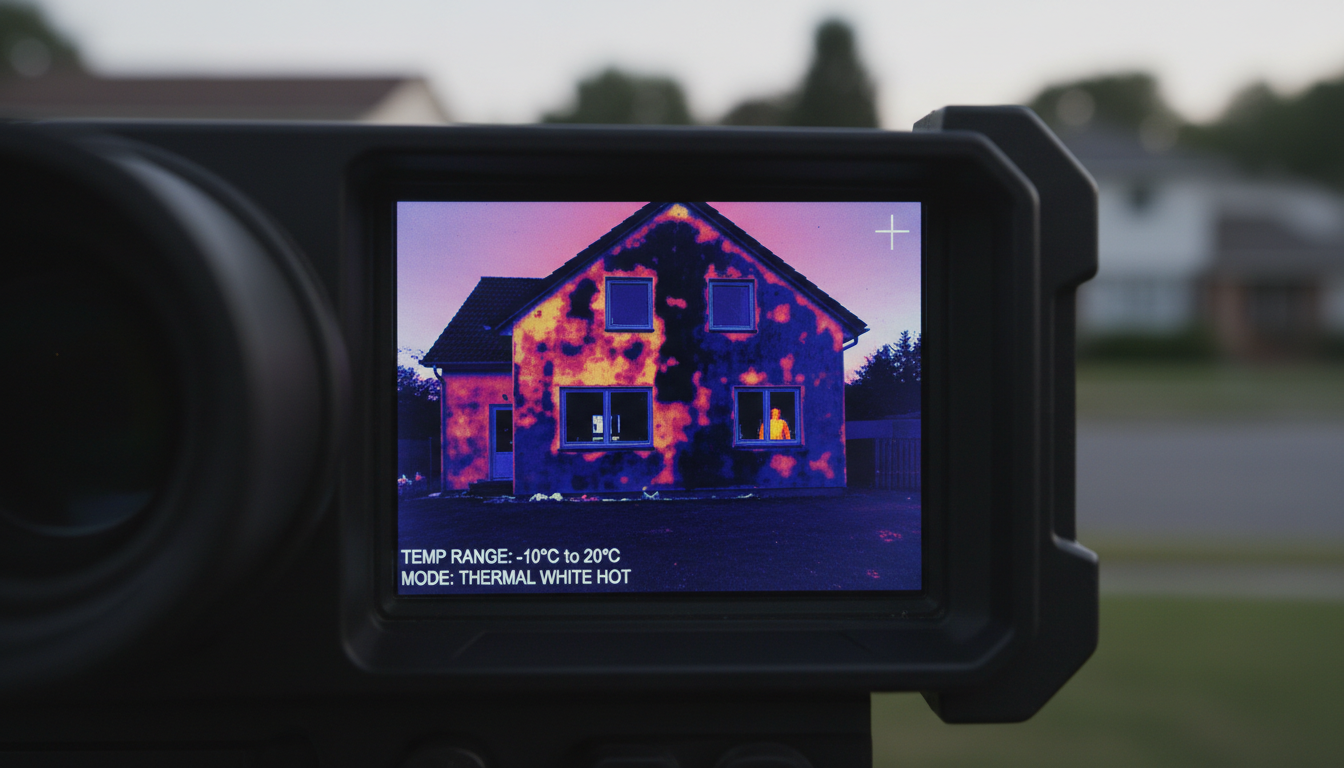
Your heating bill’s high, but you don’t know where the warmth’s escaping. A thermal monocular solves that problem in minutes.
Walk around your house with a thermal device and you’ll instantly see cold spots where insulation’s missing or deteriorating. Windows and doors that aren’t properly sealed show up as temperature differences on the display. You can check wall cavities for gaps without tearing anything apart.
This works year-round, too. In summer, you’ll spot where cool air’s leaking out and hot air’s getting in. One homeowner saved over $400 annually after finding and fixing insulation gaps they discovered with thermal imaging. The device pays for itself after just a few years of reduced energy costs.
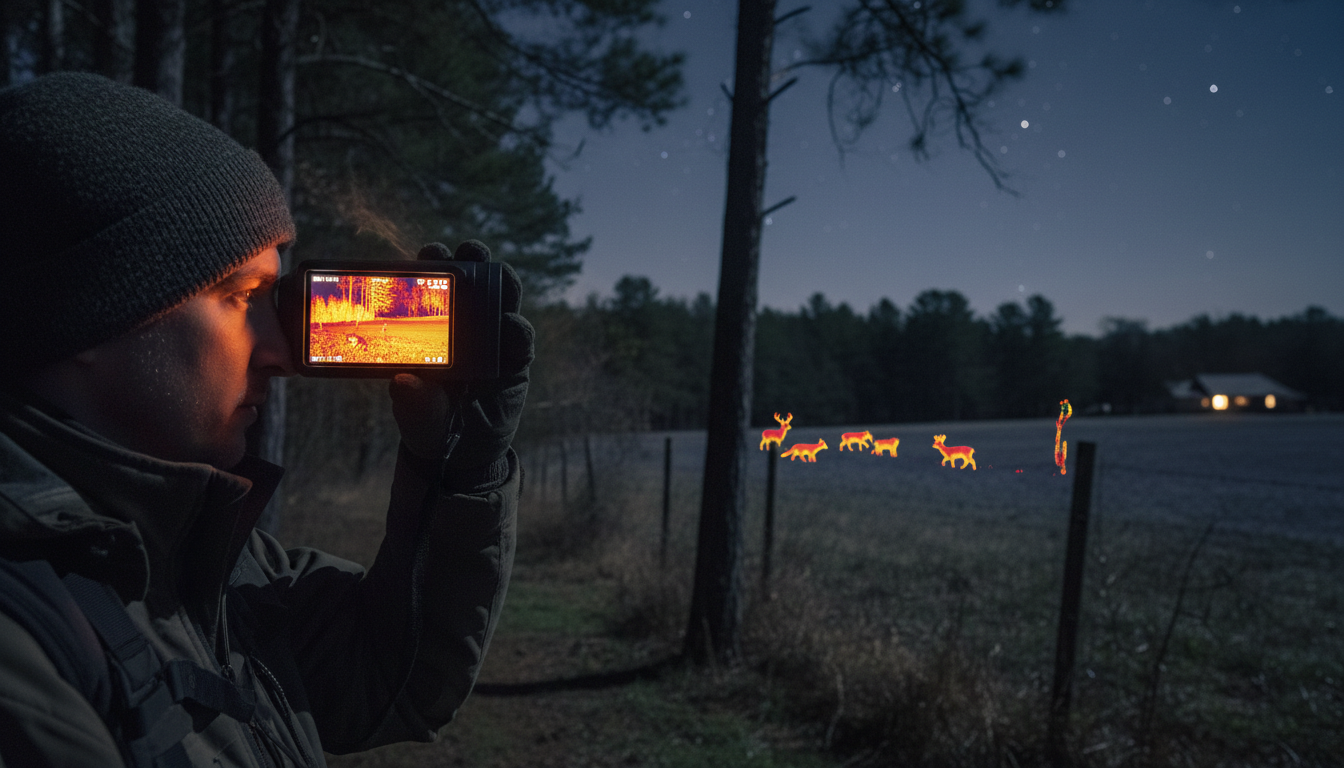
Nothing beats thermal imaging for keeping an eye on your property after dark. Traditional security cameras struggle in low light, but thermal monoculars work perfectly in total darkness.
You can scan your land without alerting anyone with visible lights. Heat signatures from people or animals stand out clearly against cooler backgrounds, so you’ll spot trespassers, wildlife near your home, or anything unusual happening on your property. We’ve found that models like the Pixfra Sirius HD eller Pegasus 2 LRF offer excellent detection ranges for property monitoring.
Many property owners use thermal monoculars to check fence lines, outbuildings, and perimeters without walking the entire area. You can cover large spaces quickly from a single vantage point, making rounds faster and safer.
Whether you’re buying a house or renovating your current one, thermal monoculars reveal hidden problems before they become expensive disasters.
Water leaks behind walls show up as temperature anomalies. Electrical circuits that are overheating—a fire hazard—appear as hot spots. Moisture trapped in walls, which leads to mold, creates distinct thermal patterns. Professional home inspectors use thermal imaging regularly, but you don’t need to hire one for every check-up.
Thermal devices also help locate studs in walls without drilling test holes. They can identify poorly sealed ducts, roof leaks, and foundation issues. One contractor we know uses thermal imaging on every job site to verify insulation installation before closing up walls. It’s caught mistakes that would’ve cost thousands to fix later.
You can watch nocturnal animals without disturbing their natural behavior. Thermal monoculars let you observe wildlife that’s active when you’d normally be asleep—or just too dark to see anything.
Bats, foxes, raccoons, and other nocturnal creatures show up clearly on thermal displays. Researchers use this technology to study animal behavior, population counts, and movement patterns without interfering with the animals or their habitat. It’s also great for birdwatchers tracking owls or other night-active species.
If you’re into wildlife photography or nature documentation, thermal monoculars help you find subjects first, then switch to your camera once you’ve located them. The Pixfra Arc LRF offers excellent range for wildlife observation while remaining lightweight enough for extended field use.
When someone’s lost or injured, every minute counts. Thermal imaging dramatically improves search and rescue success rates by detecting body heat from distances that would be impossible with flashlights or night vision.
Search teams can scan large areas quickly, even through light brush or in complete darkness. A person’s heat signature stands out clearly against cooler surroundings, making them visible when they’d be invisible to the naked eye. This works in forests, mountains, urban areas—anywhere someone might need help.
Emergency responders use thermal monoculars to locate people trapped in collapsed buildings, lost hikers in wilderness areas, or individuals in smoke-filled environments. The technology’s saved countless lives by reducing search times from hours to minutes in many cases.
Farmers and ranchers have dozens of uses for thermal monoculars that save time and prevent losses.
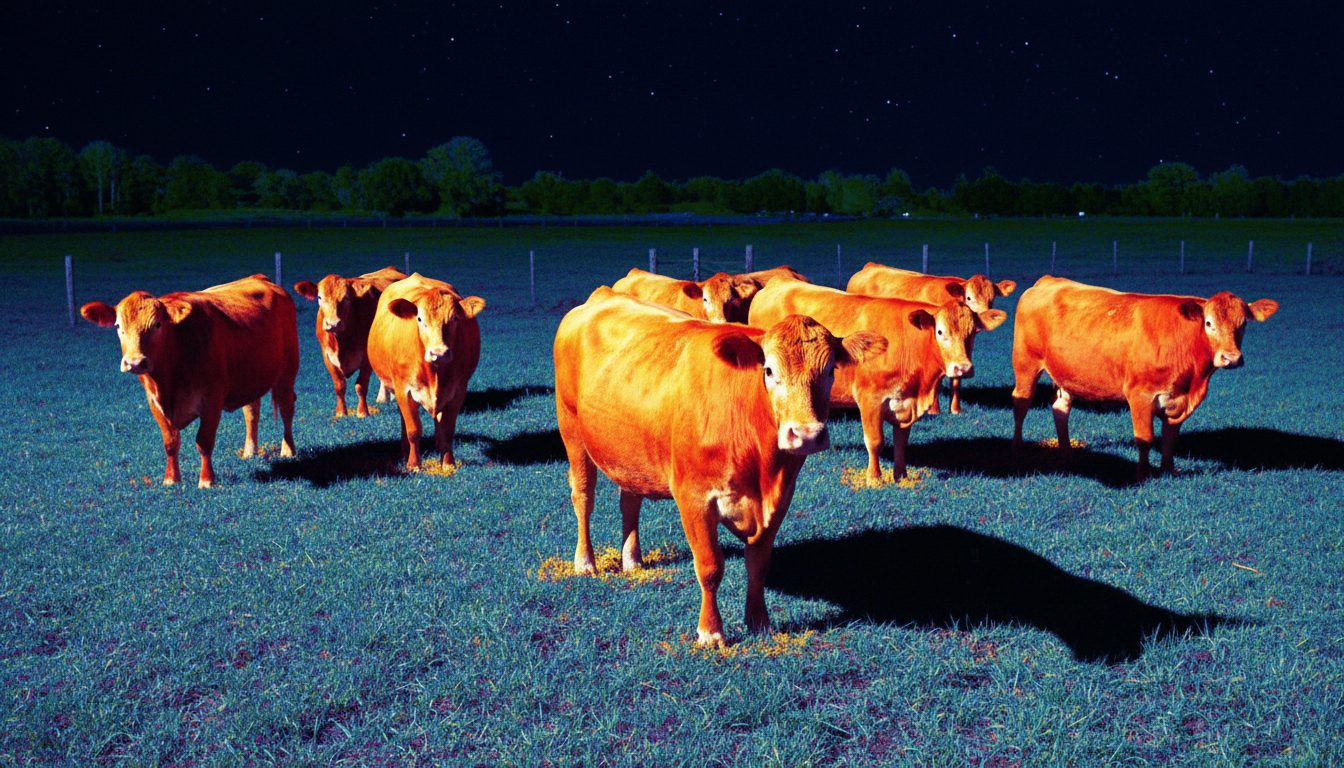
Check on animals at night without disturbing the herd. Spot a cow that’s separated from the group or lying down when she shouldn’t be. Identify sick animals by detecting fever—elevated body temperature shows up instantly on thermal displays. You can cover large pastures quickly without driving out to every corner of your property.
Thermal imaging also helps with predator control. Coyotes, feral hogs, or other animals threatening livestock show up clearly, even from long distances. Some ranchers use thermal monoculars during calving season to check pregnant cows overnight without spooking them with lights or vehicle noise. The Pixfra Draco provides solid performance for farm applications at a reasonable price point.
Firefighters rely on thermal imaging to save lives and make safer decisions in dangerous situations. But the technology’s also useful for fire prevention and early detection.
Forest management personnel use thermal monoculars to spot fires early—sometimes detecting them before smoke’s even visible. Hot spots that might reignite after a fire’s been controlled show up clearly. You can scan large areas quickly to confirm a fire’s completely out.
In active firefighting situations, thermal devices help locate people trapped in smoke-filled buildings without entering dangerous areas. They identify the hottest parts of a structure, helping crews target their efforts more effectively. The technology works through smoke and darkness, two conditions that would blind regular vision completely.
Some rural property owners keep thermal monoculars specifically for wildfire awareness during dry seasons. Being able to spot a fire from a distance gives you critical extra minutes to evacuate or call emergency services.
Thermal monoculars offer way more value than just spotting game in the woods. From saving money on energy bills to potentially saving lives in emergency situations, these devices prove their worth across dozens of applications. Whether you’re a homeowner looking to cut heating costs, a farmer checking livestock, or someone who values property security, thermal imaging technology delivers practical benefits you’ll use regularly.
The versatility’s what really stands out. One device handles home inspections, wildlife observation, security monitoring, and more. As thermal technology becomes more affordable and accessible, we’re seeing more people discover just how useful these tools are in everyday life. If you’ve been thinking thermal monoculars are only for hunters, we hope these seven uses have shown you otherwise.
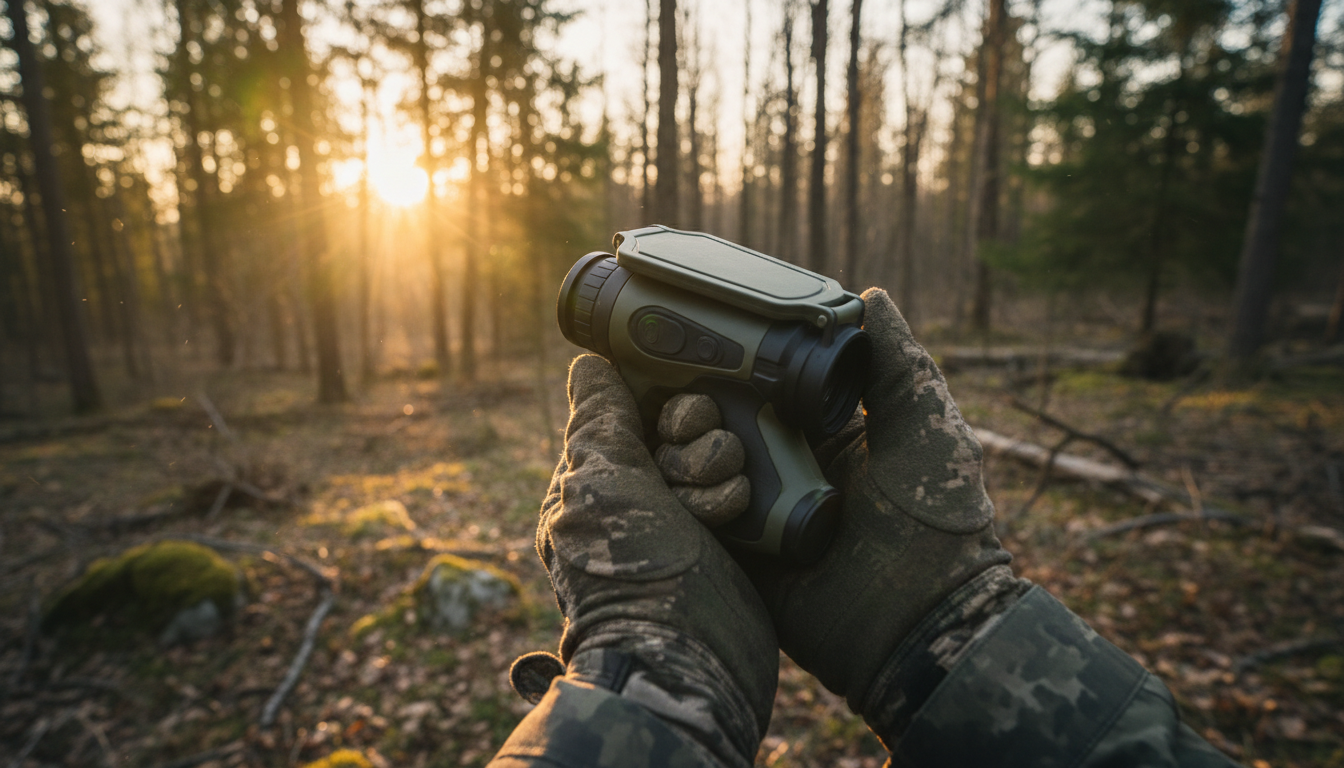
Your thermal monocular is more than just a piece of gear—it’s a serious investment in your outdoor adventures. Whether you’re scanning for game before dawn, tracking heat signatures through fog, or keeping watch in complete darkness, you need that device working flawlessly when it counts. But here’s the thing: thermal imaging tech isn’t indestructible. Dust, moisture, temperature swings, and rough handling can quietly degrade performance until you’re left squinting at blurry images right when you need clarity most.
We’ve put together this guide to help you protect your investment and maximize your thermal monocular’s lifespan. From lens cleaning techniques that won’t scratch coatings to battery habits that prevent field failures, we’ll walk you through the maintenance routines that actually make a difference. Most of these practices take just minutes but can add years to your device’s service life. Let’s get into it.
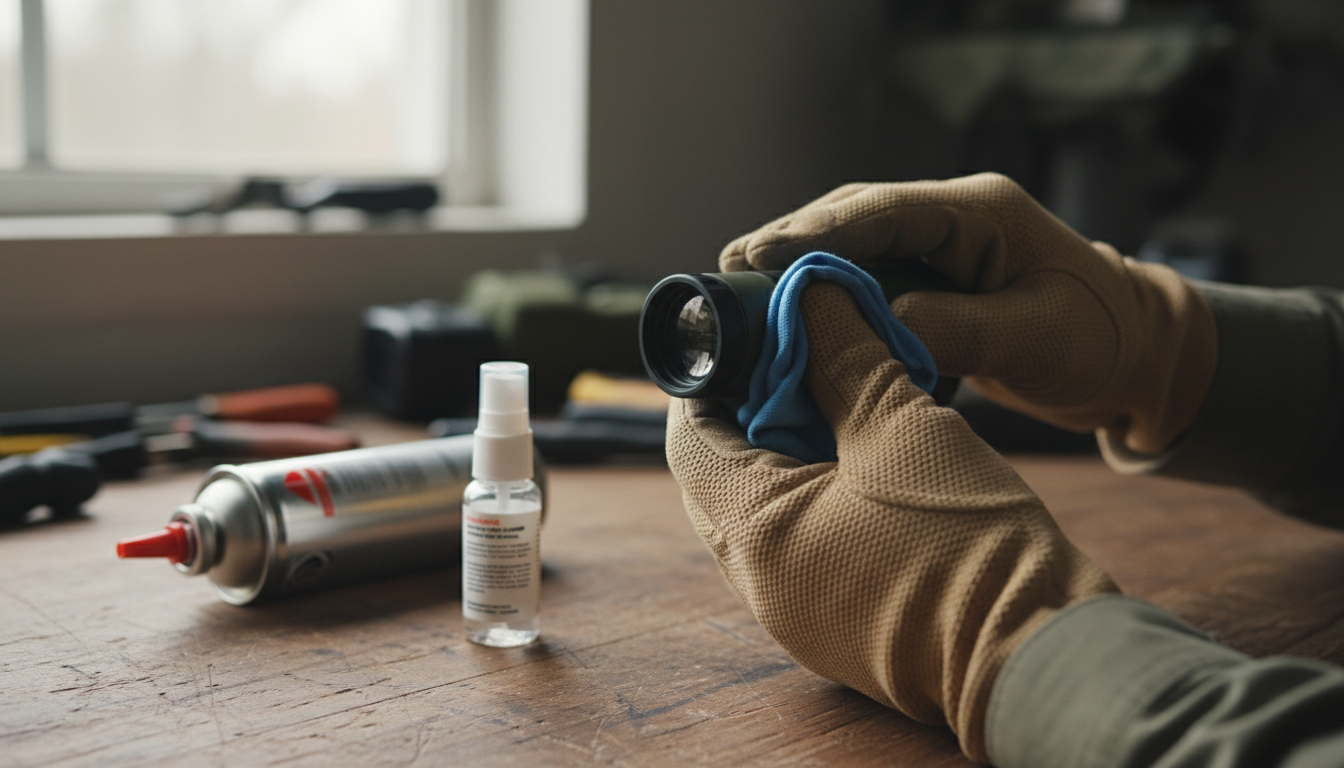
Your lens is the gateway to clear thermal images, and it’s also the most vulnerable part of your monocular. One wrong move with the wrong cloth and you’ve got permanent scratches on expensive optics.
Start by removing loose dust before you touch the lens surface. Use a soft air brush or compressed air to blow away particles—this prevents you from dragging grit across the glass when you wipe. Never use your shirt, paper towels, or anything rough. Those materials act like sandpaper on specialized coatings.
For actual cleaning, reach for a microfiber cloth designed for optics. If you’ve got stubborn smudges or fingerprints, add a small amount of lens cleaning solution specifically made for optical surfaces. Skip household glass cleaners—they contain chemicals that damage the anti-reflective coatings on thermal lenses. Apply the cleaner to your cloth, not directly to the lens, then wipe gently from the center outward using a rolling motion.
If you’re dealing with mud or heavy debris, rinse the lens with water first before wiping. This simple step prevents scratching when you clean. And always keep your lens caps on when the monocular isn’t actively in use. It sounds basic, but lens caps are your first line of defense against scratches, dust, and accidental impacts. Check out our Sirius HD and Pegasus 2 LRF models—both feature durable lens protection systems designed for field use.
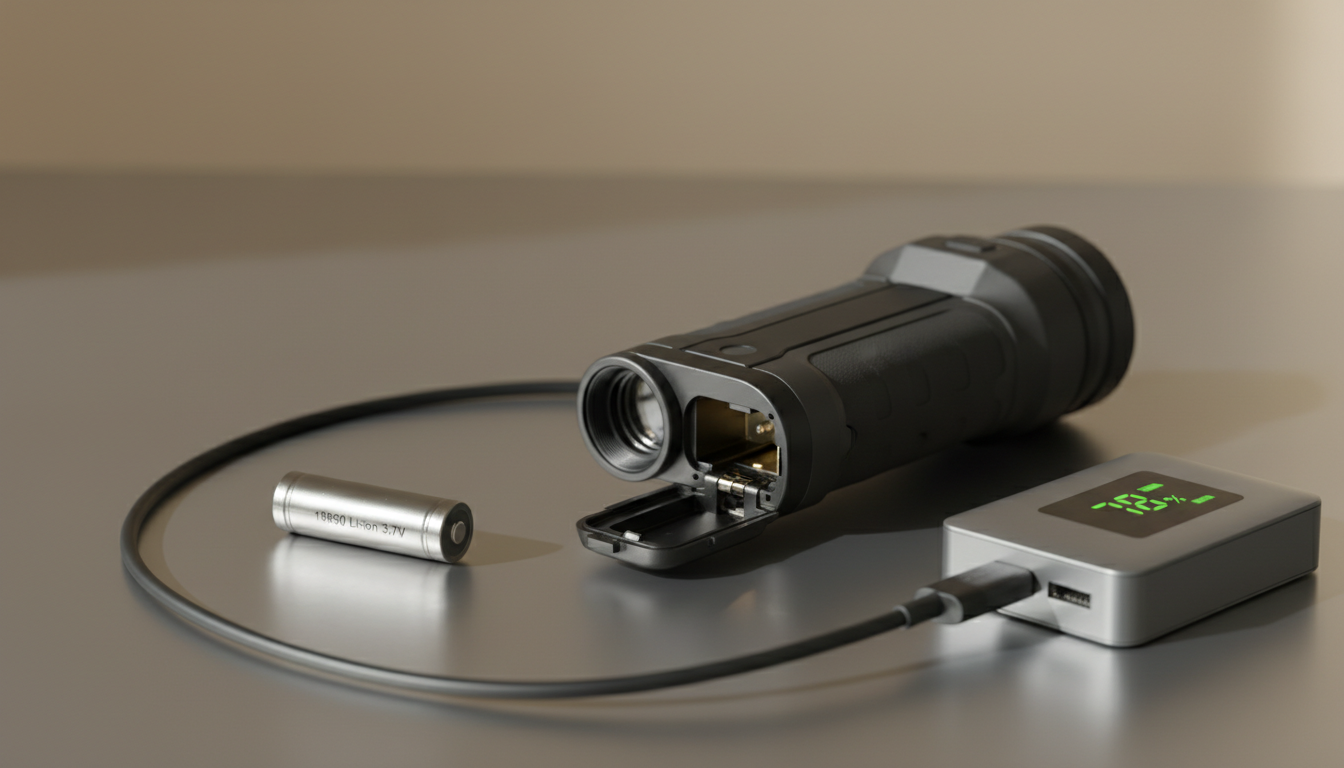
Battery issues will end your hunt faster than anything else. Dead power means dead device, no matter how good your thermal sensor is.
Most thermal monoculars run on rechargeable lithium-ion batteries. These batteries perform best when you follow a few simple habits. First, use only the charger that came with your device or one specified by the manufacturer. Generic chargers might work, but they can degrade battery health over time or even create safety risks.
Don’t let your battery drain completely if you can avoid it. Deep discharges shorten lifespan. Instead, try to keep your charge between 50-80% for everyday storage. If you’re storing your monocular for months during off-season, charge the battery to about 50% before putting it away. This preserves battery chemistry better than storing it fully charged or fully drained.
Temperature matters more than you might think. Never charge your battery when it’s freezing cold—below 32°F can damage cells permanently. Similarly, avoid leaving your monocular in hot vehicles or direct sunlight for extended periods. Heat accelerates battery degradation and can affect calibration of the thermal sensor itself.
Remove batteries if you’re storing the device for several months. This prevents potential leakage that could corrode internal electronics. Store those batteries separately in a cool, dry place, and check them periodically to make sure they’re holding their charge.
How you store your thermal monocular between uses directly impacts its longevity. Temperature and humidity are your biggest concerns here.
Find a cool, dry location away from direct sunlight. Extreme temperatures—whether hot or cold—can mess with sensitive electronics and throw off sensor calibration. High humidity creates condensation inside the device, which can short circuits or promote corrosion and mold growth on internal components.
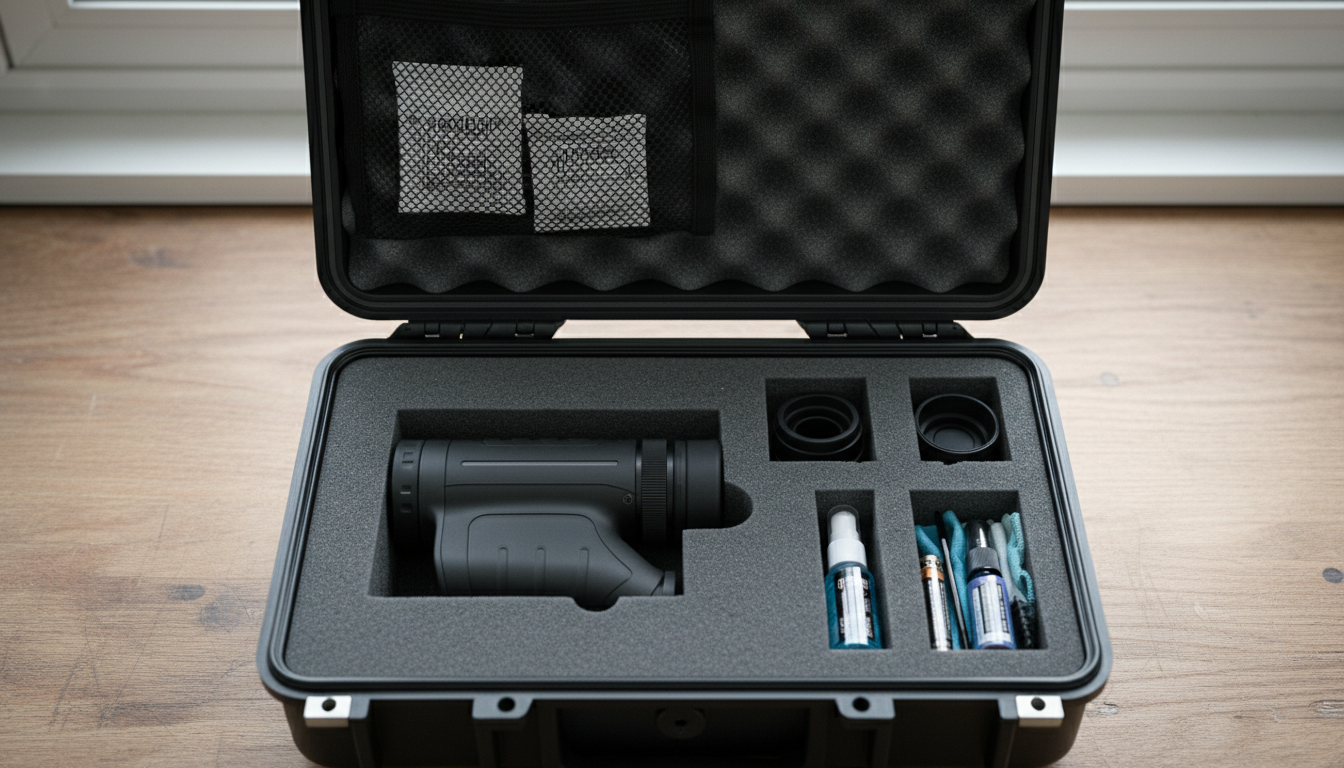
Consider adding silica gel packets to your storage case to absorb excess moisture. These inexpensive desiccant packs can prevent a lot of humidity-related problems. If you live in a particularly humid climate, you might even want to use a dehumidifier in your storage area.
Always use a protective case—preferably the original case with foam inserts, or a hard case with padding. This protects against accidental drops and impacts that could damage the lens or internal components. Your case should have separate compartments for accessories like cables, spare batteries, and cleaning tools. Keeping these items separate prevents scratches and pressure damage to the monocular body.
After using your device in wet conditions, dry it completely before storage. Inspect all seals and ports to make sure water hasn’t penetrated. Even if your monocular is rated for water resistance, it’s smart to keep it as dry as possible during storage to maintain those seals over time.
Software updates aren’t just about new features—they often include bug fixes, performance improvements, and better image processing algorithms. Manufacturers release firmware updates based on real-world testing and user feedback, and these updates can genuinely improve your device’s performance.
Check your manufacturer’s website every few months for firmware updates. The process usually involves connecting your monocular to a computer via USB and running the update software. Follow the instructions carefully and don’t disconnect during an update.
Calibration is equally important. Your thermal sensor needs periodic calibration to maintain image accuracy. Many modern thermal monoculars have automatic calibration features that run when needed, but some situations call for manual calibration. If you notice image quality degrading, temperature readings seeming off, or strange artifacts in your thermal view, run a calibration cycle.
Most devices include a calibration function in their menu system—it typically takes just seconds. The monocular will briefly shutter the sensor or perform an internal reference check to recalibrate the detector. This quick process can dramatically improve image clarity.
Before hunting season starts, perform a complete check at least a month ahead. Test battery health, update firmware, and run calibration to avoid surprises on opening morning. You don’t want to discover problems when you’re already in the field.
Thermal monoculars are built tough, but they’re still precision instruments. A few smart handling practices go a long way toward preventing damage.
Avoid sudden temperature changes when possible. If you’re moving from a warm vehicle into freezing outdoor temperatures, give your device a few minutes to acclimate gradually. Rapid temperature swings can affect sensor accuracy and create condensation inside the unit.
Keep your monocular away from magnetic interference and don’t subject it to physical shocks. Even though most models can handle typical field conditions, hard drops onto rocks or concrete can damage internal electronics or misalign optical components. Use the wrist strap that came with your device—it’s there for a reason.
If you get mud or debris on the exterior body, wipe it gently with a soft, slightly damp cloth. For stubborn dirt on the housing, you can use a bit of synthetic detergent, but keep moisture away from ports and seals. Never immerse your monocular in water unless it’s specifically rated for full submersion.
Transport your device in its protective case whenever you’re moving between locations. Whether you’re driving to your hunting spot or hiking through rough terrain, that padded case absorbs impacts that would otherwise reach your monocular.
Even with perfect maintenance, you might encounter occasional problems. Knowing how to troubleshoot can save you time and frustration.
Blurry or unclear images: First, clean the lens—fingerprints and dust are the usual culprits. If that doesn’t help, check your focus adjustment to make sure it’s set correctly for your viewing distance. Still blurry? The issue might be internal, requiring manufacturer service or recalibration.
Battery drains too fast: Replace old batteries with fresh ones. Lithium-ion batteries typically need replacement after 2-3 years of heavy use. Also check your settings—high brightness, maximum refresh rates, and features like Wi-Fi or video recording drain power quickly. Adjust these settings to balance performance with battery life.
Device won’t power on: Make sure the battery is charged and properly installed. Try a different battery if you have one. Check that battery contacts are clean and free of corrosion. If the device still won’t turn on, you’ll likely need professional service.
Image quality degraded over time: Run a calibration cycle. Thermal sensors can drift slightly over time, and recalibration often restores optimal performance. If calibration doesn’t help, consult your user manual or contact the manufacturer.
Quality thermal monoculars typically last 5-10 years with proper care. The microbolometer sensors are rated for thousands of operating hours. Your biggest longevity factors are protecting against hard impacts, keeping moisture out, and storing properly during off-season.
Think of maintenance as preventive medicine. A few minutes after each outing to clean your lens, check seals, and properly store your device will prevent problems that could cost hundreds to repair. Regular inspection catches wear early, before small issues become major failures.
Buy quality accessories that protect your gear. Invest in a good case, quality batteries, and proper cleaning supplies. These relatively small expenses protect a much larger investment. And when it comes time to upgrade, well-maintained gear holds its resale value significantly better than neglected equipment.
At Pixfra, we design our thermal imaging products—like the Draco and Arc LRF models—with durability in mind. But even the toughest gear benefits from smart maintenance practices. Treat your equipment right, and it’ll deliver reliable performance season after season.
Maintaining your thermal monocular isn’t complicated—it just takes consistency. Clean your lenses carefully with the right materials, manage your batteries properly, store in controlled conditions, keep firmware updated, and handle with reasonable care. These habits take minimal time but can literally add years to your device’s lifespan while maintaining peak performance.
Your thermal monocular gives you capabilities in the field that were military-only technology just a few years ago. Return the favor by giving it the basic care it needs. A few minutes of maintenance after each outing beats days without your gear while it’s off getting repaired—or worse, shopping for an expensive replacement.
Start building these habits now. Your future self, glassing heat signatures through pre-dawn darkness with crystal-clear optics, will thank you.
How often should I clean my thermal monocular lens? Clean your lens after each use, especially if you’ve been in dusty or dirty conditions. For light use in clean environments, a quick inspection and cleaning every few outings is fine. Always remove visible dust or fingerprints before your next outing to maintain optimal image quality. Use proper lens cleaning materials—never rough fabrics or household cleaners.
Can I use regular glass cleaner on my thermal monocular? No. Household glass cleaners contain chemicals that can damage the specialized anti-reflective coatings on thermal lenses. These coatings are what make your thermal imaging work properly, and damaging them can cause permanent image degradation. Always use lens cleaning solutions specifically designed for optical instruments, or plain isopropyl alcohol at 90%+ concentration applied to a microfiber cloth.
What’s the best temperature for storing my thermal monocular? Store your device in a cool, dry environment with stable temperatures between 50-70°F if possible. Avoid locations with extreme heat or cold, direct sunlight, or high humidity. If you’re storing for several months, keep the battery at around 50% charge and remove it from the device to prevent potential leakage. Temperature stability matters more than hitting an exact number.
Why does my thermal monocular battery seem to drain faster than it used to? Lithium-ion batteries naturally degrade over time, typically needing replacement after 2-3 years of regular use. Battery drain can also increase if you’re using high brightness settings, maximum refresh rates, or power-hungry features like Wi-Fi and video recording. Try lowering brightness, adjusting settings, and replacing the battery if it’s more than two years old.
How long should a quality thermal monocular last? With proper maintenance, quality thermal monoculars typically last 5-10 years or longer. The microbolometer sensors are rated for thousands of operating hours. The biggest factors affecting longevity are protection from physical impacts, keeping the device dry, proper storage during off-season, and basic maintenance like lens cleaning and battery care. Well-maintained devices often outlast their owners’ need for upgrades.
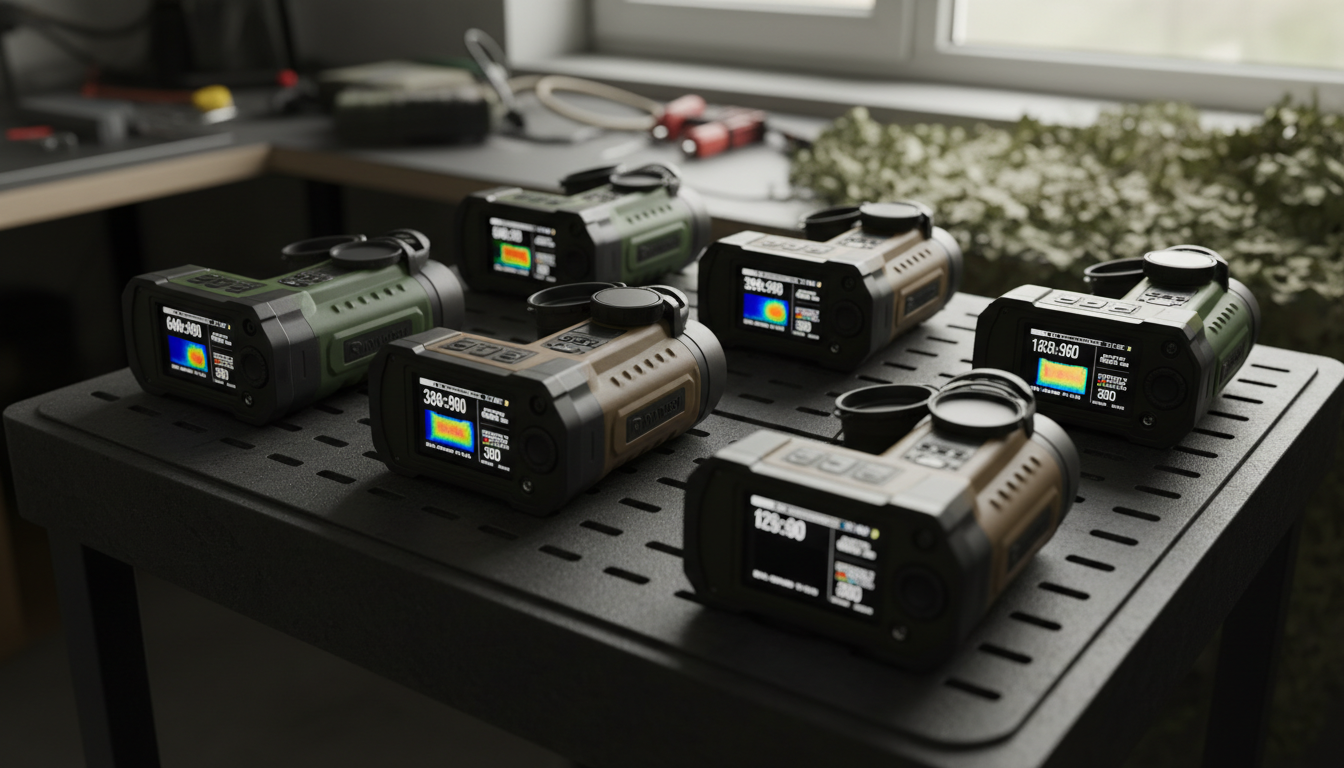
When you’re shopping for a thermal monocular, you’ll see specs like “640×480 resolution” and “50Hz refresh rate” plastered everywhere. But what do these numbers actually mean for your hunting trips or property scanning? And more importantly, which ones should you care about?
We’ve tested thermal devices in field conditions and talked to users who’ve spent thousands on gear. Here’s what you need to know about resolution and Hertz before making that investment.
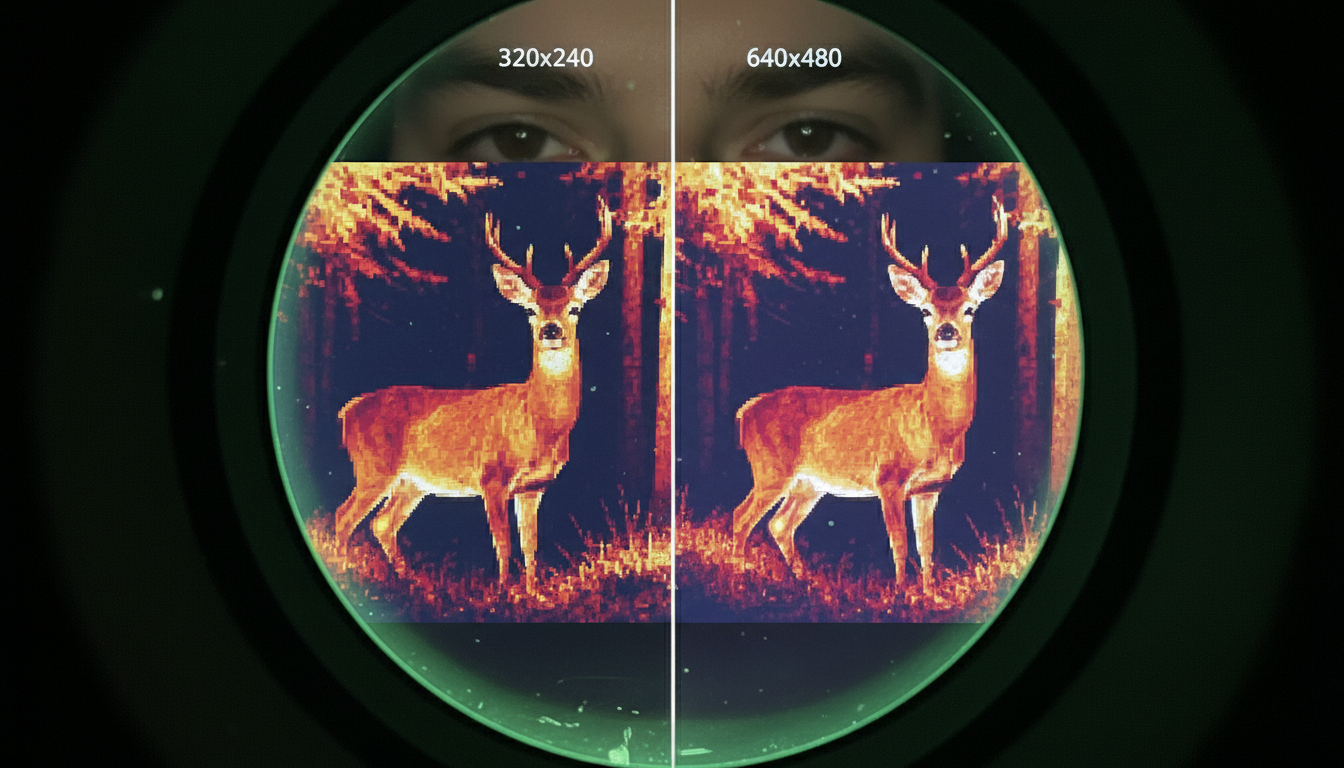
Here’s where it gets tricky. Your thermal monocular actually has two different resolutions, and manufacturers sometimes blur the line between them.
Den sensoroppløsning is what captures heat information. Think of it as the camera itself—common sizes are 256×192, 384×288, or 640×480 pixels. A 384×288 sensor has 110,592 individual pixels detecting temperature differences in front of you.
Den display resolution is the screen you look through. This number is often higher than the sensor resolution. You might see a monocular with a 384×288 sensor but a 1280×960 display. That doesn’t mean you’re getting more thermal information—it just means the display is upscaling what the sensor captures.
Your image quality is limited by the sensor, not the display. A high-resolution screen won’t fix a low-resolution sensor, but it can make the thermal image sharper and easier on your eyes during long scanning sessions.
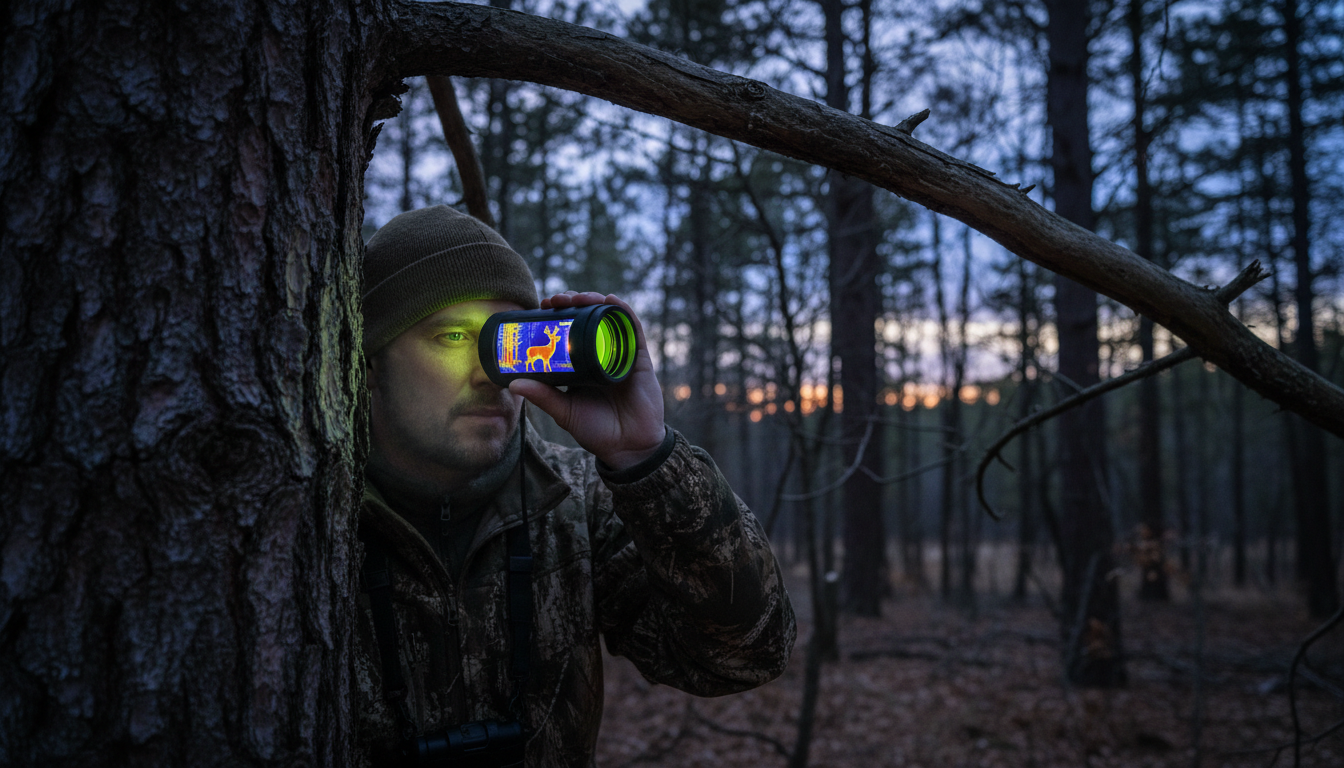
Budget devices with 256×192 sensors work fine for close-range scanning under 300 yards. We’ve used them on smaller properties where most activity happens within that range.
For properties over 100 acres, we recommend at least 384×288 resolution. This gives you clear recognition to 400-500 yards and handles most hunting scenarios. You’ll see enough detail to identify species and count animals.
If you’re scanning open terrain beyond 500 yards regularly, 640×480 resolution delivers better identification capability. Models like the Draco and Arc LRF from Pixfra offer reliable scanning at this level without jumping to premium pricing.
High-end 1280×1024 sensors provide exceptional detail even at full zoom, but they come with premium price tags. Unless you’re working at extreme distances or need professional-grade performance, you’ll get solid results from the mid-range options.
Hertz (Hz) tells you how many times per second your thermal monocular updates the image. A 30Hz device refreshes 30 times per second, while a 60Hz model does it twice as fast.
Standard thermal monoculars run at 30Hz or 50Hz. For most scanning work, 30Hz feels smooth enough. You can track moving deer, scan for hogs, and navigate terrain without noticeable lag.
Higher refresh rates like 50Hz or 60Hz provide smoother images when you’re moving fast or tracking quick targets. The difference becomes obvious when you’re panning across open fields or following running animals. Your eye picks up less blur and you can make faster identification decisions.
Low-end devices sometimes use 9Hz refresh rates to meet export regulations or cut costs. These create choppy images that make scanning frustrating. Movement appears stuttered, and you’ll struggle to track anything that’s not standing still.
Resolution and refresh rate affect different aspects of your thermal image. Resolution determines detail and clarity—how well you can identify what you’re seeing. Refresh rate affects smoothness and motion tracking—how well you follow moving targets.
A 384×288 sensor at 50Hz gives you decent detail with smooth motion tracking. That combination handles most hunting and property management tasks. You get clear thermal signatures without the choppy feel of low refresh rates.
A 640×480 sensor at 30Hz flips the priority. You see more detail in each frame but might notice slight motion blur when panning quickly. For stationary observation or methodical scanning, this works well.
The sweet spot for active scanning? Combine at least 384×288 resolution with 50Hz refresh. Products like the Sirius HD offer this balance, letting you cover ground quickly while maintaining image quality.
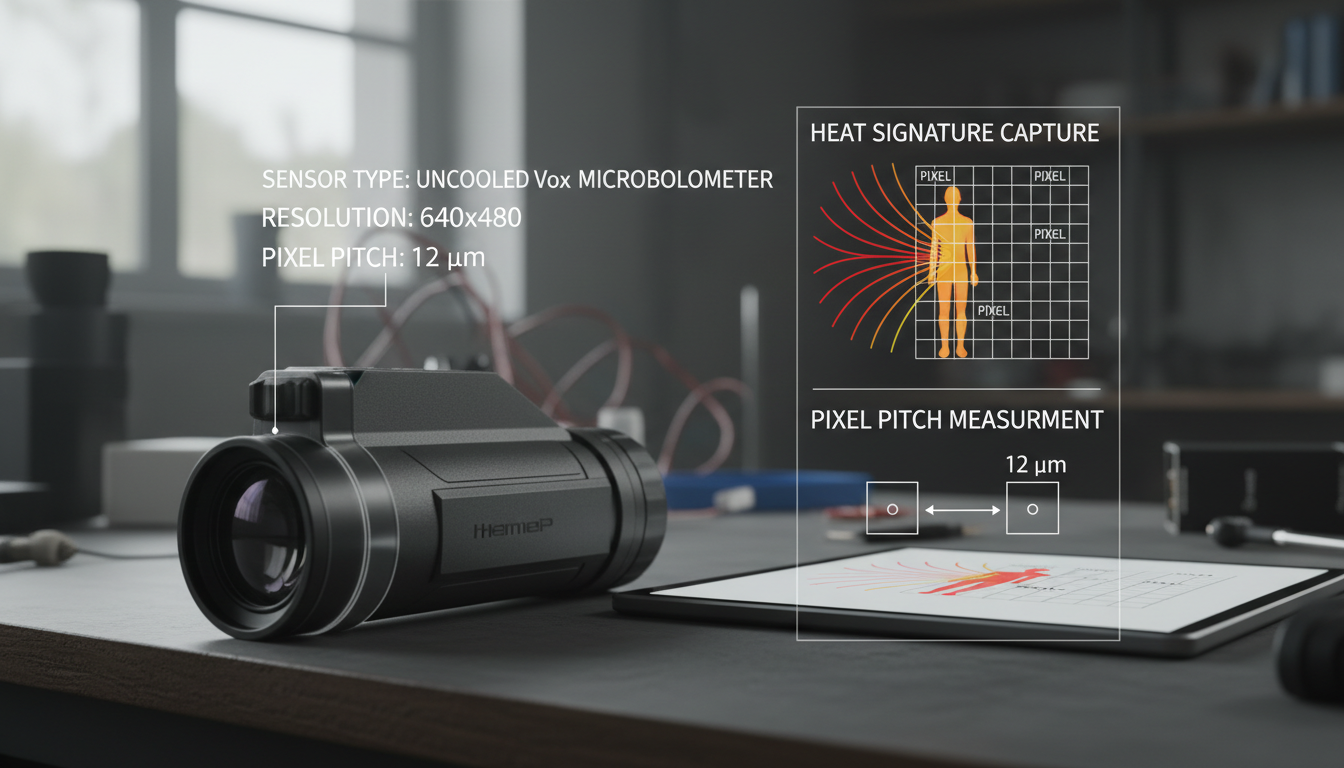
Pixel pitch measures the distance between sensor pixels, listed in micrometers (µm). You’ll typically see 12µm or 17µm ratings.
Smaller pixel pitch (12µm) packs pixels tighter together, creating sharper images at longer distances. This helps when you need to spot small targets far away. But here’s the catch—tighter spacing means each pixel collects less heat information per measurement.
Larger pixel pitch (17µm) captures more thermal data per pixel, which improves performance in challenging weather conditions like fog or rain. You’ll see better contrast when everything’s close to the same temperature.
If you hunt in varied conditions and different distances, 17µm with good thermal sensitivity often outperforms 12µm sensors. The extra thermal information helps more than the slight resolution advantage in real-world use.
256×192 (49,152 pixels): Entry-level units good for 200-300 yards. Works for small properties, close-range wildlife observation, and getting familiar with thermal technology. Budget-friendly but limited zoom capability.
384×288 (110,592 pixels): The middle ground that balances performance and cost. Handles medium-range scanning to 500 yards, provides useful digital zoom, and covers most hunting scenarios. Our Pegasus 2 LRF operates in this range.
640×480 (307,200 pixels): Professional-grade imaging with extended range beyond 800 yards. Three times the pixels of 256×192 means significantly better detail and comfortable digital zooming. Good for large properties and long-range identification.
1280×1024 (1,310,720 pixels): Premium territory with maximum detail even at full zoom. These sensors excel at extreme distances and challenging conditions, but cost reflects their capabilities.
The display type affects your viewing experience as much as pixel count. AMOLED displays provide brighter contrast, more vivid thermal color palettes, and faster response times than standard LCD screens.
Display resolution should match or exceed sensor resolution. A 640×480 sensor paired with a 1920×1080 display gives you sharp, easy-to-read thermal images. The extra display pixels help render overlay graphics like reticles, rangefinder readings, and menu systems clearly.
Higher display resolution also reduces eye strain during extended observation sessions. When you’re scanning for hours, a crisp display makes a real difference in comfort and effectiveness.
We’ve seen people spend thousands on 640×480 sensors with 60Hz refresh rates, then use them for tasks where a 384×288 at 30Hz would work fine. And we’ve seen hunters with budget units struggle because they genuinely needed more capability.
For property scanning under 300 yards, perimeter security, or learning whether thermal works for you, 256×192 at 30Hz handles the job. You’re not missing much by starting here.
Wildlife observation and hunting on properties up to 200 acres benefits from 384×288 resolution at 50Hz. This combination gives you enough detail to identify species and smooth enough motion to track movement patterns. Our IR Torch pairs well with devices in this range for situations requiring illumination alongside thermal detection.
Search and rescue, large property management, or serious hunting applications justify stepping up to 640×480 at 50Hz or higher. You’re covering more ground, working at greater distances, and need reliable performance in challenging conditions.
NETD (Noise Equivalent Temperature Difference) measures how small a temperature difference your sensor can detect. It’s expressed in millikelvins (mK). Lower numbers mean better performance.
A sensor with <25mK NETD sees smaller temperature variations than one rated at 40mK. This matters most in fog, humidity, or when everything’s close to the same temperature—like summer mornings when the ground and animals haven’t separated thermally yet.
NETD affects image quality differently than resolution. High resolution with poor NETD gives you detailed but low-contrast images where everything looks similar. Good NETD with moderate resolution provides clear thermal contrast, making targets pop against backgrounds.
Look for devices that balance both. A 384×288 sensor with <25mK NETD often outperforms a 640×480 sensor with 40mK NETD in real hunting conditions.
You’ll notice some thermal devices are limited to 9Hz refresh rates despite having high-resolution sensors. This relates to export regulations that restrict thermal technology.
Devices with 640×480 or higher resolution combined with refresh rates above 9Hz often face export restrictions. Manufacturers create 9Hz versions to comply with international regulations, making those models available in more markets.
For domestic use in hunting and property management, you want at least 30Hz if possible. The choppy 9Hz image makes tracking difficult and reduces your overall effectiveness. Spend your money on a 30Hz or higher device unless regulations in your area require otherwise.
Entry-level thermal monoculars ($800-$1,500) typically offer 256×192 resolution with 30Hz refresh rates. They work for close-range needs and help you figure out if thermal technology fits your activities.
Mid-range devices ($1,500-$3,500) step up to 384×288 or 640×480 resolution with 50Hz refresh rates. This tier delivers the best value for serious use. You get professional-grade performance without extreme pricing.
Premium monoculars ($3,500+) feature 640×480 or higher resolution, 50-60Hz refresh, integrated laser rangefinders, and advanced image processing. These make sense when your activities depend on equipment performance or you’re covering extreme distances.
Don’t chase maximum detection range numbers that exceed your realistic needs. Focus on recognition range that matches your property size, refresh rate that supports your scanning style, and resolution that provides enough detail for confident identification.
We’ve run thermal monoculars in rain, fog, freezing temperatures, and summer heat. Here’s what actually matters in the field:
Resolution helps most when you need to identify targets at your maximum working distance. If you rarely scan beyond 400 yards, paying premium prices for 1280×1024 sensors doesn’t improve your results.
Refresh rate becomes obvious when you’re actively moving. Stationary observation works fine at 30Hz. Active scanning, vehicle-mounted use, or tracking fast animals benefits noticeably from 50Hz or higher.
Thermal sensitivity (NETD) affects every scan you make. Good NETD performs in varied weather and lighting conditions. Poor NETD only works well in ideal thermal contrast situations.
Resolution and Hertz work together to define your thermal monocular’s performance. Resolution determines how much detail you see, while Hertz controls how smoothly you see it.
For most hunters and property managers, 384×288 resolution at 50Hz provides the sweet spot between performance and cost. This combination delivers clear identification to 500 yards with smooth motion tracking.
Budget-conscious users can start with 256×192 at 30Hz for close-range work. Those needing extreme performance should look at 640×480 at 50Hz or higher, but expect to pay significantly more.
Match your specs to your actual use case, not marketing hype. The right thermal monocular enhances how you work in the field—it’s about practical performance, not impressive spec sheets.
What’s more important in a thermal monocular: resolution or refresh rate?
Both matter, but for different reasons. Resolution affects detail and identification range—how clearly you see targets. Refresh rate affects motion smoothness and tracking capability. For stationary observation, prioritize resolution. For active scanning or moving platforms, refresh rate becomes equally important. Most users benefit from balancing both with at least 384×288 resolution at 50Hz.
Can a high display resolution make up for a low sensor resolution?
No. The display only shows what the sensor captures. A 256×192 sensor displayed on a 1920×1080 screen still provides 256×192 worth of thermal information. The high-res display makes the image sharper and easier to view, but it can’t create thermal detail that the sensor didn’t capture. Always check sensor resolution first.
Why do some thermal monoculars have 9Hz refresh rates?
Export regulations restrict high-performance thermal technology. Devices with 640×480 or higher resolution combined with refresh rates above 9Hz face export limitations. Manufacturers create 9Hz versions to comply with international regulations. For domestic hunting and scanning, avoid 9Hz if possible—the choppy image makes tracking difficult.
How much resolution do I need for hunting at 300-500 yards?
For consistent identification at 300-500 yards, we recommend at least 384×288 resolution. This provides enough pixels to distinguish species, count animals, and judge size. Budget 256×192 sensors struggle beyond 300 yards. If you regularly work at the 500-yard end, consider stepping up to 640×480 for better detail and comfortable digital zooming.
Does higher resolution always mean better thermal images?
Not necessarily. Resolution combines with other factors like thermal sensitivity (NETD), pixel pitch, and lens quality to create your final image. A 384×288 sensor with excellent NETD and good optics can outperform a 640×480 sensor with poor thermal sensitivity in challenging conditions like fog or low-contrast environments. Look at the complete package, not just resolution numbers.
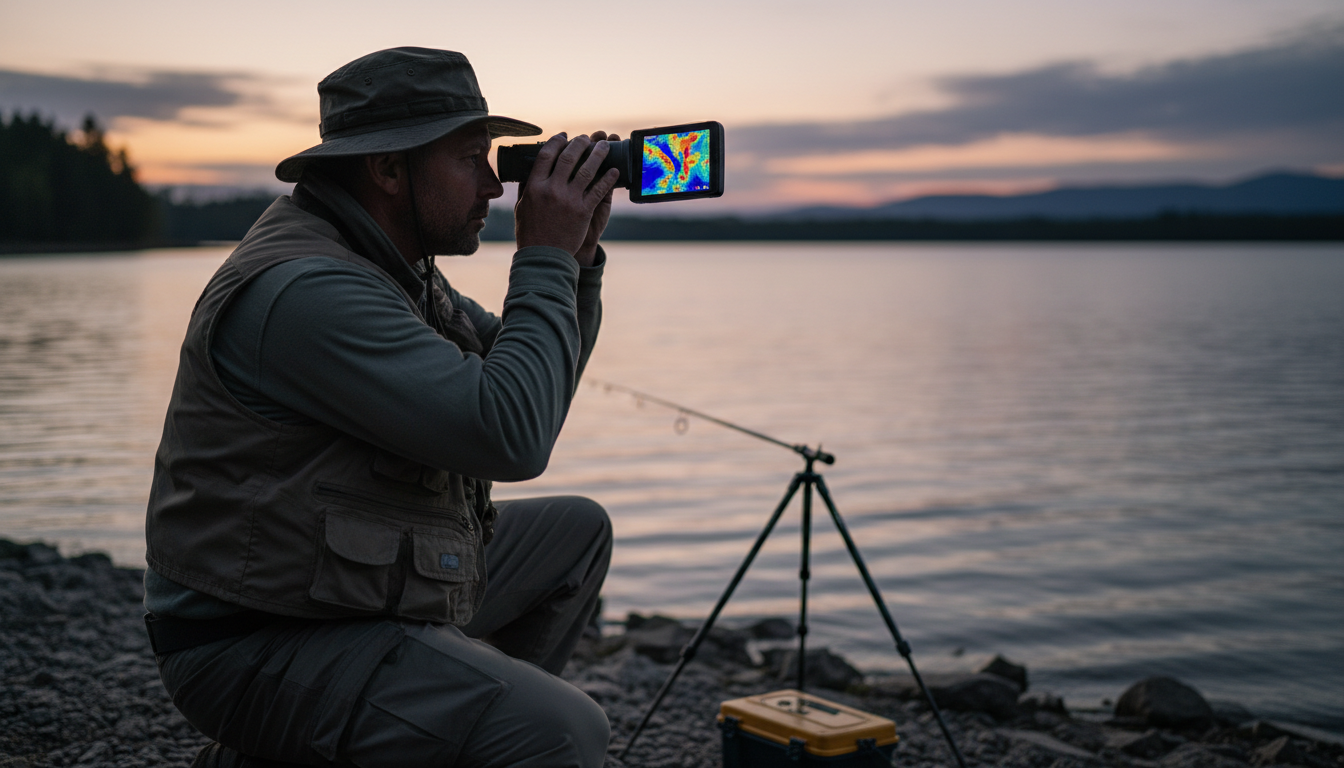
You’ve probably heard anglers talking about thermal scopes and wondered if they’re the secret weapon for finding fish. The short answer? Not quite the way you’d think. Fish are cold-blooded creatures whose temperature is not constant and depends on the water temperature, which makes them really hard to spot with thermal technology. But that doesn’t mean thermal scopes are useless for fishing—you just need to know what they can and can’t do.
We’re going to walk you through how thermal imaging actually works around water, why you won’t see fish swimming below the surface, and the surprising ways thermal scopes can still help you catch more fish. If you’re interested in exploring different thermal imaging options, check out our range of outdoor thermal devices designed for various applications.
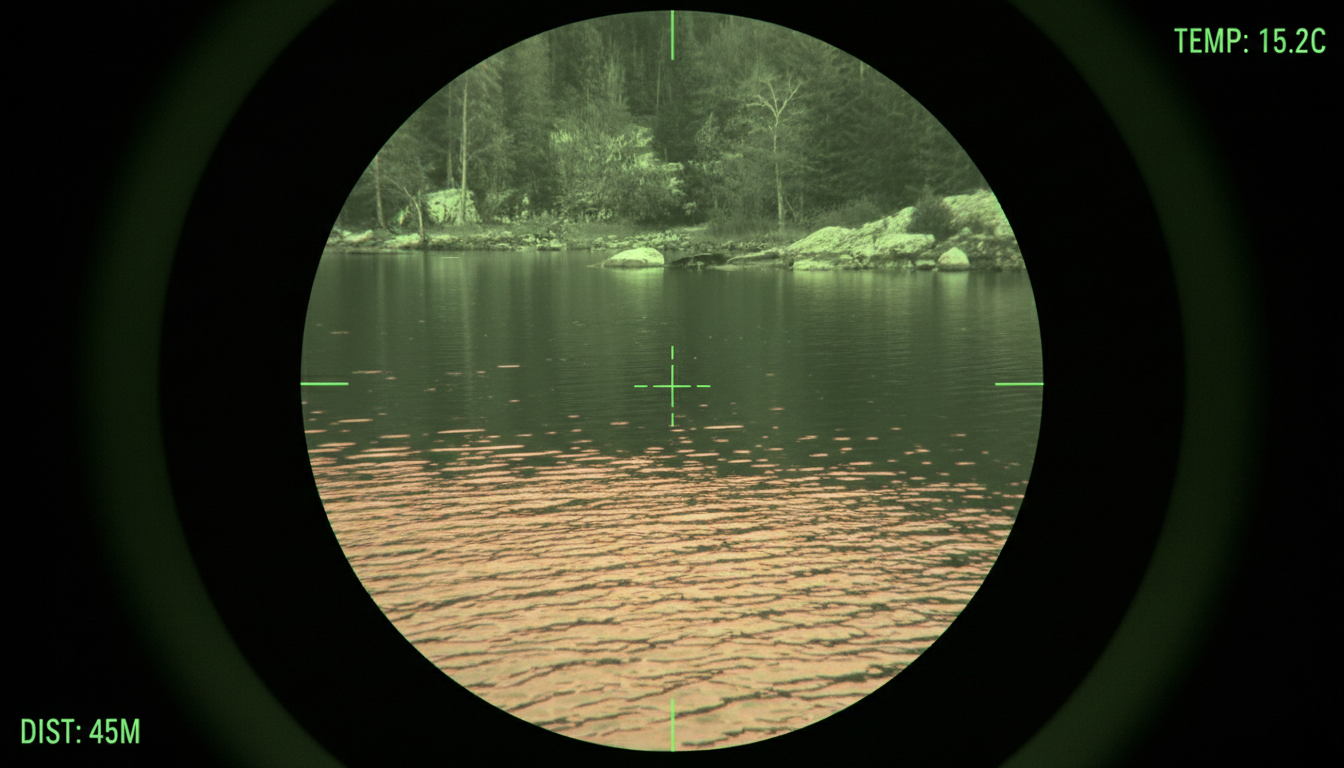
Here’s the deal: water absorbs infrared radiation, which reduces the effectiveness of thermal imaging, and infrared radiation does not penetrate water well. Think of water as a thick blanket that blocks the heat signatures thermal scopes need to create an image.
But there’s another problem. A thermal imaging camera displays a contrasting temperature background of the objects you are observing, and it will not show fish with the same body temperature as the water. Most fish sit at roughly the same temperature as their surroundings, so even if the infrared radiation could get through the water (which it can’t), there’d be almost no temperature difference to detect.
The primary limitation of thermal imaging underwater is the poor penetration of infrared radiation, and thermal cameras are limited to detecting heat on or very near the surface. Sound familiar if you’ve ever tried using one near a lake or river? That’s why.
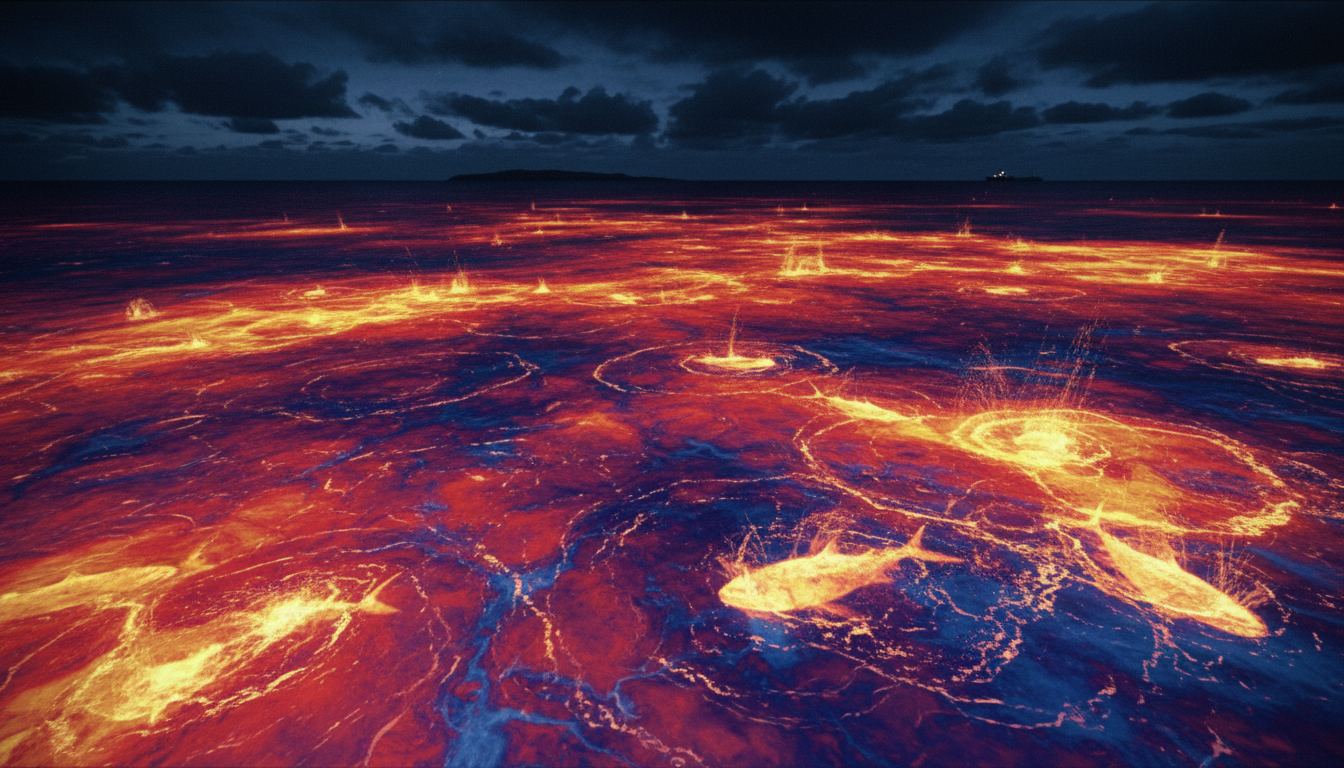
Before you write off thermal imaging for fishing completely, there’s good news. Schools of fish change the characteristics of the water’s surface, and that’s what you can see with thermal imaging. When fish are active near the surface—feeding, breaking, or moving in large schools—they create tiny temperature changes and disturbances that show up on a thermal scope.
Thermal-imaging cameras are sensitive enough to see temperature breaks — areas that tend to attract schools of baitfish and predators, as long as the water temperature changes rapidly within a few meters. This works particularly well in saltwater where you’re looking for temperature gradients offshore, or at night when you’re trying to spot baitfish dimpling the surface.
For those serious about nighttime observation and fishing applications, our Pegasus 2 LRF offers long-range detection capabilities that work well in low-light marine conditions.
Thermal cameras can register a temperature anomaly as small as a tenth of a degree, and that difference becomes more pronounced offshore when the camera’s field of view fills with mostly water and sky. This is where thermal imaging really shines for fishing.
You can spot weed lines, kelp paddies, and floating debris that hold fish—even in complete darkness. These objects absorb heat differently than open water, making them stand out like beacons on your thermal display. Anglers say they’ve hooked tuna after finding breaking fish before daylight by using a thermal-imaging camera, and can spot schools of baitfish dimpling the surface in the dark.
While infrared radiation is absorbed by water, it is possible to detect temperature differences on the water’s surface, and fish swimming close to the surface can create disturbances and thermal anomalies. Look, it’s not x-ray vision, but it beats staring into pitch darkness hoping to stumble onto fish.
Honestly, thermal imaging does way more for fishing safety and navigation than direct fish finding. Thermal cameras cannot see through water, but they’re still the best tool for professional and recreational marine use when you need to see in total darkness.
Infrared thermal imaging cameras can reliably deliver clear thermal images even in extremely low-visibility conditions such as nighttime, heavy fog, rain, or snow, and provide all-weather identification of key targets including other vessels, buoys, shorelines, and floating debris. You’ll avoid hitting debris, spot other boats, and navigate safely—which matters more than finding fish when you’re miles offshore in the dark.
During winter fishing, thermal imaging can identify weak spots in ice, cracks, and thin areas that could be dangerous. It’s a safety tool first, fishing aid second. Our thermal monocular technology article explains more about how these devices work if you’re curious about the technical side.
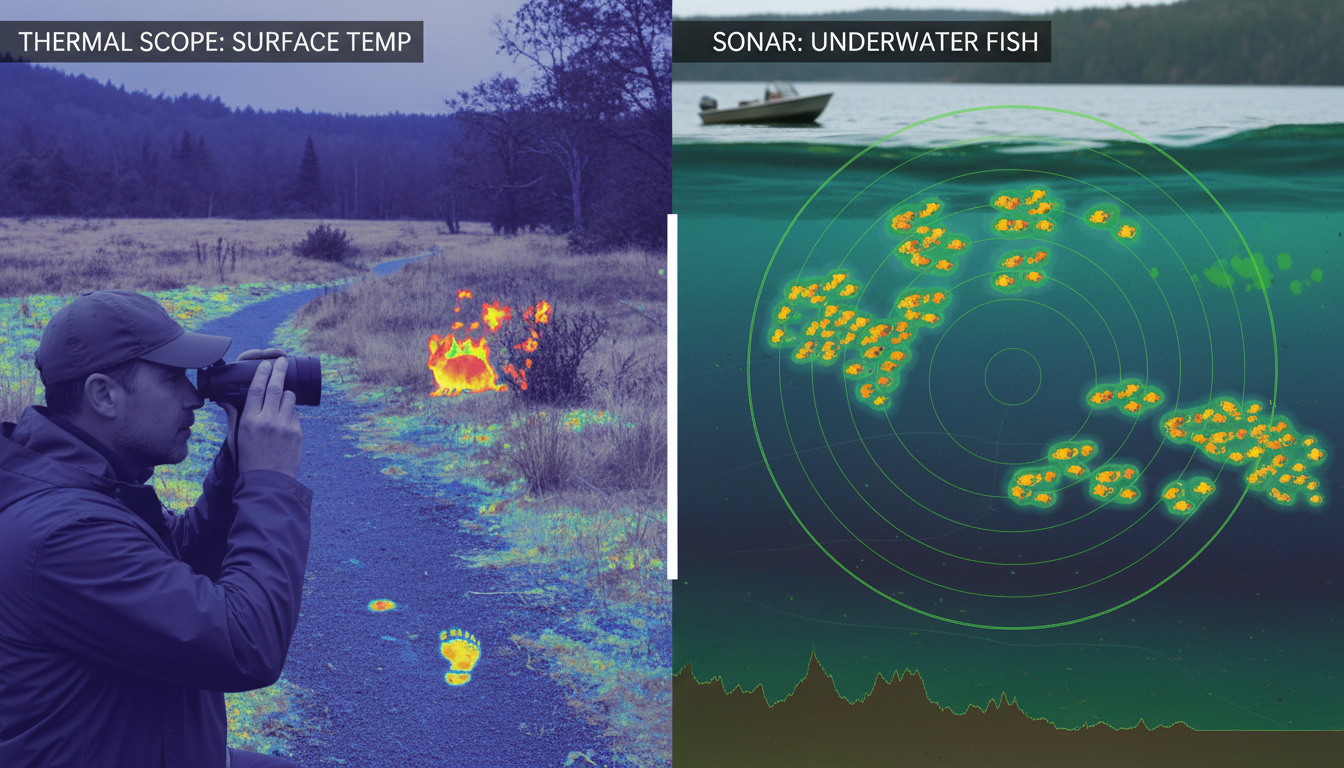
Sonar technology, which uses sound waves to detect objects underwater, is widely used for fish finding and can penetrate water effectively and provide detailed information about the location, size, and movement of fish schools. If you want to see what’s actually below your boat, sonar is your answer—not thermal.
Underwater cameras, often coupled with lighting systems, can capture visual images of fish and other marine life and are commonly used in marine biology, underwater research, and recreational diving. These give you actual video of what’s down there, which is pretty cool if you’re trying to figure out what fish are doing around your bait.
Thermal scopes work great for spotting surface activity and navigating at night, but they’re not replacements for traditional fish finders. Use them together and you’ll have a much better setup than relying on just one technology.
So can you see fish with a thermal scope? Not underwater—physics just doesn’t work that way. Water blocks infrared radiation and fish match the water temperature too closely to show up as heat signatures. But thermal scopes aren’t worthless for fishing. They’ll help you spot surface activity, temperature breaks, floating structure, and navigate safely in conditions where regular vision fails.
The best approach? Use thermal imaging for what it does well—surface observation, safety, and navigation—and stick with sonar for finding fish below the surface. Thermal technology has its place in your fishing toolkit, just not as an underwater fish camera. If you’re ready to explore thermal imaging for your outdoor adventures, visit our main product page to see our full lineup of thermal devices.
Can thermal scopes see through water to detect fish?
No, thermal scopes cannot see through water. Water absorbs infrared radiation that thermal imaging relies on, blocking heat signatures from penetrating more than a few millimeters below the surface. Fish swimming underwater remain invisible to thermal technology.
What can thermal imaging actually help with when fishing?
Thermal imaging excels at detecting surface activity like baitfish schools dimpling the water, temperature breaks that attract fish, weed lines, floating debris, and other surface features. It’s also excellent for safe navigation in darkness, fog, or low-visibility conditions on the water.
Why don’t fish show up on thermal cameras?
Fish are cold-blooded animals that maintain body temperatures nearly identical to the surrounding water. Thermal cameras detect temperature differences, and since fish don’t create enough contrast against the water temperature, they remain undetectable even if water penetration wasn’t an issue.
Is thermal imaging or sonar better for finding fish?
Sonar is better for directly locating fish underwater. It uses sound waves that penetrate water effectively and can show exact fish locations, depths, and school sizes. Thermal imaging works best for surface observation and navigation, while sonar handles underwater detection.
Can you see fish breaking the surface with a thermal scope at night?
Yes, you can detect fish activity at the surface with thermal imaging. When fish break the surface, create disturbances, or move in schools near the top, they change the water surface characteristics enough to show up as thermal patterns—particularly useful for spotting feeding activity before dawn.
















